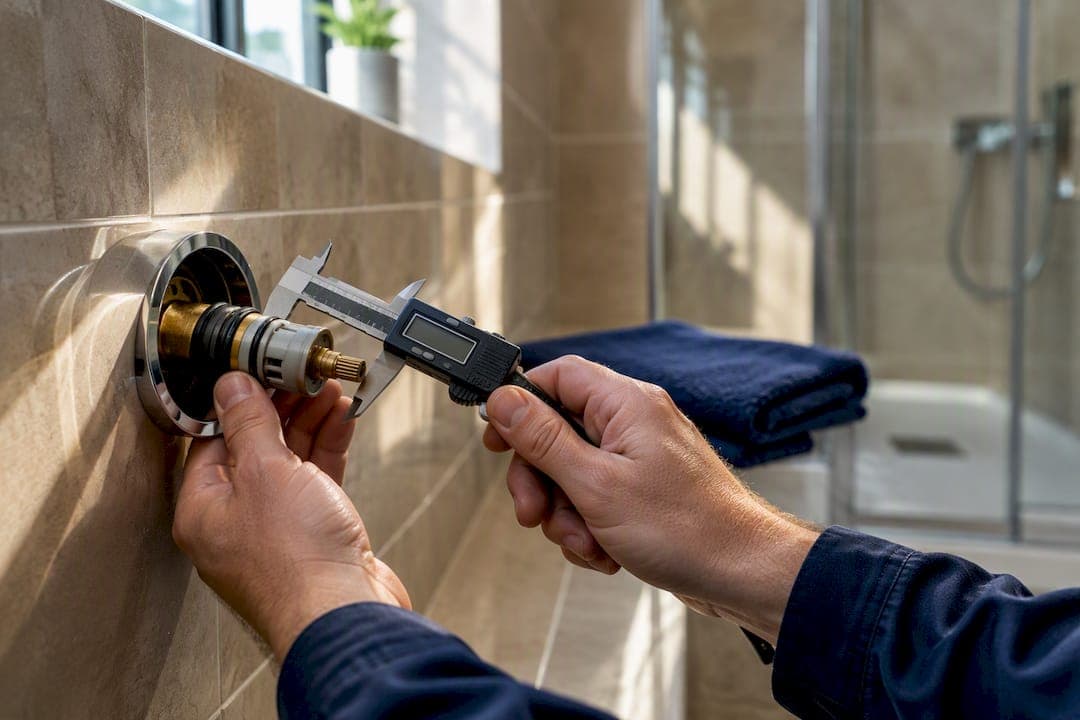
Yes, most homeowners can replace a shower cartridge themselves if the fault is a like-for-like swap on a standard mixer valve with clear access, isolate the water supply, open the shower to relieve pressure, and photograph the handle orientation before you touch anything. Stop and call a plumber if the cartridge is seized solid, the valve is thermostatic, or the pipework is buried behind tiles with no service panel.
TL;DR:
- Most DIY replacements are safe if the cartridge is a standard, like-for-like swap with actual access, no seized parts, and correct orientation is noted before removal.
- Proper identification of the cartridge through measurements and manufacturer markings is essential to avoid incorrect purchases that can cause leaks or binding issues.
- Using the right tools, cleaning the valve cavity, and lubricating O-rings help ensure a smooth installation and prevent leaks after reassembly.
- Call a plumber if the valve is heavily corroded, buried behind tiles, or if a cartridge has sheared within the valve housing.
- Expect costs between £100 and £300 for professional replacement, with pre-ordering parts and verifying compatibility saving time and money.
Table of Contents
- How to tell the cartridge is actually the problem
- What tools and parts do you need?
- How do you identify the correct replacement cartridge?
- Step-by-step: how to change a shower cartridge
- What if something goes wrong during the swap?
- When should you call a plumber, and what does it cost?
- Why the "just force it" instinct is the real risk here
- Need a hand instead of a spanner?
- Sources
- FAQ
How to tell the cartridge is actually the problem
Before you order a shower cartridge replacement, confirm the cartridge is really at fault. A worn cartridge announces itself in fairly obvious ways, and the symptoms tend to overlap enough that it's worth ruling out the simpler causes first.
- The shower keeps dripping for a while after you've turned it off fully
- Water temperature swings hot to cold with no change to the controls
- The handle feels stiff, gritty, or needs real force to turn
- Flow is noticeably weaker than at your other taps or showerhead
Start with the cheap checks: unscrew and clean the showerhead in case limescale is choking the flow, run hot and cold separately to isolate which side is affected, and test another tap on the same supply to rule out a wider pressure issue. If those come back clean, these signs point squarely at the cartridge rather than the pipework.
Pro Tip: Take the trim off and look for green or white corrosion crust around the cartridge shoulder. Corrosion this visible often means the cartridge has been failing for months, even if the drip only started recently.
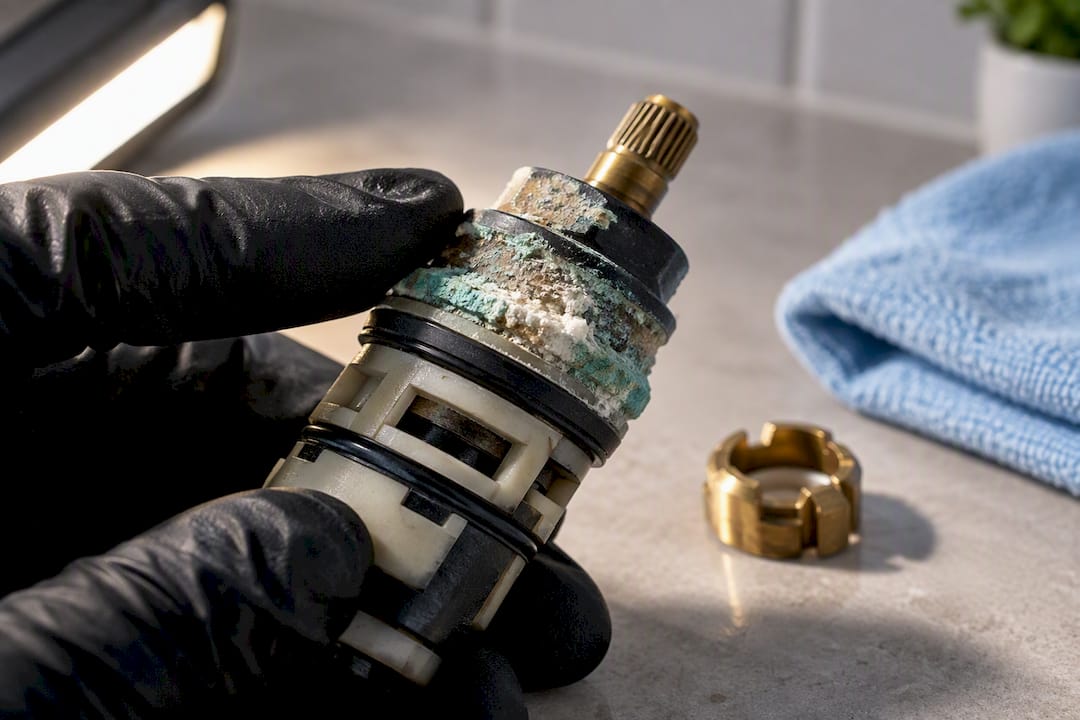
Most shower cartridges last several years under normal use, but hard water areas wear them out faster because scale builds up on the seals and stops them seating cleanly.
What tools and parts do you need?
You don't need a plumber's van full of kit for this job, but a few specific items make the difference between a ten-minute job and an afternoon of frustration.
Tools:
- Adjustable spanner or basin wrench
- Flat and Phillips screwdrivers
- Allen keys (many handles use a hidden hex bolt)
- Cartridge puller (hire or buy cheaply if the trim gives no grip)
- Penetrating oil for seized fittings
- Torch for inspecting the valve cavity
Consumables to buy alongside the cartridge: silicone grease, spare O-rings, and PTFE tape. These cost next to nothing and a worn O-ring is often what causes a fresh cartridge to leak within days.
Cartridges aren't universal. Flow and pressure-balancing cartridges, thermostatic cartridges, and diverter cartridges are built differently, and matching the correct type to your valve matters more than matching the price. A generic-fit cartridge that's a millimetre out on diameter will leak or bind no matter how carefully you fit it.
How do you identify the correct replacement cartridge?
Ordering the wrong cartridge is the single most common reason DIY replacements go wrong, and it usually happens because someone guessed instead of measuring.
- Photograph the manufacturer markings. Most cartridges have a brand and model code stamped on the base or collar. A clear, well-lit photo sent to a parts supplier often gets you an exact match in minutes.
- Measure the length of the cartridge from base to top, including the stem.
- Measure the diameter of the cartridge body where it sits inside the valve.
- Count the splines on the stem and note the connection type (round spline, D-shaped, or square).
Manufacturer spares pages often show exploded diagrams with part numbers, which is the safest route if you can identify the brand. Generic-fit cartridges are cheaper but carry more risk of a poor seal on older or unusual valve bodies.
Step-by-step: how to change a shower cartridge
This is the sequence UK plumbing suppliers consistently recommend, and it holds true whether you're working on a budget mixer or a mid-range thermostatic valve.
1. Isolate the water and relieve pressure. Shut off the supply at the stopcock or, if fitted, the local isolating valves behind the shower panel. Turn the shower on afterwards to release any trapped pressure and confirm the water has actually stopped.
2. Protect the area. Lay a towel in the tray to catch dropped screws, and if there's any electrics nearby (an electric shower unit, for instance), make sure the circuit is off too.
3. Mark the handle orientation and photograph everything. Before you remove the handle, mark where it points at the "off" position with a dab of tape or a pencil line. Photographing the assembly as you go is the cheapest insurance against putting it back together with hot and cold reversed.
4. Remove the handle and trim. Handles usually hide a small Allen bolt or screw under a cap on the front. Once that's out, the handle should pull straight off. The escutcheon (the trim plate) typically unscrews or pulls forward.
5. Extract the old cartridge. There's usually a retaining nut or clip holding it in place. Remove that, then pull the cartridge straight out, keeping it aligned with the bore rather than twisting at an angle. If it won't budge, don't force it.
Pro Tip: For a seized cartridge, soak the area with penetrating oil, wait ten minutes, and use a proper cartridge puller rather than pliers. Pliers tend to shear the plastic stem, which turns a simple job into a much harder one.
6. Clean the valve cavity. Wipe out any scale, grit, or old grease with a cloth, and inspect the seals inside the body. Replace any O-rings that look flattened or cracked.
7. Lubricate and fit the new cartridge. A light smear of silicone grease on the new O-rings helps the cartridge seat smoothly and protects the rubber from drying out. Push it in aligned exactly as the old one came out, matching the orientation mark you made earlier.
8. Reassemble and test slowly. Refit the retaining nut, trim, and handle in reverse order. Turn the water back on gradually rather than all at once, and check for leaks around the escutcheon and underneath the valve before running the shower properly. Test hot and cold separately to confirm the temperature mapping matches your orientation mark.
What if something goes wrong during the swap?
A drip after reassembly almost always traces back to one of three things: a seal that didn't seat properly, a retaining nut that's not quite tight, or grit trapped between the cartridge and the valve body.
- Reseat the cartridge fully before assuming a seal has failed
- Check the retaining nut is snug, but don't overtighten plastic threads
- If the leak is at the wall connection rather than the cartridge, the fault likely lies elsewhere in the valve
If the old cartridge sheared or a piece has broken off inside the valve body, stop immediately. Dry the area, don't attempt to dig the fragment out with a screwdriver, and call a plumber, since forcing a broken piece can score the valve bore and turn a cartridge job into a full valve replacement. Keep the old cartridge until you're confident the new one is leak-free. Failing to isolate the supply fully, or forcing a stuck cartridge, is the most common way a simple swap turns into an expensive repair.
When should you call a plumber, and what does it cost?
Some situations genuinely aren't worth tackling yourself. Concealed valves behind tiling with no access panel, heavily corroded valve bodies, thermostatic cartridge faults (these often involve calibration, not just a swap), and any case where a cartridge has broken apart inside the housing are all good reasons to bring in a professional.
- Concealed or tiled-in valves with no visible access panel
- Thermostatic valve faults, which can involve recalibration after fitting
- Corrosion severe enough that the valve body itself looks compromised
- A cartridge that's broken and left fragments lodged inside
Typical UK costs for a full shower cartridge replacement fall somewhere between £100 and £300 once parts and labour are combined, with the range driven mainly by cartridge type and how hard the valve is to access. Thermostatic cartridges cost more than basic mixer ones, and a concealed valve behind a shower panel will always push labour time up compared with an exposed valve you can reach in minutes.
A useful money-saving move is to order the correct cartridge yourself first, using the measurements above, and keep the receipt. Having the part ready before the plumber arrives cuts the labour time considerably, since diagnosis and parts-sourcing is often what eats up a call-out.
Why the "just force it" instinct is the real risk here
The mechanical part of replacing a cartridge is genuinely simple. What trips people up is impatience: forcing a stuck cartridge with pliers, skipping the orientation photo because "I'll remember", or fitting a generic part without measuring properly first. None of that is a skills problem. It's a discipline problem, and it's exactly where DIY jobs turn into call-outs.
The identification step gets skipped more than any other, and it's the one that actually determines whether the job takes twenty minutes or two attempts. A cartridge that's a spline-count out, or the wrong connection type, will look like it fits and then fail within days. For related repairs, replacing a worn washer follows a similar logic of isolate, inspect, match, replace. If your issue turns out to be a leak elsewhere in the system rather than the cartridge itself, it's worth reading through common causes of a leaking shower before you start dismantling anything.
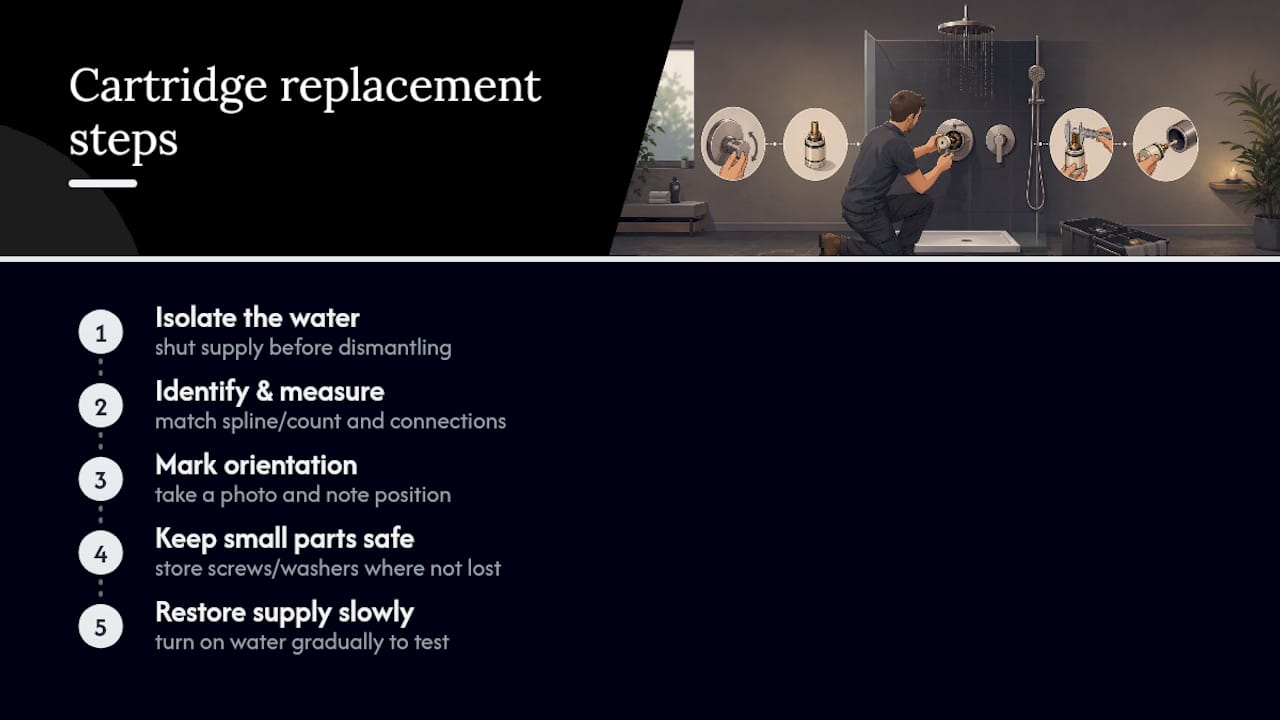
Isolate the water, mark the orientation, keep every small part somewhere you won't lose it, and restore the supply slowly at the end rather than all at once. That order of operations, more than any specific tool, is what separates a clean job from a second trip to the hardware shop.
— Michael
Need a hand instead of a spanner?
Your-local-plumber is the alternative to spending a Saturday fighting a seized cartridge with a screwdriver. If the valve turns out to be concealed, thermostatic, or the old cartridge has already sheared inside the body, our engineers can extract it and fit the correct part in one visit, with transparent pricing agreed before any work starts.

Booking is straightforward: get in touch through our plumbing services page for a standard cartridge swap, or use our 60-minute emergency response service if the shower has started leaking badly or won't shut off. Every job comes with a 12-month warranty and there's no call-out fee, so if you've already bought the wrong cartridge or the old one won't budge, contact us for a same-day quote rather than losing another evening to it.
Sources
For UK cost benchmarking, Bathroom Spare Parts' cost guide breaks down parts versus labour. For diagnosing symptoms, Angi's guide to bad cartridge signs is a quick reference. For the standard fitting sequence, UK Bathroom Store's how-to guide covers the steps in more detail, and Crosswater's spares FAQ helps with brand-specific part identification.
- Shower Cartridge Replacement Cost UK | 2026 Guide
- 4 Signs of a Bad Shower Cartridge | Angi
- How to Replace a Shower Cartridge (UK Bathroom Store)
FAQ
Can I replace a shower cartridge myself?
Yes, if it's a straightforward like-for-like swap on a standard mixer valve with clear access, most competent DIY-ers can manage it with basic tools. Seized cartridges, thermostatic valves, or concealed pipework are better left to a plumber.
How much would a plumber charge to replace a shower cartridge?
UK costs typically range from £100 to £300 for parts and labour combined, depending on the cartridge type and how accessible the valve is. Heating and plumbing work is typically charged at an hourly rate; current pricing details for specific jobs are available on the company website.
Do I need a plumber to change a shower cartridge?
Not necessarily. Basic exposed valves with a standard cartridge are usually manageable yourself, but concealed valves, thermostatic faults, or a cartridge that's already broken inside the housing genuinely call for a professional.
How do I know if my shower cartridge needs to be replaced?
The main signs are a persistent drip after shut-off, temperature that swings unexpectedly, a stiff handle, and reduced flow compared with other taps in the house. If cleaning the showerhead and testing other outlets doesn't explain the fault, the cartridge is almost certainly worn.