TL;DR:
- Replacing shower washers is an easy DIY task that can prevent water waste and costly bills. Proper tools, precise washer matching, and careful inspection of the valve seat are essential for a lasting repair. If leaks persist, damaged valve components or corrosion may require professional plumbing assistance.
A dripping shower is one of those problems you can hear from the hallway and feel in your water bill. A single dripping tap wastes up to 3,000 gallons of water every year, and if you call a plumber just to fix a worn washer, you could spend up to £200 for what is essentially a 50p part. Replacing washers in your shower is one of the most accessible DIY plumbing repairs a homeowner can tackle. This guide walks you through every stage, from gathering tools to testing the finished repair, so you can stop that drip yourself.
Table of Contents
- Key takeaways
- Replacing washers in your shower: what you need first
- How to replace shower washers: step by step
- Troubleshooting persistent leaks after replacement
- Testing the repair and keeping washers healthy
- Michael's take: what nobody tells you about this repair
- Need a local plumber to help?
- FAQ
Key takeaways
| Point | Details |
|---|---|
| Shut off water first | Always turn off the water supply before disassembling any part of the shower tap or valve. |
| Match washers precisely | Compare old and new washers side by side to confirm inner diameter, outer diameter, and thickness match. |
| Inspect the valve seat | A worn washer won't fix a corroded or damaged valve seat. Check it before reassembling. |
| Grease every moving part | Apply plumber's grease to the washer, O-rings, and threads to reduce friction and extend washer life. |
| Test before you tidy up | Restore water slowly and observe for leaks before replacing all covers and escutcheons. |
Replacing washers in your shower: what you need first
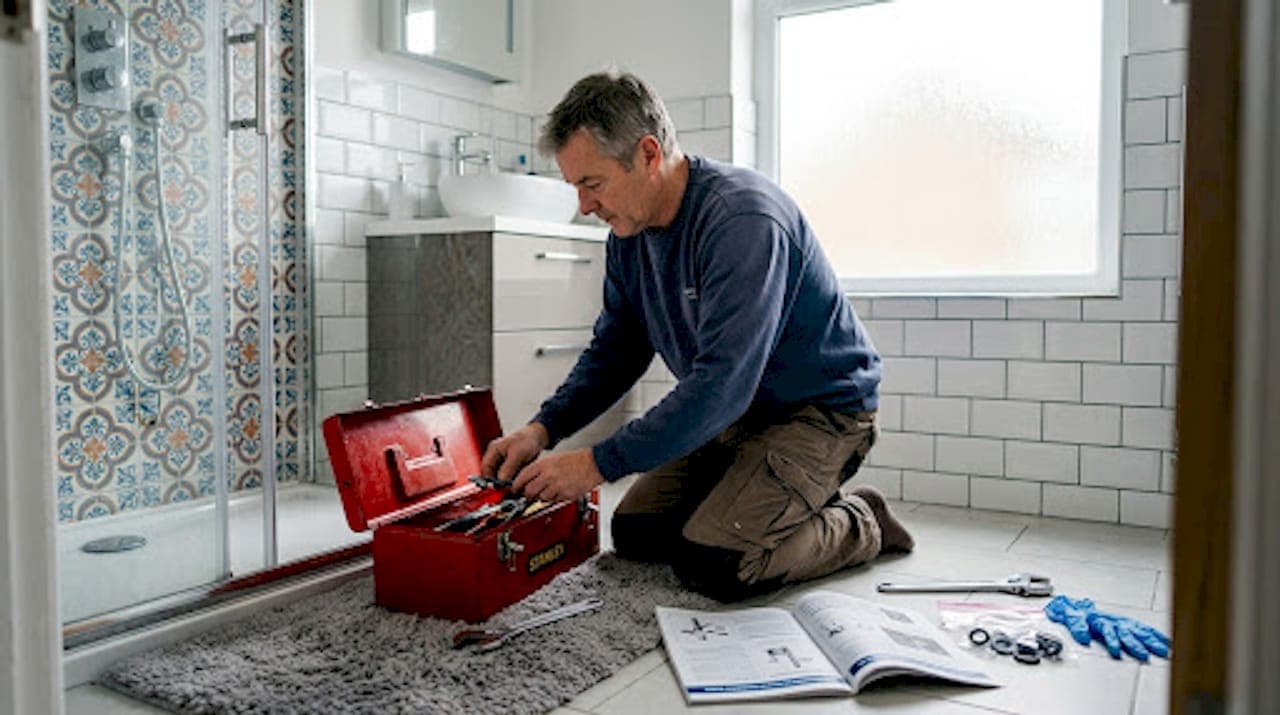
Before you touch a single screw, you need the right tools and the right washer. Turning up halfway through the job to discover you have the wrong size is one of the most common reasons DIY shower repairs fail.
Tools and materials checklist
| Item | Purpose |
|---|---|
| Adjustable spanner | Loosening and tightening valve packing nuts |
| Flathead and crosshead screwdrivers | Removing tap handles and cover plates |
| Seat wrench | Inspecting or replacing the valve seat |
| Replacement washers (assorted) | The core repair component |
| Plumber's grease | Lubricating threads, O-rings, and the new washer |
| Penetrating oil | Freeing corroded or stuck nuts |
| Old towel or cloth | Protecting the shower tray and catching drips |
| Drain plug or cloth | Blocking the drain to catch dropped parts |
Plugging the drain before you start is a step many homeowners skip and later regret. Small washers, screws, and O-rings disappear down an open drain in a heartbeat.
Choosing the right washer
This is where shower washer replacement either succeeds or fails before it begins. Washers come in different materials including rubber, neoprene, and fibre. For showers, rubber or neoprene are the most common choices because they handle both hot and cold water reliably.
Exact washer size matching by inner diameter, outer diameter, and thickness is what prevents a persistent drip from returning within days of your repair. Take the old washer to your local hardware shop and compare it physically to new stock, or buy an assorted pack so you have options to hand.
Pro Tip: Take the old washer to the shop in a small zip-lock bag. It sounds obvious, but placing the new washer directly onto the old one in the shop is the fastest way to confirm a match before you buy.
Shutting off the water supply
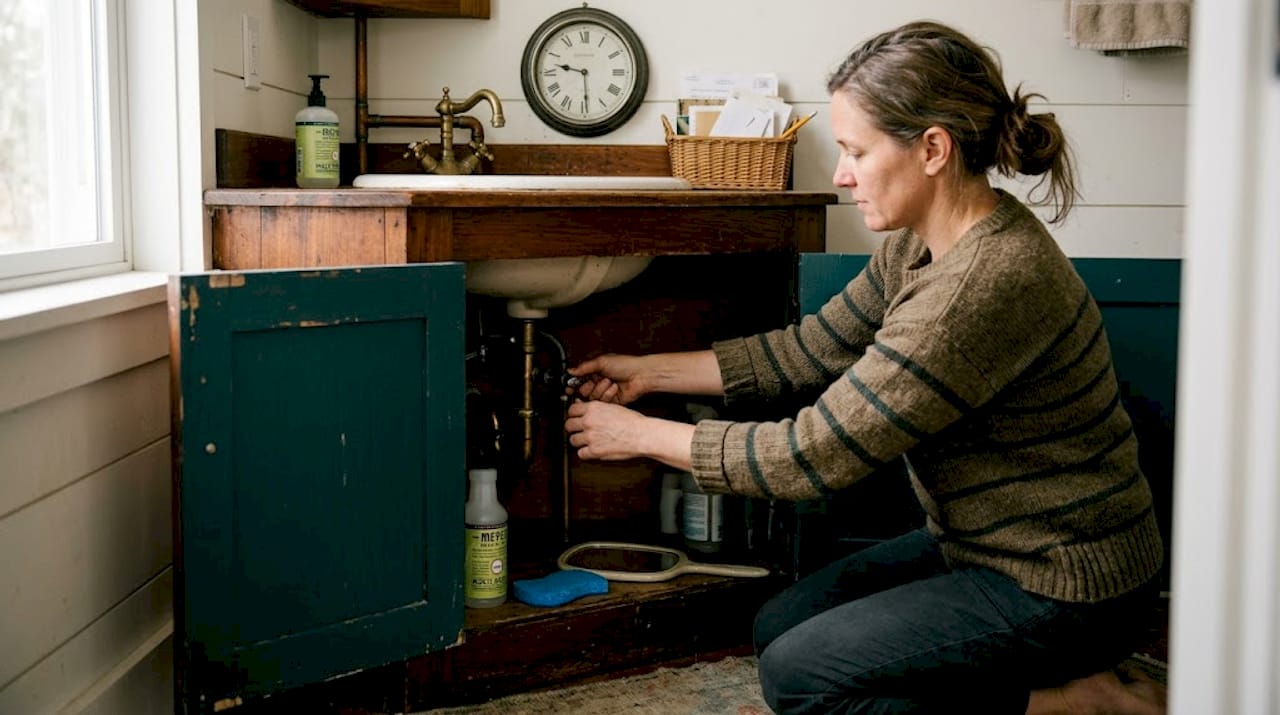
Water supply must be shut off before any part of the shower tap or valve is removed. If your shower is fed from a dedicated supply line, locate the isolation valve, usually under the bath panel or behind an access hatch, and turn it clockwise until it stops. If you cannot find a dedicated valve, shut off the mains stopcock. Turn the shower on briefly to release any remaining pressure in the pipes before you begin.
How to replace shower washers: step by step
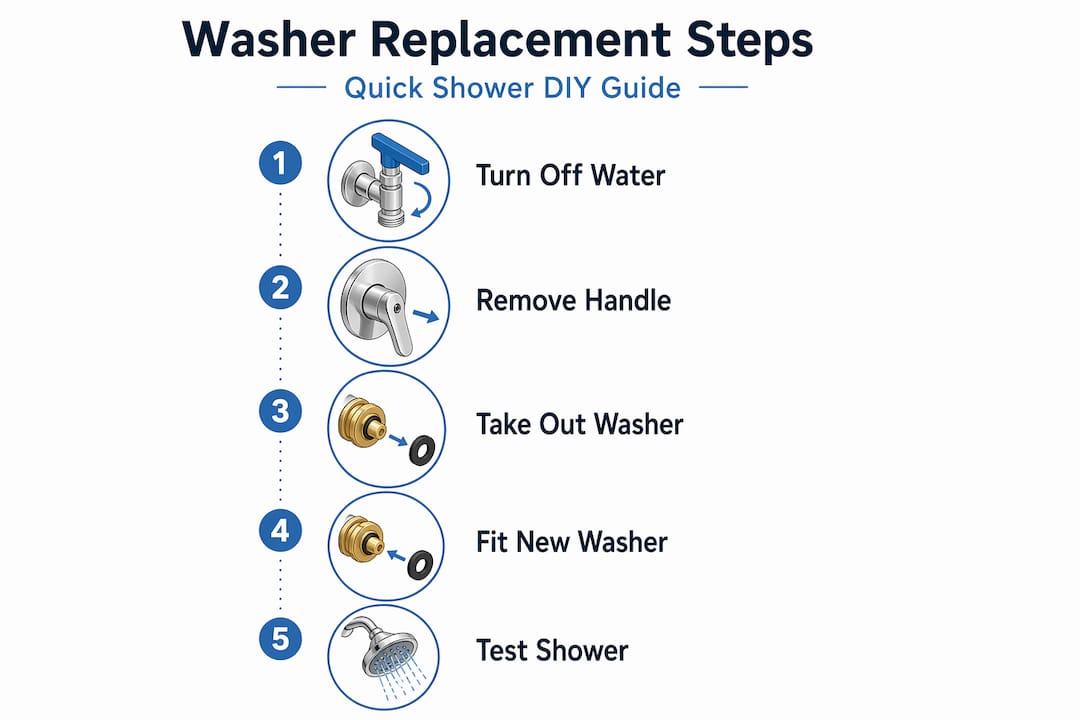
Most shower washer repairs can be completed by a beginner in under an hour when the right tools are ready. The steps below apply to compression tap showers, which are the most common type found in UK homes.
-
Remove the tap handle. Look for a decorative cap on top of the handle. Prise it off with a flathead screwdriver, and you will usually find a single crosshead or hex screw underneath. Remove it and pull the handle straight off.
-
Unscrew the packing nut. With the handle removed, you will see a hexagonal packing nut. Use your adjustable spanner to turn it anticlockwise. If it feels stiff, do not force it. Apply penetrating oil, wait five minutes, then try again. Gentle rocking of the valve stem while applying steady upward pressure is the right technique here.
-
Extract the valve stem. Once the packing nut is loose, the valve stem lifts straight out. Some stems unscrew anticlockwise rather than pulling free. Check which type yours is before yanking.
-
Locate and remove the old washer. At the base of the valve stem, you will see the washer held in place by a brass retaining screw. Unscrew it with a small flathead screwdriver and lift the washer out. Note which way it faces before removing it.
-
Inspect the valve seat. Before installing the new washer, shine a torch into the valve body where the stem sits. The valve seat should feel smooth when you run a finger around it. Any roughness, pitting, or visible corrosion means the seat itself needs attention. A damaged seat will chew through a new washer quickly. More on this in the troubleshooting section.
-
Clean the valve stem. Wipe the stem with a damp cloth to remove grit and old grease. Check the O-rings around the stem body. If they look cracked or misshapen, replace them now while everything is apart.
-
Apply plumber's grease. Plumber's grease on O-rings and threads reduces friction, prevents corrosion, and keeps the mechanism moving smoothly. Apply a thin, even coat to the new washer, the O-rings, and the valve stem threads.
-
Fit the new washer. Place the new washer onto the retaining screw seat in the same orientation as the old one. Insert and tighten the brass retaining screw firmly but without overdoing it. A cracked washer from overtightening is a frustrating way to restart the job.
-
Reassemble in reverse order. Slide the valve stem back into the valve body, screw on the packing nut by hand first, then use the spanner to tighten it. Firm but not excessive tightening is the standard to aim for. Reattach the handle, insert and tighten the handle screw, and press the decorative cap back into place.
Pro Tip: Avoid Teflon tape on valve stem threads. Shower valve stems seal through metal-to-metal contact and O-rings. Tape on these threads can interfere with that seal and cause leaks or even make the stem impossible to remove next time.
Troubleshooting persistent leaks after replacement
You have replaced the washer, reassembled everything, and turned the water back on. Still dripping. This is more common than most guides admit, and it does not mean you have failed.
If the drip continues
A persistent drip after shower washer replacement almost always points to one of two things: a damaged valve seat or worn O-rings that you did not replace during the first pass.
- Damaged valve seat. A corroded or gouged valve seat cannot be sealed by even a perfect new washer. A seat wrench lets you resurface or replace the seat yourself, though this is a step up in difficulty. If the seat is badly pitted, replacing the entire valve cartridge may be more practical.
- Worn O-rings. Disassemble the stem again and examine every O-ring carefully. A ring that looks intact may still have lost its elasticity. Replace any that feel hard or show any cracking.
- Wrong washer size. If the washer is even slightly too small, water will bypass it under pressure. Compare your installed washer side by side with the original once more.
When stuck parts become the problem
Corroded valve stems and nuts are genuinely common in older UK homes. Soaking a stuck nut with penetrating oil for at least 15 minutes before trying again prevents most breakages. Apply the spanner squarely on the nut flats, not at an angle, to avoid rounding them off. If a valve stem breaks during removal, do not attempt to drill it out yourself. At that point, you need a plumber.
If you notice visible cracking in the valve body itself, heavy limescale inside the valve that will not budge, or the stem feels loose even when tightened, the repair has gone beyond a washer issue. At that stage, homeowners should be ready to replace the entire showerhead or valve.
Losing small parts during repair
Dropped screws and O-rings are almost unavoidable if you work without blocking the drain. If a small part does fall in, a flexible magnet tool retrieves metal items quickly. For plastic or rubber parts that have gone too far, a drain clearing kit or a call to a plumber is the practical solution. Prevention is far easier than retrieval, which is why the cloth-over-drain step at the start is worth taking seriously.
Testing the repair and keeping washers healthy
Once reassembled, restore the water supply slowly by opening the isolation valve or stopcock by a quarter turn first. Watch the tap for at least two minutes before opening the supply fully. Check around the packing nut, the tap handle base, and the spout with a dry hand or a dry paper towel so you can feel moisture that the eye might miss.
Signs your shower washer replacement has worked include:
- No dripping from the showerhead or spout when the tap is off
- Smooth, consistent handle movement with no stiffness or grinding
- No damp patches or water beading around the tap body
- Water flow that stops cleanly when the handle reaches the off position
Making washers last longer
Fixing shower leaks is satisfying, but preventing them from returning saves time and money. A few straightforward habits make a real difference.
- Apply a light coat of plumber's grease to washers and O-rings every two to three years, ideally when you are doing other routine bathroom maintenance.
- Never close taps by force. That grinding sensation when you crank a tap shut is washer damage happening in real time.
- Check under bath panels and around isolation valves once a year for early signs of pipe leaks before they develop into larger problems.
- If your water is particularly hard, washers will degrade faster due to limescale build-up. Check them annually rather than every two to three years.
Pro Tip: Keep a small resealable bag in your bathroom cabinet with a spare set of washers and O-rings in the sizes your taps use. When the next drip appears, you are ready in minutes rather than needing a hardware shop trip before you can start.
Michael's take: what nobody tells you about this repair
I have seen the same pattern repeat itself in homes across the area. The homeowner successfully replaces the washer, turns the water back on, and then tightens the tap handle as hard as they can to make sure it doesn't leak. That overtightening is what destroys the new washer within weeks.
In my experience, the most common mistake isn't getting the wrong washer size or skipping the grease. It's impatience during reassembly. People assume that tighter equals safer. With plumbing, tighter often means cracked, and cracked means you are back to square one.
What I've also learned is that this repair genuinely rewards homeowners who slow down at the inspection stage. Taking two minutes to run your finger around the valve seat before fitting the new washer is what separates a repair that lasts three years from one that drips again in three months. If you feel any roughness there, act on it.
That said, there is no shame in stopping when you encounter a broken stem or a valve body that is clearly beyond a washer swap. Knowing when to call for professional plumbing help is as much a skill as knowing how to do the repair. For most homeowners, the job is genuinely doable. For the ones where it isn't, calling early costs far less than calling after the situation has worsened.
— Michael
Need a local plumber to help?

Sometimes a washer replacement reveals a bigger problem underneath, and that is not a failure on your part. It is just plumbing being plumbing. If you have worked through this guide and the leak is still going, or if the valve needs full replacement, Your-local-plumber has experienced engineers ready to help. From shower valve repairs and leak detection through to full bathroom installations, the team covers a wide range of household plumbing needs with clear, upfront pricing. Get in touch to book a visit and stop that drip for good.
FAQ
How long does replacing washers in a shower take?
Most homeowners complete a shower washer replacement in under an hour when the correct tools are ready. If corrosion or a damaged valve seat is discovered, the job may take longer.
How do I know which washer size I need?
Remove the old washer and take it to a hardware shop to match it physically. The key measurements are inner diameter, outer diameter, and thickness. An assorted washer pack is a reliable backup option.
Why is my shower still dripping after I replaced the washer?
A persistent drip after washer replacement usually means the valve seat is damaged or corroded. Replacing the washer alone will not create a seal against a pitted seat, so the seat needs resurfacing or replacement.
Can I use Teflon tape when installing shower washers?
No. Shower valve stems seal through metal contact and O-rings, not thread tape. Applying Teflon tape to valve stem threads can interfere with the seal and make future removal difficult.
When should I call a plumber instead of replacing the washer myself?
Call a plumber if the valve stem breaks during removal, if the valve body is cracked or heavily corroded, or if the leak continues after replacing both the washer and the valve seat.