TL;DR:
- Replacing a toilet flush handle is a quick, affordable repair that takes 15 to 30 minutes with minimal tools. Properly matching the part, understanding the reverse threading of the nut, and adjusting chain slack are key to a successful fix. Correct installation prevents future problems and extends the handle's lifespan.
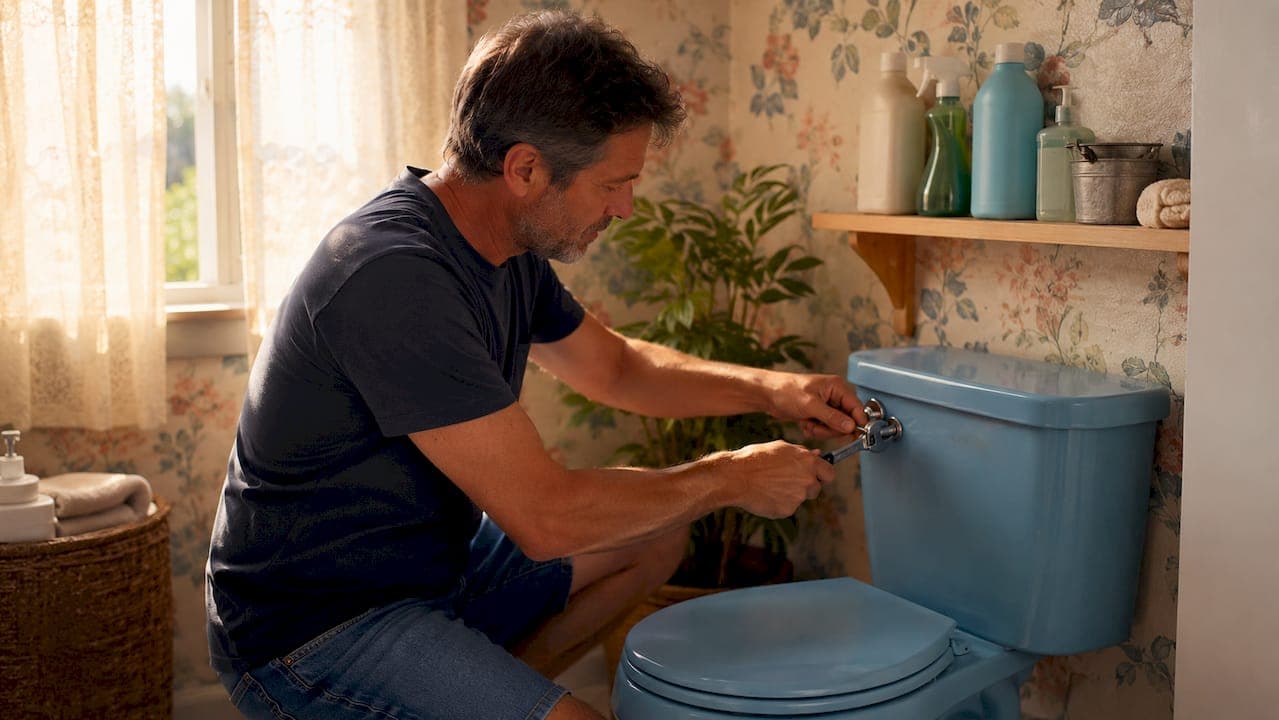
Replacing a toilet flush handle is a beginner-friendly repair that takes 15–30 minutes and costs as little as £5 in parts. The flush handle, also called the trip lever, is the external arm you press to activate the toilet flush mechanism inside the tank. When it snaps, sticks, or stops returning properly, the whole toilet feels broken even though the fix is simple. This guide walks you through every stage of the toilet handle replacement process, from gathering tools to testing the finished repair, so you can get your toilet working again without calling anyone out.
What tools and materials do you need to replace a toilet flush handle?
The right preparation makes this repair straightforward. You need very few tools, and most are already in a standard home toolkit.
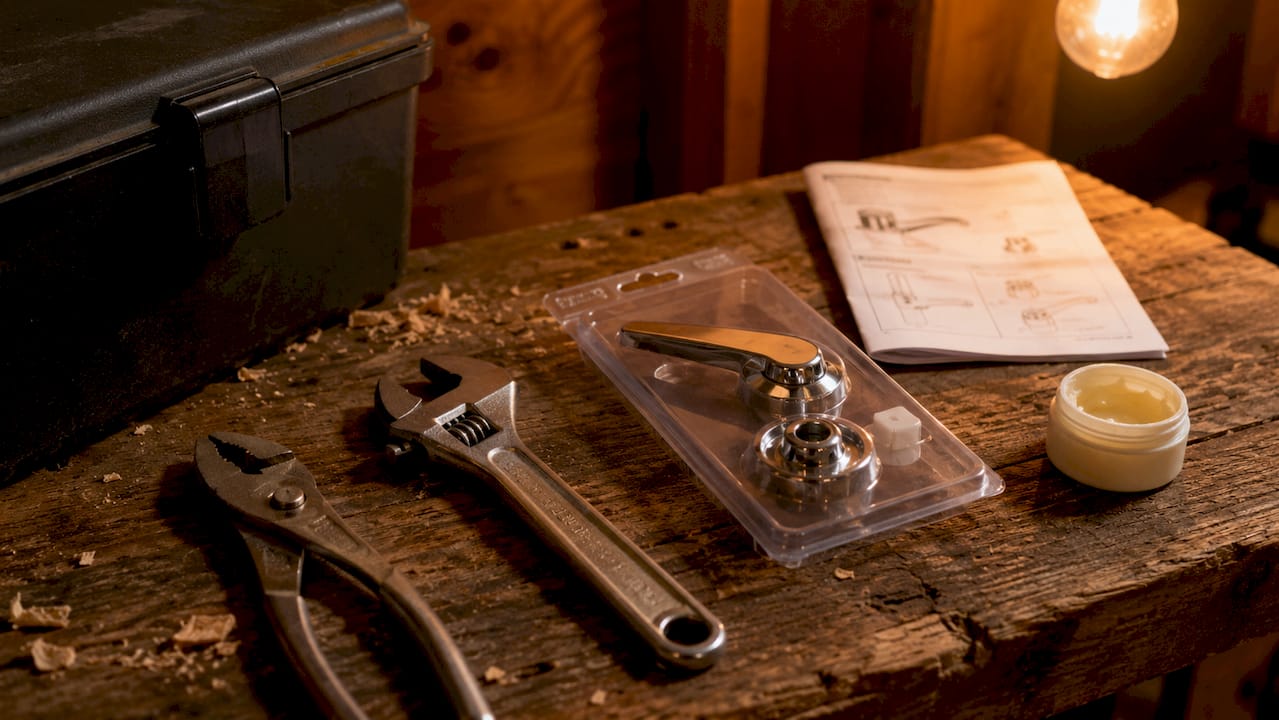
| Item | Purpose | Approximate cost |
|---|---|---|
| Adjustable wrench or pliers | Loosen and tighten mounting nut | Already owned |
| Replacement flush handle | Direct swap for broken part | £5–£15 |
| 100% silicone grease | Lubricate pivot point | £3–£6 |
| Old towel or cloth | Protect tank lid and floor | Already owned |
| Bucket | Catch residual water | Already owned |
Matching the replacement handle to your toilet model is the hardest part of the whole job. Matching handle geometry to your tank's mounting position and arm style is critical. The safest approach is to take the old handle to a plumbers' merchant or hardware shop and compare it directly. Brands such as Fluidmaster and Thomas Dudley manufacture handles that fit a wide range of UK cisterns, so you have good options without needing a manufacturer-specific part.
Pro Tip: Photograph the inside of your cistern before you start. You will have a reference image showing chain length, arm position, and the mounting nut orientation when you reassemble everything.
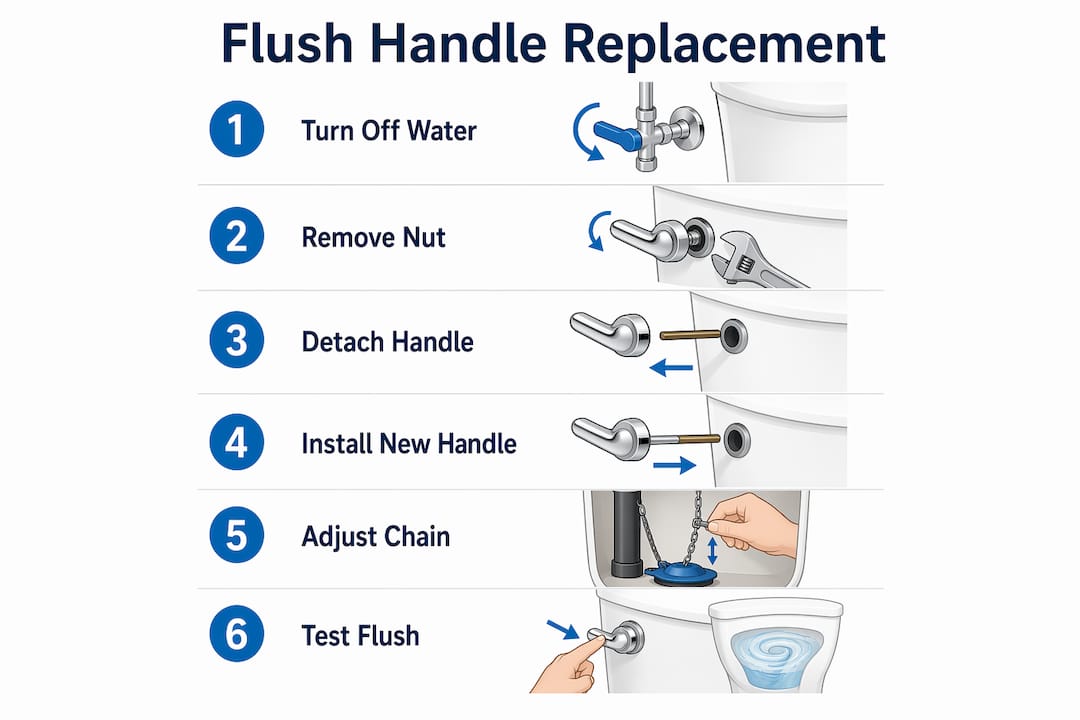
Shut off the water supply valve before touching anything inside the tank. The valve sits on the pipe behind or beneath the toilet. Turn it clockwise until it stops, then flush the toilet to empty the cistern. A dry tank is a clean, safe workspace. For a detailed walkthrough of safely shutting off water supply before any toilet repair, the Your-local-plumber guide on draining a toilet covers the process thoroughly.
How to remove the old toilet flush handle
Removing the old handle correctly prevents the most common DIY mistake: cracking the porcelain cistern by forcing the nut in the wrong direction.
- Turn off the water supply valve by rotating it clockwise until fully closed.
- Flush the toilet to empty the cistern completely. Any remaining water drains away harmlessly.
- Lift the cistern lid carefully and set it flat on a folded towel. Porcelain lids are heavy and chip easily on hard floors.
- Locate the mounting nut on the inside of the cistern wall, directly behind the handle arm. It is usually plastic or metal.
- Unhook the lift chain from the handle arm. Do not yank it. Gently slide the clip or loop off the arm to avoid stretching or kinking the chain.
- Loosen the mounting nut. This is where most people go wrong.
The mounting nut on a toilet flush handle is often reverse-threaded, meaning you turn it clockwise to loosen it, not anticlockwise. This is the opposite of almost every other nut you will encounter. Forcing it anticlockwise can crack the cistern.
- Slide the old handle arm out through the hole in the cistern wall. Pull it straight and level to avoid scraping the porcelain.
Pro Tip: If the nut will not budge, do not force it with a long-handled wrench. Soak it with a small amount of white vinegar for 10 minutes to dissolve mineral deposits, then try again with gentle, controlled pressure.
Mineral buildup around the mounting hole is common in hard water areas across the UK, particularly in London, the South East, and the Midlands. A stiff nut is almost always mineral scale, not a seized thread.
How to install the new toilet flush handle correctly
Installation is the reverse of removal, but with a few adjustments that determine whether the flush works properly long term.
- Slide the new handle arm through the cistern hole from outside to inside. The arm should point downward and slightly toward the flapper valve at the bottom of the tank.
- Thread the mounting nut onto the arm by hand. Remember: tighten it anticlockwise because of the reverse thread.
- Snug the nut firmly with your adjustable wrench or pliers. Apply firm, controlled pressure. Over-tightening the nut can crack the porcelain cistern, which turns a £10 repair into a costly replacement job.
- Reconnect the lift chain to the handle arm. Leave approximately 1.27 cm (half an inch) of slack in the chain. Too little slack and the flapper will not seal fully, causing a constant trickle. Too much slack and the flapper will not lift far enough for a complete flush.
- Apply a small amount of 100% silicone grease to the pivot point where the arm meets the mounting bushing. This prevents the handle from sticking and extends the life of the mechanism considerably.
- Test the flush with the lid off. Press the handle and watch the chain lift the flapper cleanly. The flapper should rise fully, hold open for a second or two, then drop back and seal.
| Symptom | Likely cause | Adjustment |
|---|---|---|
| Handle sticks down | Chain too short or tangled | Add one link of slack |
| Incomplete flush | Chain too long | Remove one link of slack |
| Handle returns slowly | Pivot needs lubrication | Apply silicone grease |
| Constant running water | Flapper not sealing | Check chain slack and flapper condition |
Pro Tip: Test flush function thoroughly before replacing the cistern lid. Fitting the lid and then discovering a problem means lifting it off again, which risks chipping the porcelain.
Once the flush operates smoothly, replace the cistern lid, turn the water supply valve back on anticlockwise, and allow the cistern to refill. Flush once more with the lid on to confirm everything works under normal conditions.
Common problems when fixing or replacing a toilet flush handle
Even a straightforward repair throws up surprises. Knowing what to look for saves time and avoids a second trip to the hardware shop.
The handle feels spongy or sticks after installation. A sticky handle is almost always caused by mineral buildup on the pivot or insufficient lubrication. Silicone grease on the pivot point restores smooth action. Avoid oil-based lubricants such as WD-40 inside a cistern. They degrade rubber components and make the problem worse within weeks.
The toilet runs constantly after fitting the new handle. Before assuming the handle is faulty, check the flapper. Chemical toilet tablets degrade rubber flappers over time, causing them to warp and fail to seal. Many homeowners mistake flapper issues for handle failures, replace the handle, and find the running water continues. If adjusting the chain slack does not stop the running, press down on the flapper by hand. If the running stops immediately, the flapper needs replacing, not the handle.
The new handle does not fit the cistern hole. This happens when the replacement part does not match the original. Bring the old handle to the shop, or note the toilet manufacturer and model number printed inside the cistern lid. Fluidmaster and Thomas Dudley both list compatible models on their packaging.
The lift chain is kinked or broken. A new lift chain costs under £2 from any hardware shop. Replace a damaged chain rather than trying to straighten it. A kinked chain catches on itself and causes incomplete flushes even when everything else is correctly fitted.
Pro Tip: A faulty flush handle left unrepaired wastes water continuously and puts extra strain on the fill valve and flapper. A £10 part replaced today prevents a much larger repair bill later.
For a broader understanding of toilet components and how they interact, the Your-local-plumber toilet installation guide explains the full flush mechanism in plain language.
Key takeaways
Replacing a toilet flush handle takes under 30 minutes, costs under £15, and requires only an adjustable wrench, the correct replacement part, and attention to chain slack and thread direction.
| Point | Details |
|---|---|
| Reverse-thread nut | Turn the mounting nut clockwise to loosen it, anticlockwise to tighten it. |
| Chain slack matters | Leave approximately 1.27 cm of slack for a complete flush and a proper seal. |
| Match the part first | Take the old handle to the shop to confirm the replacement fits your cistern. |
| Silicone grease prevents sticking | Apply 100% silicone grease to the pivot point during installation and annually after. |
| Check the flapper too | If the toilet still runs after fitting a new handle, the flapper may need replacing. |
What I have learnt from years of toilet handle repairs
The reverse-thread nut catches almost everyone the first time. I have seen homeowners crack perfectly good cisterns by forcing the nut anticlockwise with a long wrench, convinced it was simply stuck. The moment you understand that clockwise loosens it, the whole job becomes calm and controlled. That single piece of knowledge is worth more than any tool.
The second mistake I see constantly is skipping the chain slack adjustment. People fit the handle, give it one test flush, hear the water run, and assume the job is done. They replace the lid and walk away. Two days later they notice the toilet is running quietly but constantly. Adjusting chain slack and checking lever motion takes 90 seconds and prevents that outcome entirely.
My honest advice on part matching: do not order online based on a description alone. Cistern mounting holes vary in diameter, arm lengths differ between manufacturers, and what looks identical in a photograph is often a few millimetres off in reality. Take the old handle with you. Fluidmaster and Thomas Dudley parts are widely stocked in Screwfix, B&Q, and most independent plumbers' merchants across the UK.
Finally, treat the silicone grease step as non-negotiable rather than optional. A dry pivot wears faster, sticks in cold weather, and eventually snaps the arm at the mounting point. A small tube of silicone grease costs less than £5 and lasts years. Apply a thin smear during installation and once a year after that. Your handle will outlast the toilet itself.
— Michael
Need a hand with your toilet repair?
Sometimes a repair reveals a bigger problem underneath. A cracked cistern, a failed fill valve, or a flapper that has deteriorated beyond a simple swap can turn a quick fix into a longer job.

Your-local-plumber provides fast, reliable toilet repairs across the UK, carried out by experienced engineers who carry common parts on every visit. Whether you need a handle swap, a full flush mechanism replacement, or a new toilet fitted, the team handles it with transparent pricing and no call-out surprises. Browse the plumbing work gallery to see the standard of repairs and installations completed for homeowners just like you. If the job feels beyond a DIY fix, get in touch and a local engineer will be with you promptly.
FAQ
How long does it take to replace a toilet flush handle?
Most homeowners complete the repair in 15–30 minutes. Having the correct replacement part ready before you start is the biggest time-saver.
Why does my new toilet handle stick after fitting?
A sticky handle is usually caused by a dry pivot point. Apply a small amount of 100% silicone grease to the pivot where the arm meets the cistern bushing, and the handle should move freely.
Which way do I turn the mounting nut to remove it?
The mounting nut is reverse-threaded on most toilets. Turn it clockwise to loosen it. Turning it anticlockwise, as you would with a standard nut, risks cracking the cistern.
How much chain slack should I leave on the flush handle?
Leave approximately 1.27 cm (half an inch) of slack in the lift chain. Too little slack prevents the flapper from sealing; too much slack means the flapper will not lift fully during a flush.
When should I replace the flapper instead of the handle?
Replace the flapper if the toilet continues to run after fitting a new handle and adjusting the chain. Press down on the flapper by hand whilst the toilet is running. If the running stops, the flapper is the problem, not the handle.