TL;DR:
- Removing a toilet is a manageable DIY task that most homeowners can complete in 30 to 60 minutes with proper preparation. Gathering essential tools, turning off water, draining, and carefully lifting prevents damage and mess, while understanding when replacement is necessary improves long-term performance. Skilled assistance is recommended for significant damage or upgrades, empowering homeowners through knowledge and confidence in plumbing maintenance.
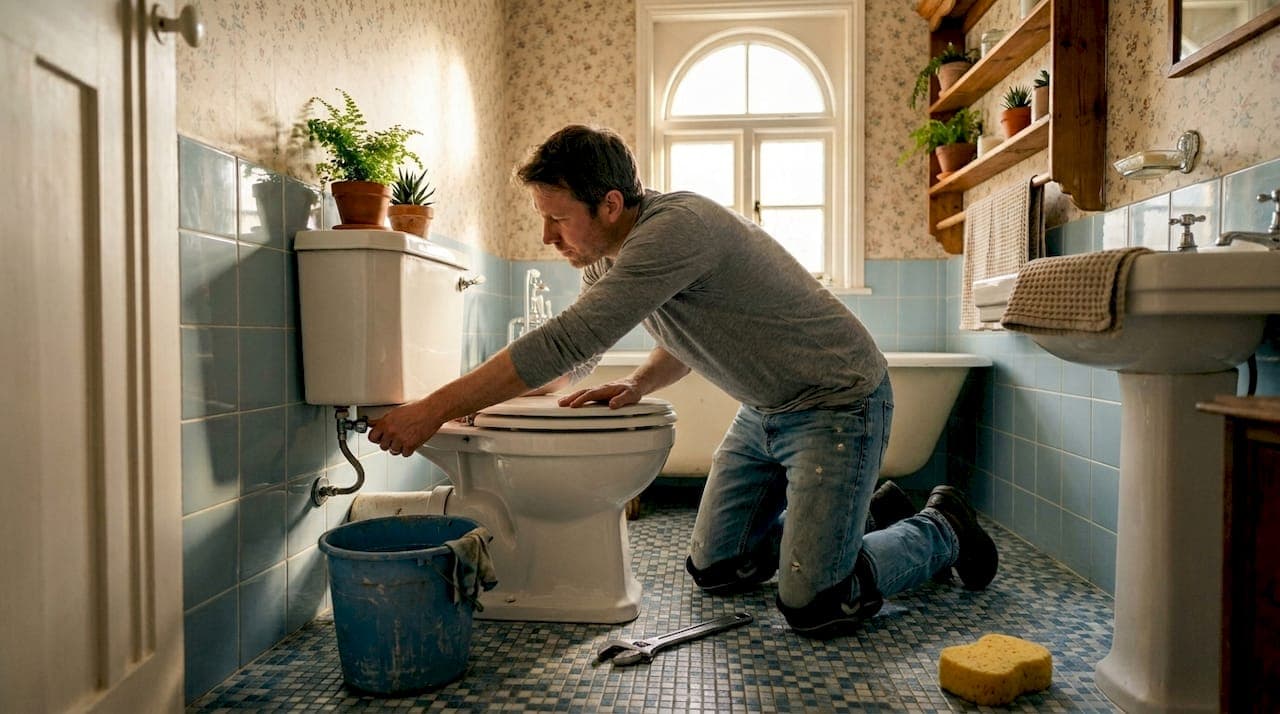
Whether your toilet is leaking at the base, needs a full replacement, or you are relaying bathroom tiles, pulling toilet free from its fixings is a task that feels far more daunting than it actually is. With the right preparation, most homeowners can complete this in 30 to 60 minutes and save themselves a significant call-out fee. This guide walks you through every stage of the process, from gathering your tools to preparing the site for reinstallation, so you can approach the job with confidence rather than hesitation.
Table of Contents
- Tools and preparation for pulling your toilet
- Step-by-step process to pull your toilet safely
- Common challenges and expert tips for toilet removal
- Understanding when to replace your toilet after removal
- Post-removal steps: preparing for reinstall or repair
- Why pulling your toilet yourself empowers you as a homeowner
- Trusted local plumbing services for toilets in Reading and nearby
- Frequently asked questions
Key Takeaways
| Point | Details |
|---|---|
| Essential tools | Gather an adjustable wrench, putty knife, sponge, bucket, and utility knife before starting. |
| Safety first | Always turn off the water and drain the toilet completely to prevent leaks and floods. |
| Lift carefully | To avoid injury and damage, use correct lifting techniques or enlist help due to the toilet's weight. |
| Replace wax ring | Old wax rings must be discarded and replaced with new ones to ensure a proper seal. |
| Know when to replace | Old or inefficient toilets should be replaced to save water and avoid frequent repairs. |
Tools and preparation for pulling your toilet
Having understood why removing your toilet may be necessary, the next step is to gather the right tools and prepare correctly. Skipping this stage is where most DIY jobs go wrong. You do not want to be hunting for a bucket while water is spreading across your bathroom floor.
What you will need
Gather these tools before you start, not halfway through:
- Adjustable wrench (for supply line nuts and floor bolts)
- Putty knife (for scraping old wax and caulk)
- Utility knife (for cutting through any sealant around the base)
- Large bucket and sponge (for bailing out remaining water)
- Old towels or plastic sheeting (to protect the floor and absorb spills)
- Rubber gloves and safety glasses (non-negotiable)
- Bag ties or an old rag (to plug the open drain flange once the toilet is out)
Pro Tip: A pair of knee pads makes this job considerably more comfortable. You will spend a lot of time crouching near the base of the toilet, and a hard tile floor is unforgiving.
Preparation steps
| Step | Action | Why it matters |
|---|---|---|
| 1 | Locate and shut off the water supply valve | Prevents flooding during disconnection |
| 2 | Flush the toilet and hold handle down | Clears the cistern of standing water |
| 3 | Bail remaining tank and bowl water with sponge and bucket | Reduces weight and mess when lifting |
| 4 | Lay old towels around the base | Catches residual water and protects flooring |
| 5 | Ensure good ventilation | Reduces exposure to odours from the drain |
If you plan to reinstall the same toilet or fit a new one, it is worth reviewing a toilet installation guide beforehand so you understand exactly what you are working towards. Knowing the end goal helps you protect the right components during removal.
Step-by-step process to pull your toilet safely
With your tools ready, let us walk through each step to remove the toilet safely and efficiently.
These essential steps form the backbone of any toilet removal: closing the water valve, flushing and emptying, disconnecting supply lines, removing bolts, cutting caulk, and carefully lifting.
The removal process
- Turn off the water supply valve. It is usually located on the wall directly behind or beside the toilet. Turn it clockwise until it stops.
- Flush and hold. Hold the handle down to clear as much water from the cistern as possible.
- Bail the bowl and cistern. Use your sponge and bucket to remove any standing water. A wet toilet is significantly heavier and messier to move.
- Disconnect the water supply line. Use your adjustable wrench to unscrew the nut connecting the supply hose to the bottom of the cistern. Have a small towel ready for the drips.
- Remove the cistern bolts. On close-coupled toilets, the cistern is bolted to the pan. Unscrew these bolts so you can lift the cistern separately if needed. This reduces the overall weight considerably.
- Expose and remove the floor bolts. Prise off the plastic caps at the base of the toilet. Unscrew the nuts from the floor bolts using your wrench.
- Cut the caulk seal. Run your utility knife along the base of the toilet where it meets the floor. This breaks the bond and makes lifting far easier without risking cracks to the pan.
- Lift the toilet. Bend your knees, grip the toilet firmly on both sides, and lift straight up. Rock it gently from side to side if it feels stuck.
- Set it down safely. Place it on old cardboard or plastic sheeting to avoid floor damage.
Pro Tip: If the toilet pan and cistern are one heavy unit, ask a second person to help. A combined toilet can weigh upwards of 25 kg, and lifting it awkwardly risks both injury and damage to your flooring or the toilet itself.
What to watch for during lifting
- Residual water will spill from the trap as you tilt the toilet. Keep towels close.
- Corroded floor bolts may snap rather than unscrew. If this happens, use a hacksaw to cut through them just above the flange.
- Tile cracking is a real risk if the toilet has been caulked too heavily. Take your time with the utility knife.
For a broader look at plumbing tasks you can safely handle yourself, the DIY plumbing guide for Reading homes is worth bookmarking alongside this article.
Common challenges and expert tips for toilet removal
Once you know the basic steps, it is important to be aware of common pitfalls and expert advice to ensure a smooth removal process.
Problems you are likely to encounter
- Sewer odours. The moment the toilet comes up, you expose the drain flange. Always plug the open flange immediately to stop sewer gases and insects from entering your home. An old rag or dedicated drain plug both work well.
- Hidden debris and damage. Removing a toilet often reveals unexpected issues in the drain, including cracks, built-up debris, or a corroded flange. This is not unusual. Treat it as useful information rather than a setback.
- Stuck wax ring. Old wax bonds hard over time. A putty knife and a little patience will remove it, but work carefully to avoid gouging the flange.
- Heavy toilets with no obvious grip points. Toilet pans are not designed to be carried. Hold near the base rather than the seat or rim, which can crack under load.
"One of the most common mistakes homeowners make is assuming the drain can be left open while they head to the hardware shop. Even a 20-minute gap is long enough for unpleasant odours to spread through the house."
Pro Tip: Before you lift the toilet, take a photo of the floor bolts, flange, and supply connections. If you encounter an issue later, you will have a clear reference point rather than relying on memory.
Your plumbing maintenance checklist can help you keep track of what you inspected and what needs attention before reinstalling.

If the flange damage is significant or the toilet extraction process has revealed signs of subfloor rot, this moves beyond a straightforward DIY job. In that case, professional toilet upgrade assistance is the sensible next step rather than pushing ahead.
Understanding when to replace your toilet after removal
After removing your toilet, understanding when to replace it can save water and future headaches.
Not every pulled toilet deserves to go back in. Sometimes removal confirms what you already suspected: the toilet has had its day.
Signs replacement makes more sense than repair
- Visible cracks in the pan or cistern, even hairline ones
- Persistent leaks that recur despite repeated fixes
- The toilet rocks on the floor even with tightened bolts (indicating a failed flange or pan)
- Frequent blockages caused by a low-efficiency flush
- The toilet is over 25 years old
Older toilets consume significantly more water per flush than modern low-flow models, making replacement after removal a genuinely worthwhile upgrade rather than just an expense.
Old vs modern toilet water usage
| Toilet type | Approximate litres per flush | Annual water cost (estimate) |
|---|---|---|
| Pre-1990 model | 13 litres | High |
| Standard 1990s model | 9 litres | Moderate |
| Modern dual-flush (full) | 6 litres | Lower |
| Modern dual-flush (half) | 3 litres | Lowest |
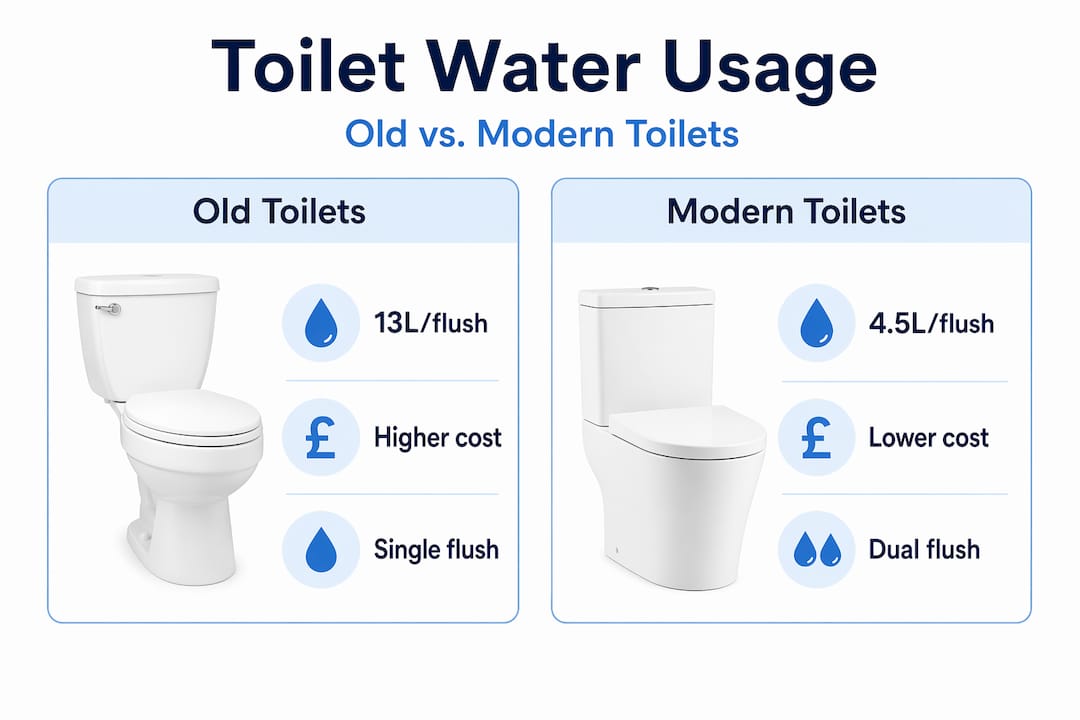
Switching from an old single-flush model to a modern dual-flush toilet can reduce your bathroom water use by a third or more. Over a few years, that saving offsets much of the replacement cost.
For homeowners in Reading weighing up whether to reinstall or upgrade, the toilet replacement guidance covers what to look for when inspecting your flange and deciding on the right next step.
Post-removal steps: preparing for reinstall or repair
With the toilet out, the next essential phase is preparing the site properly for reinstalling or repairing your fixture.
This stage is where many DIY jobs fall short. The toilet goes back down, and within weeks there is a leak. Nine times out of ten, the cause is a poorly prepared flange or a reused wax ring.
Preparing the site correctly
- Remove all wax residue. Use your putty knife to scrape both the flange and the toilet horn (the outlet on the underside of the pan) completely clean. Old wax is pliable and lifts away with steady pressure.
- Inspect the flange. Look carefully for cracks, chips, or corrosion. A damaged flange will not hold the toilet securely and will allow leaks. Repair kits for cast iron and PVC flanges are available at most plumbing merchants in Reading.
- Check the floor around the flange. Press firmly on the surrounding floor. Any give or sponginess indicates moisture damage that needs addressing before you reinstall.
- Install a new wax ring. Wax rings cannot be reused and must be replaced every time. Position the new ring on the flange (not on the toilet horn) for easier alignment during reinstall.
- Seal the drain temporarily. If you are not reinstalling immediately, plug the drain with an old rag or rubber cap to block odours.
Pro Tip: Buy your wax ring and any new floor bolts before you start the job, not after. It sounds obvious, but ending up with an open drain and no replacement parts means leaving the bathroom out of action until the shops open.
For full guidance on fitting the toilet back in, the toilet installation guide covers every stage of the process.
Why pulling your toilet yourself empowers you as a homeowner
Here is an angle most guides skip entirely: the real value of learning this skill is not just saving money on a single call-out. It is what it teaches you about your own home.
Most homeowners interact with their plumbing only when something goes wrong. That reactive approach means problems are often bigger by the time they are noticed. When you pull a toilet yourself, you see the flange condition, the state of the subfloor, and the quality of the existing pipework. You gain genuine knowledge about what is behind your fixtures rather than guessing.
That knowledge changes how you communicate with tradespeople. Instead of saying "the toilet leaks somewhere," you can say "I spotted a crack in the flange when I pulled it." That one sentence saves diagnostic time and earns you a different kind of respect from any plumber you work with. It also makes it much harder to be overcharged for work you cannot verify.
There is also a confidence transfer that happens here. Once you have disconnected supply lines and lifted a toilet without incident, fixing a leaking isolation valve or replacing a flush mechanism feels far less intimidating. The skills compound.
That said, knowing your limits is part of the same confidence. If you lift the toilet and find a cracked or sunken flange, or signs of water damage to the subfloor, stop. These are not problems that wax rings and goodwill can fix. Recognising when to call a professional is not a failure. It is the sign of a homeowner who understands the difference between what is manageable and what will cost far more if handled incorrectly.
Pro Tip: Keep a simple log of any home maintenance work you carry out, including dates and what you found. When a plumber visits, that record is invaluable context and saves everyone time.
Trusted local plumbing services for toilets in Reading and nearby
While pulling your toilet yourself is genuinely empowering, sometimes the job uncovers more than you bargained for, and that is precisely when a professional makes the difference.

At Your Local Plumber, we cover Reading and the surrounding areas with fast, reliable support for toilet repairs, replacements, and plumbing emergencies. Whether you have discovered a cracked flange mid-removal, need a full toilet upgrade fitted correctly first time, or simply want a professional to handle the entire extraction process from start to finish, our experienced engineers are available when you need them. We offer transparent pricing with no hidden costs, so you always know what you are paying before any work begins. Do not let a toilet issue escalate into a more costly problem.
Frequently asked questions
How long does it usually take to pull a toilet?
For experienced homeowners with the right tools, pulling a toilet takes between 30 and 60 minutes from start to finish.
Do I need special tools to remove a toilet?
No specialist equipment is required. Basic tools like an adjustable wrench, putty knife, utility knife, sponge, and bucket are sufficient for a safe removal.
Can I reuse the wax ring when reinstalling the toilet?
No. Wax rings must be replaced every time the toilet is removed, regardless of how intact the old one looks. Reusing it will result in leaks.
What safety measures should I take when pulling my toilet?
Turn off the water supply, drain the toilet fully, protect your floor, lift using proper technique with knees bent, and plug the open flange immediately after removal to block sewer gases.
How do I know if I should replace my old toilet after pulling it?
Consider replacement if your toilet is over 25 years old, uses excessive water per flush, has recurring leaks, visible cracks, or requires frequent repairs.