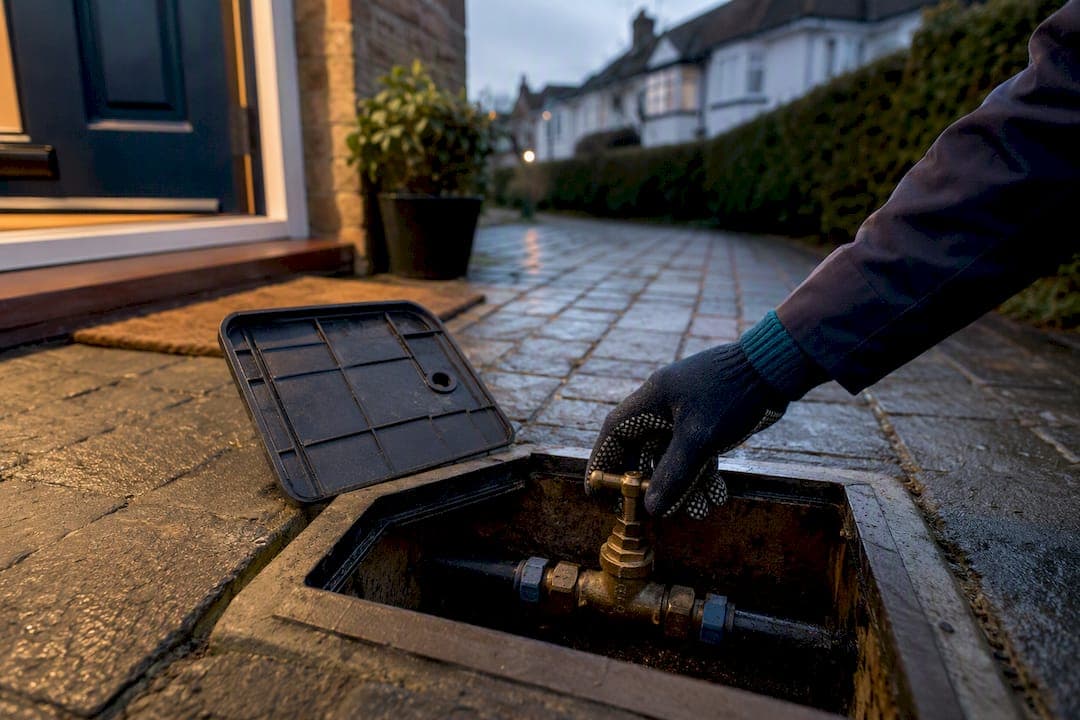
A gentle nip of the compression nut or a fresh wrap of packing round the spindle sorts most leaking stopcocks. If the spindle won't turn, the body is cracked, or the valve won't shut off completely, stop and call a plumber rather than forcing it. Before touching anything, find your main stopcock and isolate the water supply.
TL;DR:
- Tightening the compression nut can fix most leaks, but over-tightening risks cracking the fitting or damaging lead pipes, requiring professional help.
- Replacing a worn gland nut around the spindle involves careful disassembly, new packing, and testing; persistent corrosion or seized parts demand a plumber’s intervention.
- Faulty stopcocks that do not shut off water or are cracked should be replaced promptly, with costs ranging from £80 to £250 depending on complexity and accessibility.
- Homeowners should test their stopcocks twice a year to prevent seizing, especially after long absences or plumbing work, avoiding emergency failures.
- Responsibility for repairs is split: homeowners fix internal stopcocks and pipes within the property, while water companies own the main supply and boundary valves.
Table of Contents
- Where is my stopcock, and whose job is it to fix?
- How do you fix a leaking stopcock by tightening it?
- How do you repack a leaking gland nut?
- What if the stopcock won't shut off, or needs replacing?
- How often should you test your stopcock?
- A publisher's note on getting this right
- Why most homeowners overthink a simple stopcock fix
- Get a plumber to sort your stopcock for good
- Sources
Where is my stopcock, and whose job is it to fix?
Most UK homes have an internal stopcock under the kitchen sink, tucked in an under stairs cupboard, or mounted on the wall of a utility room. Some properties also have an external stopcock, usually housed in a small boundary box set into the pavement or front garden, often near the property line.
Don't confuse either of these with the local isolation valves fitted under a basin or behind a toilet. Those only cut water to a single fixture, not the whole house.
Responsibility splits cleanly at the boundary. You're on the hook for the internal stopcock and the supply pipe running from the boundary into your home, while your water company owns the water main and the communication pipe up to that boundary, according to Ofwat.
- Internal stopcock and supply pipe inside the property: your responsibility.
- Water main and communication pipe to the boundary: the water company's responsibility.
- External boundary box valve: often shared or company owned, depending on your supplier's rules.
How do you fix a leaking stopcock by tightening it?
A weep around the compression joint, where the valve meets the pipe, is usually the easiest fix on the list. You'll need two adjustable spanners, a roll of PTFE tape, some rags, a shallow tray to catch drips, and a torch if you're working under a sink in poor light.
- Turn off the water and open a downstairs tap to relieve pressure before you start.
- Hold the valve body steady with one spanner so it doesn't twist on the pipe.
- Use the second spanner to nip the compression nut round a quarter turn, no more.
- Dry the joint, run water briefly, and check for weeping.
- If it still leaks, undo the nut fully, wrap fresh PTFE tape around the thread, and refit.
Pro Tip: Never crank a compression nut hard in one go. Nip it a little, test, then nip again. Over torquing is how a small weep turns into a cracked fitting and a bigger job.
Stop straight away if the nut spins freely without tightening, if the fitting is visibly corroded, or if you spot dull grey lead pipework nearby. Lead joints are soft and easily damaged, and that's a job for a qualified plumber, not a spanner and a Saturday afternoon.
How do you repack a leaking gland nut?
If water is creeping up around the spindle itself, rather than the pipe joint below it, the gland packing has worn out. This is the seal that lets the spindle turn without leaking, and it's a slightly more involved fix than a simple nip, but still well within reach for a confident homeowner.
- Isolate and drain. Shut off the water at the main stopcock and run a tap to clear pressure from the pipework.
- Remove the headgear. Undo the gland nut carefully with an adjustable spanner, keeping small washers and screws in a container so nothing goes missing.
- Replace the packing. Pack fresh PTFE tape or proper gland packing material around the spindle, then reassemble the headgear snugly.
- Test slowly. Turn the water back on gradually, check for leaks, and inspect again after 24 hours once the packing has settled.
WaterSafe confirms this kind of repacking is a reasonable DIY job, provided nothing is seized or corroded. That's the operative caveat. If the headgear won't budge, the spindle looks rounded from a previous repair, or the valve body itself is corroded or connects to lead pipe, put the spanner down and book a professional instead.
What if the stopcock won't shut off, or needs replacing?
Some faults go beyond a tighten or a repack. A valve that turns freely but doesn't actually stop the flow, a cracked body, a rounded or snapped spindle, or heavy corrosion around the fitting all point to one outcome: replacement.
You've got three practical routes for the swap:
- Fit a like for like internal stopcock in the same spot, which is usually the cheapest option.
- Relocate the new valve somewhere more accessible, useful if the current one is jammed behind pipework or units.
- Add local isolation valves near individual fixtures, so future repairs don't need a whole house shutoff.
Typical replacement costs for an internal stopcock in the UK sit between roughly £80 and £250, with the lower end covering a straightforward swap and the upper end reflecting tricky access, lead pipe adaptors, or an emergency call out. If the plumber can't isolate your supply through the existing internal stopcock at all, they may need to drain the whole system first, which adds labour time and pushes the bill higher.
Can't isolate the water yourself and there's no working internal stopcock? Contact your water company about the external stop tap, or call a plumber who can drain the system safely rather than leaving a leak running.
How often should you test your stopcock?
A stopcock that's never turned has a habit of seizing exactly when you need it most, usually mid flood, at 11pm, with water pooling under the sink.
- Turn it fully off and back on twice a year, even when nothing's wrong.
- Test it again after any long period the property's been empty, and after major plumbing work elsewhere in the house.
- Keep the surrounding cupboard clear so you can actually reach it in a hurry.
- Skip WD-40 and other lubricants on brass fittings. They don't fix seized valves and can attract grit into the mechanism.
Pro Tip: Turning your stopcock is a two second job that takes no skill at all, until the day it won't budge. Make it a habit alongside changing your clocks in spring and autumn.
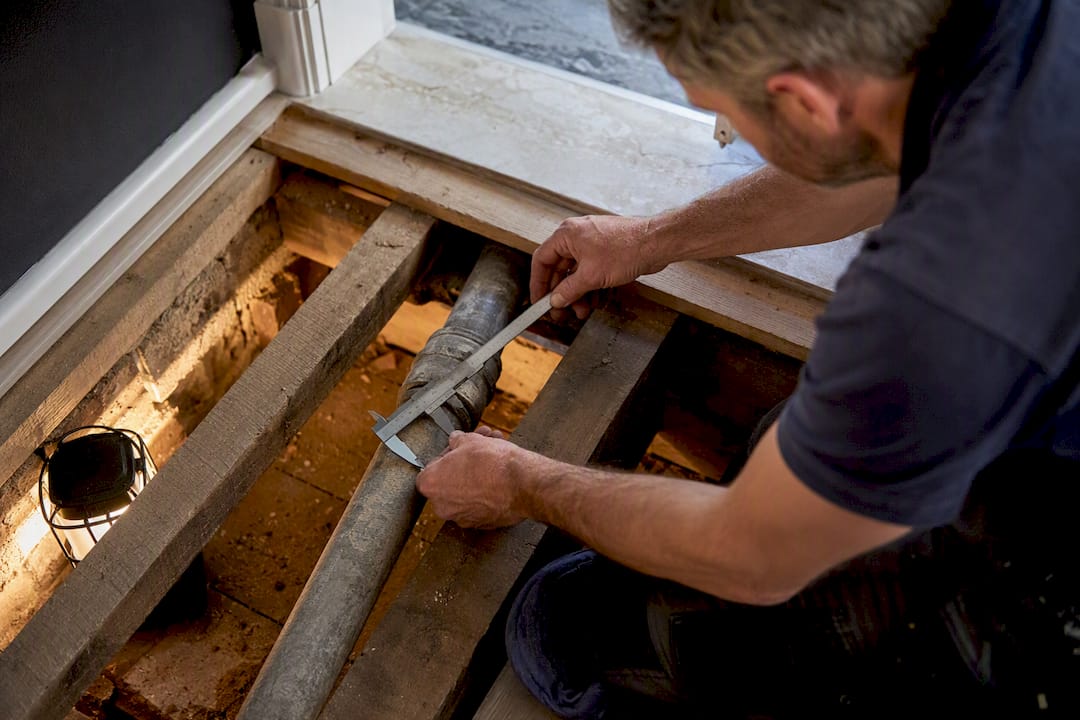
If you've got lead supply pipe, get a professional to measure and advise on adaptors before any replacement, since lead is soft, fragile, and easy to damage during a rushed fix. And if your stopcock has been stiff for more than one test cycle running, that's your cue to book a plumber before it seizes completely, rather than after.
A publisher's note on getting this right
Getting a leaking stopcock fixed properly is less about clever tools and more about knowing where your own competence ends. That's the line Your-Local-Plumber tries to help homeowners draw clearly, through practical guidance built around fast, dependable service for exactly these everyday plumbing jobs.
Our emergency shutoff guidance covers the steps above in more detail, and it's worth reading before you ever need it, not during a flood. For readers managing wider water system checks, Tendaro's guide to routine water system checks is a useful companion piece on building good habits.
Why most homeowners overthink a simple stopcock fix
People tend to treat a dripping stopcock like it's an electrical fault, something mysterious best left entirely to a specialist. It usually isn't. Most leaks at this point in the system come down to two mechanical causes: a compression joint that's loosened over years of thermal movement, or gland packing that's simply worn thin from a spindle turning back and forth. Neither needs a plumbing qualification to understand.
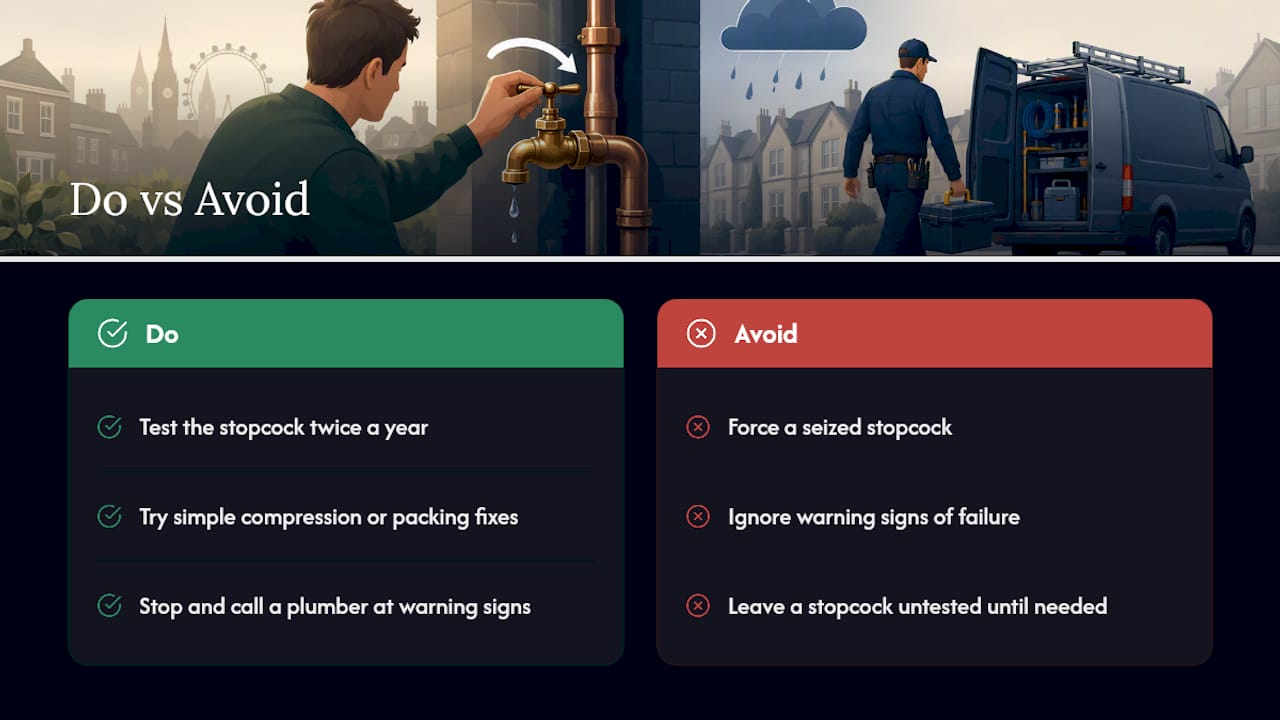
Where homeowners genuinely go wrong isn't attempting the fix. It's ignoring the warning signs that they've hit the edge of a DIY job. A spindle that grinds rather than turns smoothly, a nut that spins without gripping, corrosion that flakes when you touch it, these aren't obstacles to push through with a bigger spanner. They're the valve telling you it's past a simple repair, and forcing a seized stopcock is how a small annoyance becomes a burst pipe and an insurance claim.
The other blind spot is prevention. Nobody tests a stopcock that isn't leaking, right up until the one time they desperately need it to turn. Two minutes twice a year is cheap insurance against a scenario where you're stood over a flooding kitchen with a valve that won't move.
— Michael
Get a plumber to sort your stopcock for good
Your-local-plumber is the practical option when a stopcock has moved past a weekend fix. If the spindle's seized, the valve won't isolate the supply properly, or you've spotted lead pipework near the fitting, that's exactly the sort of job our engineers handle every week, without the guesswork of DIY on a part that controls your entire water supply.

We cover stopcock replacement, fitting local isolation valves so future repairs are simpler, lead pipe adaptor work, and 24/7 emergency isolation if a leak turns into a flood outside office hours. Pricing is fixed and explained upfront before any work starts, so you're not left guessing what a call out will cost once the van's on the drive. If your stopcock has failed a test, or you're staring at a leak that's gone beyond a quarter turn nip, book a plumber through Your-local-plumber and get it sorted properly.
Sources
For the responsibility split between homeowners and water companies, Ofwat's supply pipe guidance sets out the boundary rules clearly. WaterSafe covers safe testing and when to stop attempting a DIY fix. Checkatrade's cost guide backs up the replacement price ranges above, and United Utilities explains what to do if you can't isolate your own supply.
- Responsibility for pipes and pumping stations - Ofwat
- Internal stop tap leaking: what should I do? | WaterSafe
- How much does it cost to install a water shut-off valve? | Checkatrade (cost guide)