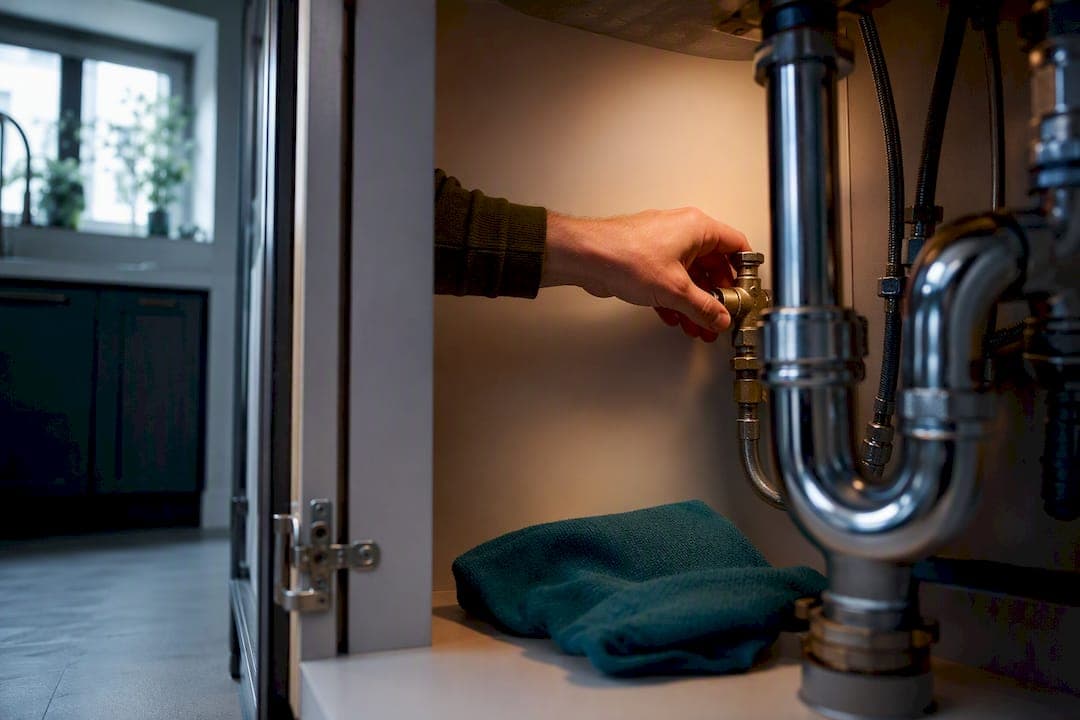
If water is escaping fast or you cannot turn the stopcock at all, don't waste time fighting it. Find the external stop tap if you have access to it, cut power to any affected sockets, and call an emergency plumber. If the leak is slow or non-existent and the valve is simply stiff, try a short, careful freeing routine, but stop the moment it resists. Either way, book a plumber to inspect it, because a stopcock that's seized once usually needs replacing, not just freeing.
TL;DR:
- Seized stopcocks often result from mineral scale buildup inside the valve, which responds better to patience and appropriate lubricant than brute force.
- External stop taps are responsibility of the water company only if they are part of the mains or communication pipe, while internal ones are homeowner's duty to maintain or replace.
- Regular annual testing of internal and external stopcocks is crucial for quick action during emergencies, especially in homes built before the 1970s with screw-down gate valves.
- For stubborn valves that don’t respond to gentle lubrication or pose a leak risk, replacing with a modern lever valve is often the more effective long-term solution.
- Call a professional immediately if water flow doesn’t slow, the valve shows visible damage, or water reaches electrics, as repairs typically involve replacement, not just freeing.
Table of Contents
- Emergency steps if your stopcock is seized
- How do you free a stopcock without damaging it?
- When should you stop DIY and call a plumber?
- How often should you test your stopcock to prevent seizure?
- Who fixes a seized stopcock: you or the water company?
- What Michael has learned from years of seized stopcock call-outs
- Why the standard advice on seized stopcocks misses the point
- Need a plumber for a stuck stopcock right now?
- Sources
Emergency steps if your stopcock is seized
The first ninety seconds matter more than anything else you do that day. Water damage compounds fast, and a stopcock hard to turn is often the only thing standing between you and a flooded kitchen.
Start by locating your isolation points. In most UK homes, the internal stop tap sits under the kitchen sink, though older properties sometimes hide it under the stairs or in a utility room. There's usually a second one outside, near the boundary of your property, often under a small cover close to the pavement or driveway.
If the internal valve won't budge, work through this order:
- Try the nearest isolation valve on the affected pipe first, if one exists, rather than the main stopcock.
- Head for the external stop tap and attempt to turn it a quarter turn anticlockwise.
- Switch off electrics at the consumer unit if water is anywhere near sockets, switches, or light fittings.
- Contain the water with towels, buckets, or a wet vac while you wait.
- Call an emergency plumber immediately if you cannot isolate the supply or the flow is heavy.
This becomes a genuine emergency the moment water reaches electrics, the flow won't slow, or every isolation point you try is also stuck. A step-by-step emergency shutoff routine is worth reading before you ever need it, not during.
Pro Tip: Photograph the water meter cupboard or stopcock cover location on your phone now. When you're on the phone to a plumber during a flood, you won't remember where anything is.
How do you free a stopcock without damaging it?
A stiff stopcock is nearly always down to mineral scale building up inside the brass mechanism rather than rust, according to plumbers surveyed by Which? Trusted Traders. That distinction matters for how you approach freeing it: scale responds to patience and lubricant, not brute force.
The safe sequence looks like this:
- Apply a penetrating lubricant designed for plumbing fittings, not a general-purpose spray, and leave it to soak for at least fifteen minutes.
- Nudge the handle a small amount left, then right, rather than trying to force a full turn straight away.
- Reapply lubricant and repeat in short bursts, stopping the second you feel real resistance rather than a slight stiffness.
- If the gland nut just below the handle looks loose or corroded, a very gentle slackening with the right size spanner can sometimes free movement, but wear gloves and stop if you're not confident.
What you should never do is reach for a pipe wrench, a length of pipe as a lever, or any kind of "cheater bar" to force extra torque. Plumbers report that forcing a seized valve is one of the most common ways a minor stiffness turns into a snapped spindle and a leak you can no longer control. Aggressive chemical descalers aren't worth the risk either, since they can degrade seals inside the valve.
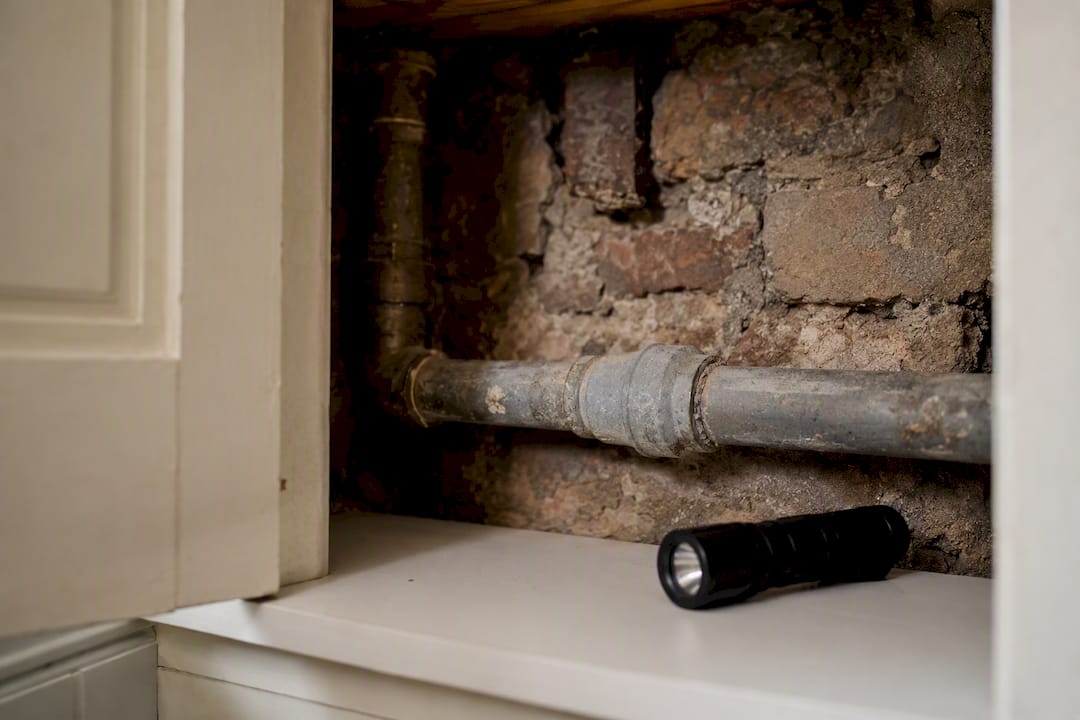
One more caution, particularly in homes built before the 1970s: if you suspect the supply pipe is lead, don't disturb it while attempting any of this. Disturbing lead pipework can temporarily raise lead levels in your water, and the Drinking Water Inspectorate advises flushing every tap for at least ten minutes after any work near suspected lead pipes, and contacting your water company for testing if you're unsure.
When should you stop DIY and call a plumber?
Some signs mean you should put the lubricant away and pick up the phone straight away:
- The flow won't stop or slow down no matter which valve you try.
- Water is pooling anywhere near sockets, extension leads, or a consumer unit.
- You hear or feel a crack, or the handle suddenly spins freely with no resistance, which usually means the spindle has sheared.
- You can see visible corrosion, splitting, or a hairline crack in the valve body itself.
Once a plumber arrives, the fix is rarely just "unsticking" the old valve. Most jobs involve isolating the supply at another point, then replacing the stopcock entirely, usually with a modern lever or ball valve that gives a clear visual indicator of open and closed. Where the surrounding pipework has also corroded, expect new compression fittings or a short run of replacement pipe alongside the valve swap.
Timescales vary with access. A straightforward internal swap is often a same-visit job. If the problem turns out to sit on the external stop tap or the communication pipe running to the boundary, that's a different conversation entirely, because you'll need to contact your water supplier rather than arrange it privately. Our guide to diagnosing a leaking stopcock covers the difference between a nip and a full replacement in more detail.
How often should you test your stopcock to prevent seizure?
Once a year, turn your stopcock fully off and back on again, and note the date somewhere you'll actually see it, a calendar reminder works better than memory. WaterSafe recommends this exact routine specifically because scale and debris build up fastest in valves that never move, and a stopcock left untouched for years is far more likely to seize when you actually need it.
- Test the internal stop tap every twelve months, turning it fully closed and back open.
- Check the external stop tap at the same time, if you have safe access to it.
- Fit additional local isolation valves under sinks, toilets, and at the boiler, so a single seized stopcock never leaves your whole house without water.
- Keep the area around each valve clear of stored boxes, cleaning products, or shoe racks.
Older, traditional stopcocks with a screw-down gate mechanism are the ones most prone to seizing. Swapping to a lever-style isolation valve during any bathroom or kitchen refit removes that risk almost entirely, and gives you an instant visual check of whether it's open or shut. Our breakdown of isolation valve types is worth a read before your next renovation.
Pro Tip: Write the stopcock's location on a card and stick it inside a kitchen cupboard door. If you're away and a tenant, house-sitter, or family member needs to shut off water, they won't be searching blind.
Who fixes a seized stopcock: you or the water company?
The boundary line is simple in principle, though it trips people up constantly. You're responsible for everything from your internal stopcock through to the supply pipe that reaches your property boundary, according to Ofwat and the Consumer Council for Water. Your water company takes over from the boundary back to the mains, including the communication pipe and, usually, the external stop tap sitting in the pavement or verge.
In practice, that means:
- Your water company will attend to a mains issue or a genuinely urgent external stop tap fault, but won't typically rush out for a stiff valve with no active leak.
- Yorkshire Water notes that external stop taps are often only renewed where there's a confirmed serious leak or a real risk to health, not simply because they're hard to turn.
- Anything inside your boundary, including a seized internal stopcock, is your call to arrange and pay for, usually via a plumber.
Identify your boundary (often the edge of your front garden or driveway) and contact your supplier only for genuine mains or communication pipe faults.
What Michael has learned from years of seized stopcock call-outs
Before a plumber even arrives, a few things speed the visit up considerably. Take a photo of the stopcock's exact location, note whether you've already tried lubricant or gentle movement, and check whether the external stop tap is reachable and marked.
In older properties, especially anything pre-dating the 1970s, replacement usually beats repair. Once a valve has scaled up enough to seize, freeing it buys you months, not years, before it happens again. A lever valve costs more upfront but removes the guesswork of "is it open or shut" during a future emergency, which is often the more expensive problem.
A qualified local plumber can offer 24/7 emergency attendance with pricing agreed before work starts across various locations.
Why the standard advice on seized stopcocks misses the point
Most guides treat a stiff stopcock as a puzzle to solve with the right spray and enough patience. That's not wrong, but it's incomplete. The real question isn't "how do I free this valve," it's "why has it never been tested, and what happens next time." A stopcock that's seized once has already told you something: it's been sitting untouched for years, scaling up quietly, waiting for the one moment you actually need it.
The annual test that WaterSafe recommends gets treated as optional advice, when it should be treated as basic home maintenance, the plumbing equivalent of testing a smoke alarm. Homeowners who skip it aren't being careless exactly, they just don't think about the stopcock until water is already on the floor.
My honest view: freeing a seized valve is often the wrong goal. Replacing it with a lever valve solves the actual problem, not the symptom, and it's rarely as costly as people assume once they've already paid for the emergency call-out anyway.
— Michael
Need a plumber for a stuck stopcock right now?
There's no shame in trying a bit of lubricant and a gentle wiggle first, but once you've hit real resistance or a valve that won't move at all, A qualified engineer can be dispatched quickly, with pricing agreed before any work is performed. Whether that's freeing a stiff valve, fitting a replacement lever isolation valve, or sorting a snapped spindle that's turned into an active leak, the job gets diagnosed and priced on the spot.

To speed up your visit, have the stopcock's location ready, know whether the external stop tap is accessible, and mention anything you've already tried. That alone can shave real time off a call-out. If you suspect older lead pipework nearby, flag it too, so the engineer can handle it correctly from the start.
Book an emergency visit or get a fixed-price quote for a stopcock replacement through Your-local-plumber today.
Sources
- Ofwat — Supply pipes and responsibilities
- WaterSafe — stop tap check advice
- Which? Trusted Traders — What to do if your stopcock or stop tap doesn’t work
- Drinking Water Inspectorate (DWI) — Lead in drinking water
- Yorkshire Water — whose pipe is it?