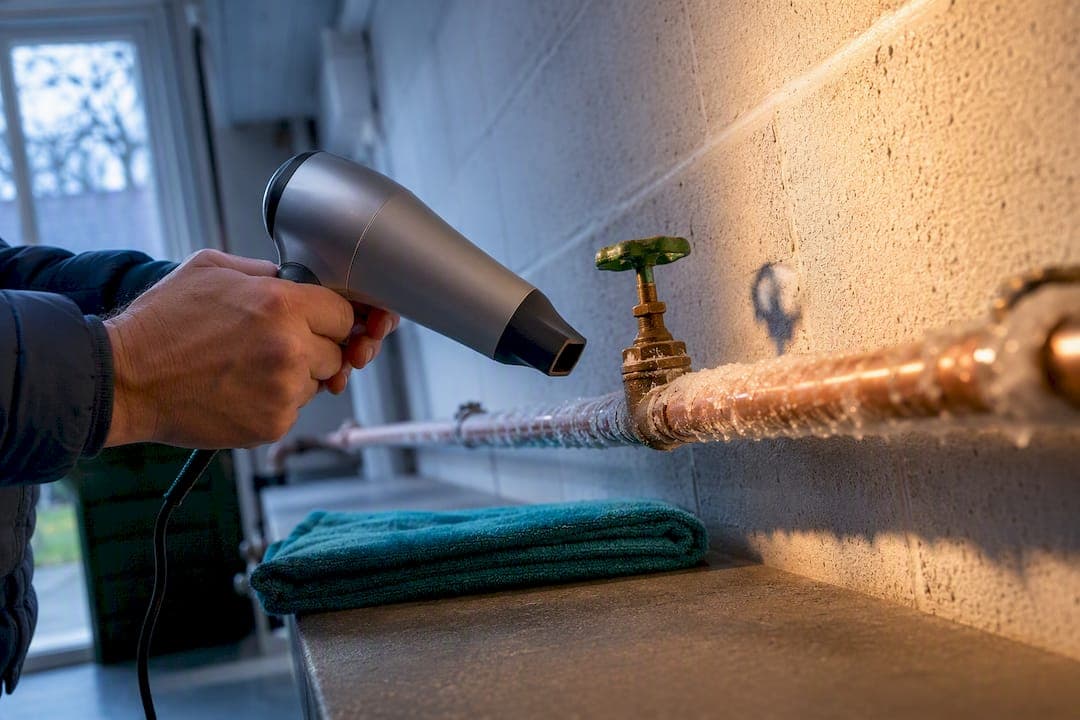
The moment you suspect a frozen pipe, turn off the internal stopcock, open the cold taps to drain the system, and never use a naked flame to thaw it. Warm it gradually instead, using a hairdryer, hot water bottles or warm towels. Keep towels and a bucket nearby, and know where your boiler and consumer unit are in case you need to cut the power.
TL;DR:
- Thaw frozen pipes gradually using towels soaked in warm water, a hairdryer on low or medium, or warm water poured slowly, avoiding open flames.
- Turn off the stopcock immediately, open cold taps, and switch off the boiler if water is near electrical outlets before attempting to thaw.
- If a pipe bursts, quickly shut the stopcock, drain remaining water, isolate electrics, and call a professional plumber to prevent further damage.
- Check for leaks after thawing by inspecting pipes with a dry cloth and gradually reopening the stopcock, shutting off again if leaks or cracks are found.
- Prevent future issues by insulating pipes, leaving heating on low during cold snaps, and scheduling routine checks in vulnerable areas before winter.
Table of Contents
- Locate and isolate: find the stopcock and prepare the property
- How to thaw frozen pipes step by step
- What to do if a pipe bursts while thawing
- How to check pipes for leaks after thawing
- How to prevent frozen pipes next winter
- When should you call an accredited plumber instead?
- Why most frozen pipe disasters are self-inflicted
- Book emergency help from Your-local-plumber
- Sources
Locate and isolate: find the stopcock and prepare the property
Before you touch a hairdryer or a kettle, find the stopcock. It's usually under the kitchen sink, though older houses sometimes hide it in an airing cupboard, garage or cellar. Turn it clockwise to shut it off, and that single action buys you time by stopping fresh water reaching a pipe that might already be splitting under pressure.
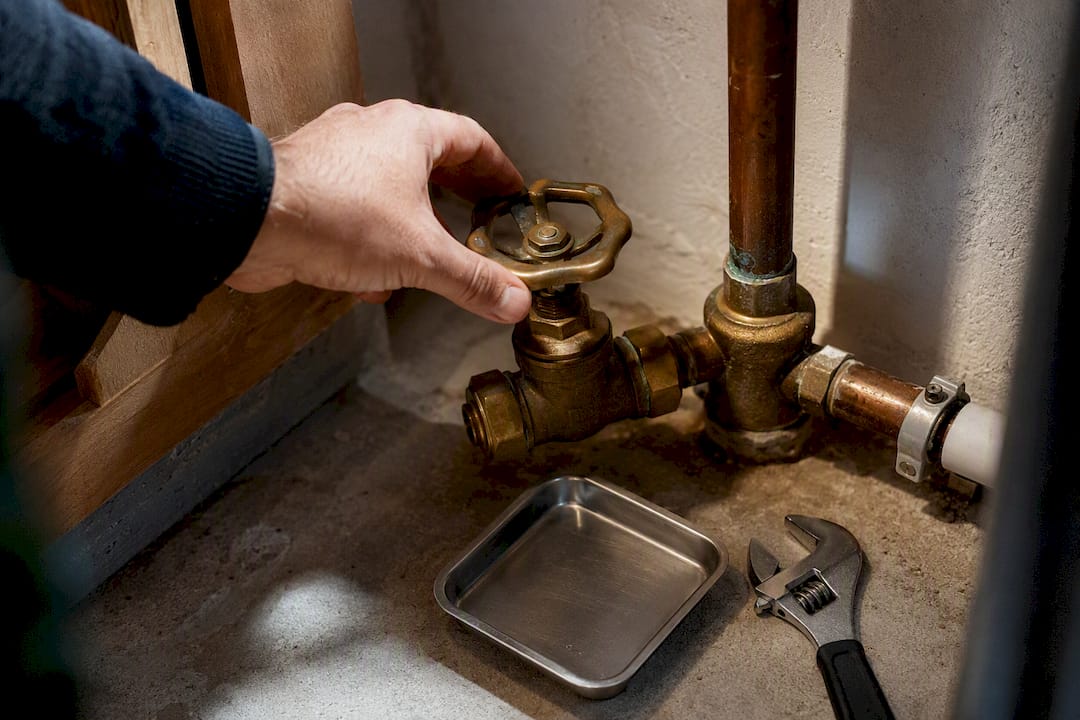
Once it's off, open the cold taps throughout the house. This releases pressure trapped in the pipework and gives any melting ice somewhere to go rather than building up behind a blockage. The Met Office advises opening cold taps and shutting the stopcock as the first move the moment you suspect a freeze. Leave hot taps alone for now if your system runs off a cylinder, since draining that separately can complicate things.
While the system settles, do a quick sweep of the property:
- Move anything valuable or electrical away from the suspect pipe run.
- Place towels and a bucket beneath the pipe in case ice has already cracked it.
- Switch off the boiler and, if water is anywhere near sockets or the fuse board, isolate the electrics at the consumer unit.
Stopcock locations are worth memorising before winter even arrives, not during a crisis, and that small bit of prevention saves crucial minutes when it actually happens.
How to thaw frozen pipes step by step
Once the water's off and taps are open, find the frozen section. It'll feel cold to the touch, sometimes with visible frost on the outside, and you'll get little or no flow from the nearest tap. Start warming from the tap end and work back towards the main supply. This lets melting ice escape forward rather than trapping meltwater between two blocks of ice further down the pipe.
- Wrap the pipe in towels soaked in warm (not boiling) water, or lay a hot water bottle against it.
- Run a hairdryer on a low or medium setting along the length of the frozen section, moving constantly rather than holding it in one spot.
- An electric heating pad wrapped around the pipe works well for longer stretches and needs less hands-on attention.
- If you're working outdoors or in a garage, a watering can of warm water poured slowly over the pipe can help, provided a bucket underneath catches the runoff.
- Keep checking the tap at the end of the run. A trickle turning into a steady flow means you're winning.
Never reach for a blowtorch, a heat gun, or any open flame. The Red Cross warns against naked flames when thawing pipes, and for good reason: sudden, uneven heat is exactly what cracks copper and splits joints that the cold has already weakened.
Patience matters more than most people expect. Wessex Water notes that thawing typically takes 30 minutes to two hours, depending on how severe the freeze is and how easily you can reach the pipe. Rushing it with high heat doesn't speed things up. It just raises the odds of a burst.
Pro Tip: If the frozen section runs inside a wall or ceiling, stop. Don't start chasing plaster or drilling access holes on a guess. Professionals use specialist thawing equipment that reaches concealed pipework without any demolition, and a wrong cut can turn a frozen pipe into a much bigger repair job.
What to do if a pipe bursts while thawing
A burst pipe changes the priority instantly: from thawing to damage control. Cut the stopcock straight away if you haven't already, and if water is pooling anywhere near sockets, switches or the fuse board, kill the electrics at the consumer unit before doing anything else.
With the supply isolated, work through the room methodically:
- Open every tap in the house to drain remaining water out of the system quickly.
- Collect drained water in buckets or the bath. It's still usable for flushing the toilet or basic cleaning.
- Lay towels around the leak and keep a bucket catching the drip while you wait for help.
- Photograph the damage before you start mopping up. Insurers want to see it as it happened, not after the cleanup.
Move anything valuable or electronic out of the affected area, then call an accredited plumber. A burst is not the moment for guesswork, and a fast, competent repair now is far cheaper than water damage left to spread overnight.
How to check pipes for leaks after thawing
Getting water flowing again feels like the job is done, but the real test comes next. Run a dry cloth along the length of the pipe that froze. Any dampness picked up means there's a leak, even a small one, that wasn't obvious just by looking. Check the walls and ceiling nearby too. Damp patches or discolouration often show up before you spot an actual drip.
Open the stopcock slowly rather than all at once. Watch each tap as pressure returns, listening for hissing or seeing drips that suggest a crack the ice was quietly masking. Wessex Water points out that some damage only becomes visible once water returns, which is exactly why this check matters more than people assume.
- Run a dry cloth along the pipe and check for moisture.
- Inspect nearby walls and ceilings for damp or staining.
- Open the stopcock gradually and watch pressure return tap by tap.
- If anything hisses, drips, or looks wrong, shut the water off again immediately.
If you find a leak, don't rely on tape or a temporary pipe clamp as a long-term fix. Turn the water off and get a plumber to look at it properly.
How to prevent frozen pipes next winter
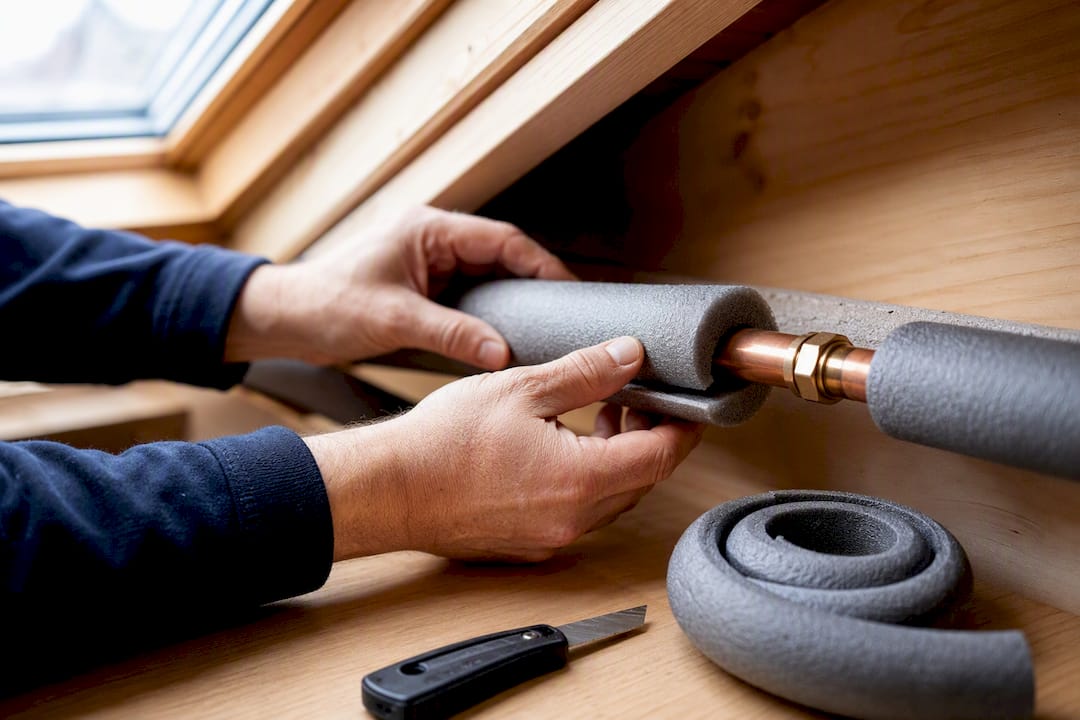
Prevention costs a lot less than a burst pipe, and most of it takes an afternoon. Foam lagging around exposed pipework in lofts, garages and under-sink cupboards is cheap and takes minutes per metre to fit. If your hot water cylinder doesn't already have a jacket, fit one. It cuts heat loss and gives that pipework a fighting chance during a hard frost.
During a cold snap, leave your heating on low rather than switching it off overnight, even in rooms you don't use much. Thames Water recommends keeping heating on low and letting a vulnerable tap run a slow trickle during freezing weather, since a moving trickle of water is far harder to freeze than standing water.
Beyond the quick fixes, build a couple of habits into your annual routine:
- Check loft and garage pipework each autumn, before the first proper frost.
- Consider professional insulation for pipe runs that freeze repeatedly. That's usually a sign of poor original lagging rather than bad luck.
- Fit a thermostat timer so heating never drops too low while you're away.
- Draught-proof doors and windows near vulnerable pipe runs. Good home winterisation around external walls reduces the cold air reaching pipework indoors.
Pro Tip: Pipes that run along an external wall or through an unheated loft freeze first and freeze hardest. If you've had a freeze there before, that's exactly where extra lagging pays for itself. For a fuller rundown of seasonal prep, see our winter plumbing tips for homeowners.
When should you call an accredited plumber instead?
Some situations aren't DIY territory, no matter how confident you feel with a hairdryer. Call a plumber if the frozen section is buried inside a wall or ceiling, if you genuinely can't find where the blockage is, if thawing hasn't restored flow after a couple of hours, or if you've spotted any cracking or leaking once water returns.
WaterSafe advises contacting an approved plumber from its accredited register when a straightforward home fix isn't cutting it. That accreditation matters because it means the plumber has been vetted against recognised competency standards, not just a name in a search result.
- WaterSafe registered plumbers carry specialist thawing tools and diagnostic kit that go well beyond a hairdryer and a hot water bottle.
- They can identify concealed freezes and hidden cracks without cutting into plaster on a guess.
- Before you call, know your stopcock location, have photos of the affected pipe ready, and switch off electrics if water is anywhere near sockets.
Why most frozen pipe disasters are self-inflicted
The pattern is almost always the same: someone reaches for a heat gun or leaves a fan heater running unattended against a pipe, and an hour later they've got a split joint and a soaked ceiling instead of a thawed tap. Patience is the entire skill here. Slow, steady warmth beats speed every time.
Where I'd push back on the usual advice is this: too many homeowners treat calling a plumber as a last resort, something to try only after DIY has failed. If the freeze is inside a wall, or you've already spotted damp creeping across a ceiling, calling early isn't giving up. It's the cheaper option. A concealed leak left running for a weekend costs far more than a call out fee ever would.
For more on limiting damage once water's already escaping, read our guide on the first ten minutes after a burst pipe.
— Michael
Book emergency help from Your-local-plumber
DIY thawing works well for an exposed pipe under a sink or in a garage where you can see and reach the freeze. It's a different story when the pipe is buried in a wall, you can't find the blockage, or it's already burst. That's when professional plumbers earn their keep: engineers who arrive with tools and diagnostic kit a hairdryer simply can't match, working to fixed pricing so you know the cost before anything's touched.

If your pipes have frozen solid, cracked, or you're just not confident going near the stopcock yourself, book an emergency call-out with Your-local-plumber and get an engineer out fast. For a fuller sense of what a call-out actually involves, our page on emergency plumbing for UK homeowners sets out what to expect from start to finish.
Sources
- Thawing frozen pipes | Wessex Water
- What to do if you have a frozen or burst pipe | Met Office
- What should I do if a pipe freezes? | WaterSafe
- Frozen or burst pipes | Thames Water
- Frozen pipes | British Red Cross