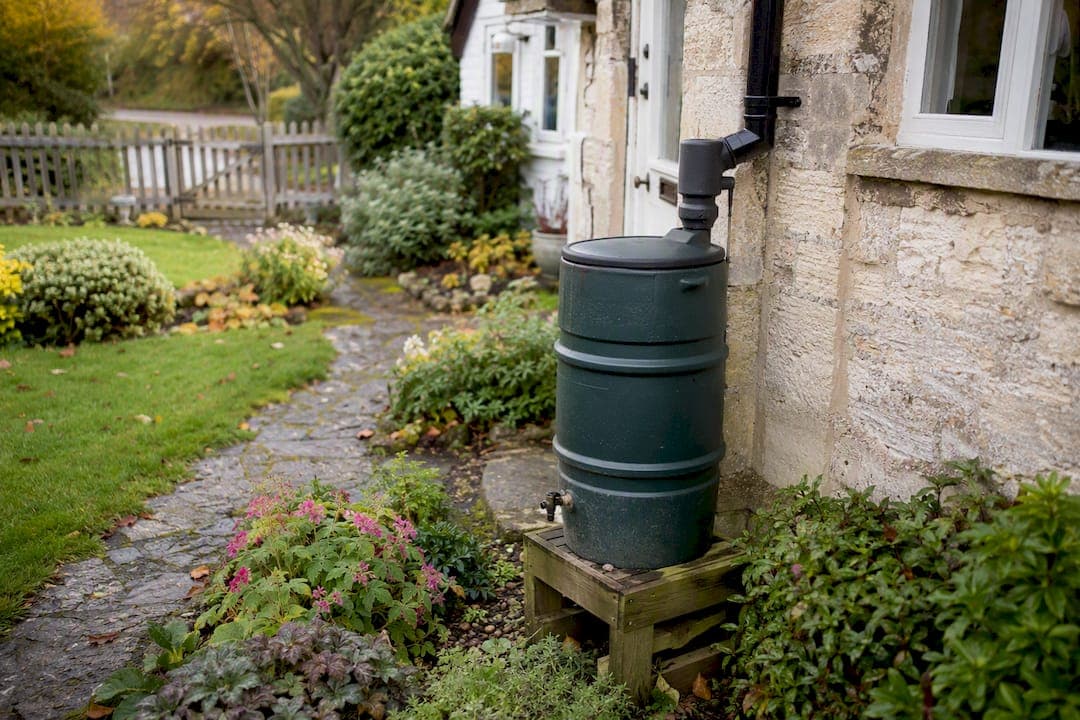
Most UK gardens only need one thing: a single water butt connected to a downpipe diverter, or two linked together if you want more capacity. That covers slimline butts, standard round butts, linked arrays, decorative dipping troughs, above-ground tanks, below-ground tanks, and pumped or header-tank systems for whole-house non-potable supply. Start small and simple.
- Garden-only water butts (50 to 300 litres): the entry point for almost everyone, connected via a downpipe diverter
- Above-ground tanks (1,000+ litres): for allotments, large plots or heavy irrigation demand
- Below-ground tanks: buried, high capacity, minimal visual footprint
- Pumped/header-tank systems: for supplying toilets, washing machines or outdoor taps around the house
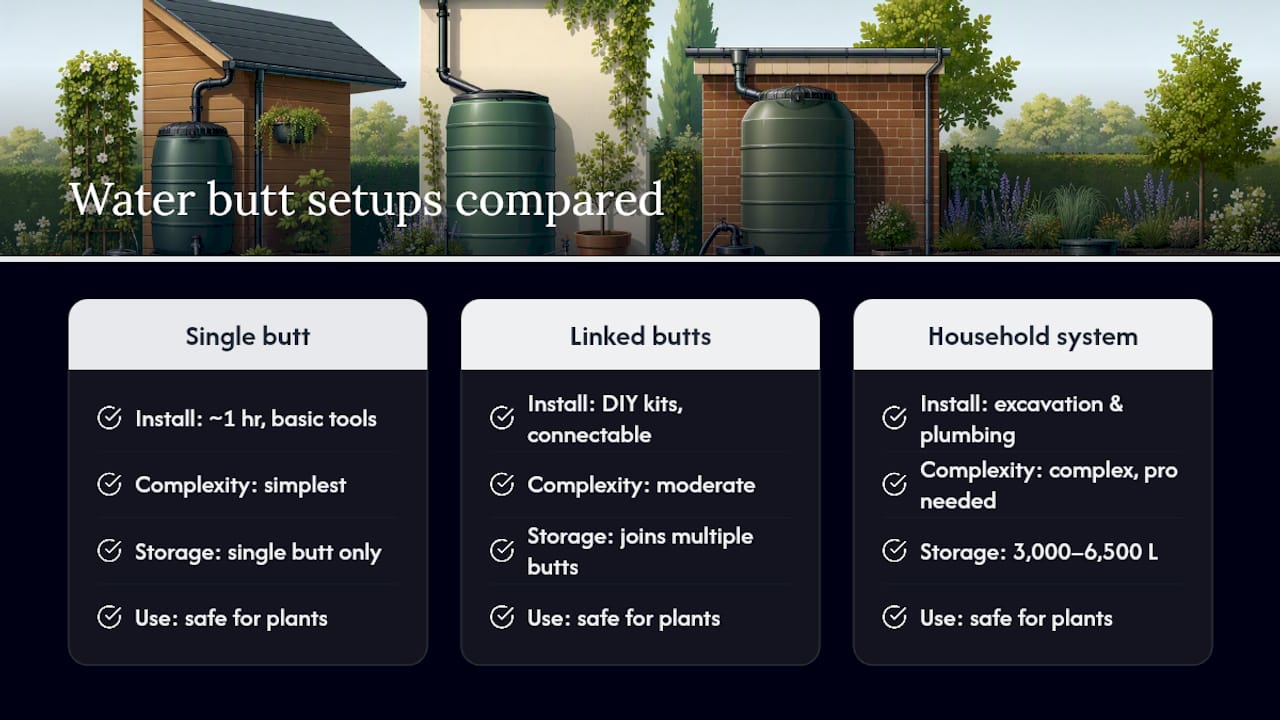
Domestic rainwater harvesting systems for a single property typically store between 3,000 and 6,500 litres once you move beyond garden butts into pumped or gravity-fed setups. For whole-house integration, BS8515 and the UK Water Reuse Association set the standards. Your-Local-Plumber can handle the compliance side when you're ready to scale.
Key Takeaways
Garden-first water butt installation with a downpipe diverter suits most UK homeowners, while pumped or below-ground systems only pay off once you're supplying household services beyond the garden.
| Point | Details |
|---|---|
| Start with a downpipe diverter | A single butt within 50cm of a downpipe covers most garden watering needs with basic DIY tools. |
| Base stability matters most | A level, solid base prevents tilt and joint failure once the butt fills with water. |
| Scale via linking, not replacing | Connector kits let you add capacity to existing butts before jumping to a larger tank. |
| Compliance kicks in past the garden | BS8515 and backflow protection apply once rainwater feeds toilets, laundry, or household taps. |
| Get professional help for pumps and tanks | Your-Local-Plumber handles pump wiring, excavation, and compliance checks for larger installations. |
Table of Contents
- What are the main types of water butt installations?
- How do you actually install a water butt?
- Which installation type suits your garden and water needs?
- When should you hire a plumber instead of doing it yourself?
- How do you keep a water butt working properly?
- Ready to scale up your rainwater system?
- Frequently asked questions
- Sources
What are the main types of water butt installations?
Six designs cover almost every UK garden, and picking between them mostly comes down to space, budget and how much water you actually need.
- Slimline butts fit against fences or narrow side passages, holding modest volumes without eating into a patio.
- Standard barrel-style butts are the classic round design, often in the 100 to 200 litre range, and the easiest to source, link, and repair.
- Linked butts connect two or more units via a hose or connector kit, multiplying capacity without needing a bigger footprint. Consumer guides commonly recommend starting with small to medium sizes, then linking as needs grow.
- Decorative dipping troughs and plant troughs double as garden features, though open tops mean more debris and algae to manage.
- Large above-ground tanks (polyethylene or GRP) suit allotments and bigger gardens where several hundred litres of storage matters more than looks; you can find useful container gardening tips to complement these setups.
- Below-ground tanks sit buried beneath a lawn or driveway, offering the highest capacity with almost no visible clutter, at the cost of excavation work.
Materials vary by scale: plastic dominates the small end, GRP and concrete appear in larger installations, where structural strength and temperature stability matter more.
How do you actually install a water butt?
The standard method hasn't changed much in years, and that's because it works. You cut into an existing downpipe, fit a diverter, and route a short length of pipe into the butt.
The core installation steps:
- Mark the downpipe roughly 30cm above the height of the butt's inlet.
- Cut the downpipe with a hacksaw and fit the diverter kit.
- Drill a fixing hole for the outlet spout using a power drill and hole saw.
- Position the butt on its stand, level, and connect the short feed pipe.
- Test with a hosepipe or wait for the next rainfall.
Wickes' installation guidance notes that butts typically sit within about 50cm of the downpipe, close enough that basic DIY tools handle the whole job. If your downpipe isn't near your ideal spot, a rain trap or notch-and-pipe extension lets you route water further across the garden.
For linked or larger systems, connector kits and overflow returns manage the extra plumbing. Scaling up to a pumped system means adding either a submersible pump inside the tank or an external suction pump, feeding either directly to an outlet or up into a header tank for gravity-fed distribution.
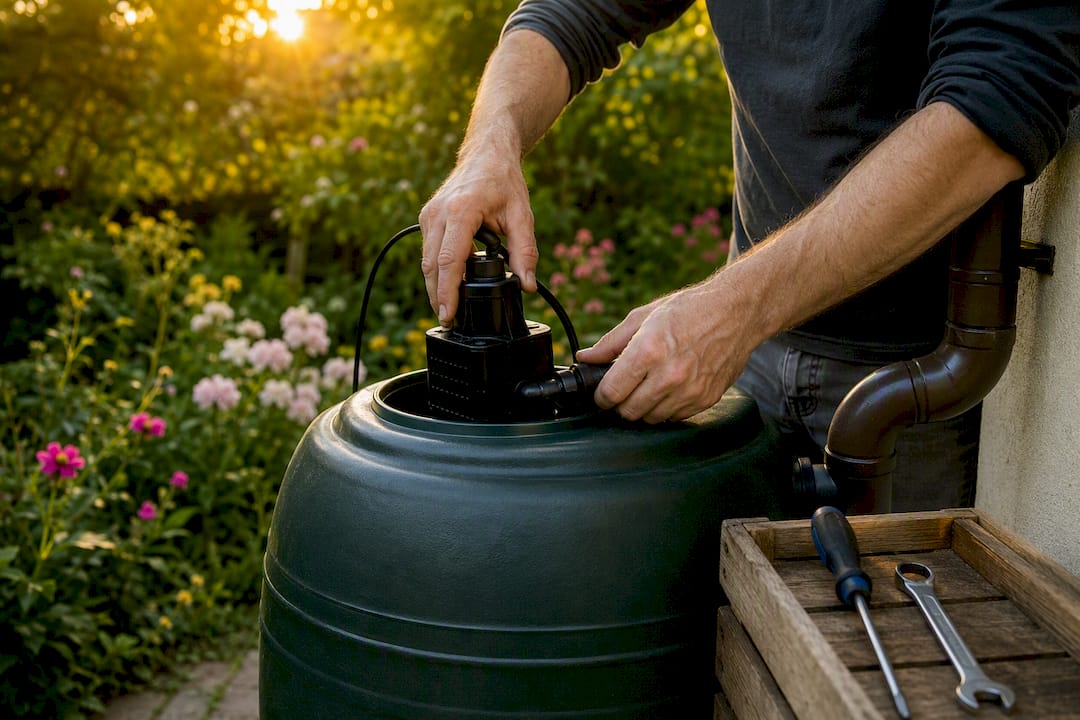
Tools worth having on hand: power drill, hole saw, hacksaw, tape measure, spirit level, and a stable base material.
Pro Tip: A full 200-litre butt weighs close to 200kg once filled, so skipping the base preparation is the single most common reason installations fail. A cracked paving slab or soft soil will tilt the butt over months, stressing the tap fitting until it leaks or snaps off entirely.
Which installation type suits your garden and water needs?
Roof size and garden layout decide more of this than most people expect. A typical two-bedroom semi with a 30 square metre roof catchment generates far more rainwater than a single 100 litre butt can hold, so linking or upsizing quickly pays for itself.
Matching size to space:
- Small or narrow gardens: slimline or single linked butts, 100 to 300 litres total
- Medium plots with vegetable beds or greenhouses: above-ground tanks from 500 litres upward
- Large gardens, allotments, or anyone wanting future plumbing integration: below-ground tanks or pumped systems
What drives cost is rarely the tank itself. Excavation for below-ground tanks, pump wiring, and site access for machinery all add more to the bill than the plastic or GRP shell does. A basic garden butt and diverter kit is a modest weekend spend; a buried tank with pump and electrical work moves into a different budget category entirely, closer to a small building project than a DIY afternoon.
A quick on-site checklist before you commit:
- Is there a downpipe within roughly 50cm of your intended spot?
- Is the base solid, level, and load-bearing (concrete, not soft turf)?
- Does your roof pitch and gutter actually feed that downpipe reliably?
- For underground tanks: is there vehicle or excavator access to the dig site?
Whole-house systems typically store between 3,000 and 6,500 litres, configured as either direct pumped feeds or gravity-fed header tanks. That extra spend on excavation and pump equipment usually only pays off once you're supplying toilets, washing machines or multiple outdoor taps, not just a watering can.
When should you hire a plumber instead of doing it yourself?
Fitting a diverter and standing a butt on a level base is well within most homeowners' skill range. It takes an afternoon, a few basic tools, and no electrical knowledge whatsoever.
Call a qualified plumber once the job involves:
- Installing a submersible or external pump with mains electrical wiring
- Excavating and fitting a below-ground tank
- Plumbing rainwater through to toilets, washing machines, or any household appliance
- Fitting backflow prevention where rainwater connects anywhere near the mains supply
BS8515 sets out design and installation principles for systems that supply non-potable household services, and that guidance specifically calls for mains backup and level controls, plus proper separation between rainwater and drinking water lines. Get that separation wrong and you risk contaminating the household supply, not just wasting water.
Before you start, ask yourself: does this job touch electricity, does it touch the mains water supply, or does it involve digging deeper than a spade's length? A "yes" to any of those means it's a job for a qualified plumber, not a Saturday project.
How do you keep a water butt working properly?
Water butts are low-maintenance, not zero-maintenance. A little seasonal attention prevents most of the faults that send people searching for a replacement tap or lid.
- Monthly during autumn: clear leaves from the inlet filter or mesh, since blocked filters are the top cause of overflow.
- Before winter: drain or insulate exposed pipework, and consider emptying the butt partially if a hard freeze is forecast, since ice can crack plastic taps.
- Ongoing: keep the lid fitted tightly to block sunlight and stop algae growth and mosquito breeding.
- Annually: service any pump, checking seals and the electrical connection.
The most frequent fault isn't the tap or the lid. It's a tilted base, caused by ground movement or a poorly prepared stand, which stresses joints until they crack. A shaded position or a buried tank sidesteps most of the algae problem entirely, since sunlight is what drives it.
Why most homeowners get this wrong on day one
Installation guides make water butts sound foolproof, and mechanically they are. The failures I see traced back to plumbing call outs almost never come from the diverter kit or the tap. They come from someone standing a full butt on an unlevel patio slab or bare soil, assuming a bit of tilt won't matter. It matters within a season.
The other habit worth breaking: treating a water butt as "set and forget." A five minute filter check during leaf-fall saves an overflow mess in November. If you're planning to plumb rainwater any further into the house, get the backflow protection checked properly before you connect anything, not after.
Ready to scale up your rainwater system?
If you've outgrown a garden butt and want a pumped feed to outdoor taps, a below-ground tank, or full compliance with BS8515 for household integration, that's a different job to a Saturday DIY project, and one worth getting right first time. Your-Local-Plumber offers site surveys covering above-ground and below-ground tank installation, pump and electrical wiring, excavation work, and compliance checks against current rainwater harvesting standards.

Our engineers handle the parts homeowners shouldn't tackle solo: backflow prevention, mains separation, and the electrical side of pump installations. If you're weighing up whether your garden setup can handle a jump to whole-house non-potable supply, book a site survey with Your-Local-Plumber and get a fixed quote before any digging starts.
Frequently asked questions
What's the easiest type of water butt installation for a small garden? A single slimline or standard butt connected to a downpipe diverter is the simplest option, needing only basic tools and roughly an hour's work.
Can I link multiple water butts together? Yes. Connector kits and overflow returns let you join two or more butts, increasing total storage without adding another downpipe connection.
Do I need a plumber for a below-ground tank? Almost always, since excavation, pump wiring, and often backflow protection are involved, all of which sit outside typical DIY territory.
How much rainwater can a household system store? Whole-house domestic systems commonly store 3,000 to 6,500 litres, configured as either pumped or gravity-fed header-tank setups.
Is rainwater safe for garden use straight from a butt? Yes, and the RHS notes it's actually preferable to mains water for most plants since it lacks added chlorine, though a filter and lid keep debris and algae out.
Sources
- Rainwater harvesting | UK Water Reuse Association (UKWRA)
- Installing a water butt | Wickes
- Harvesting rainwater for domestic uses: an information guide (Environment Agency / Waterwise)