TL;DR:
- Shut off the main water valve immediately to minimize damage during a plumbing emergency.
- Keep essential tools like a plunger, PTFE tape, and inspection torch accessible for quick response.
- Professional plumbers follow a systematic workflow for safe, efficient repairs and damage prevention.
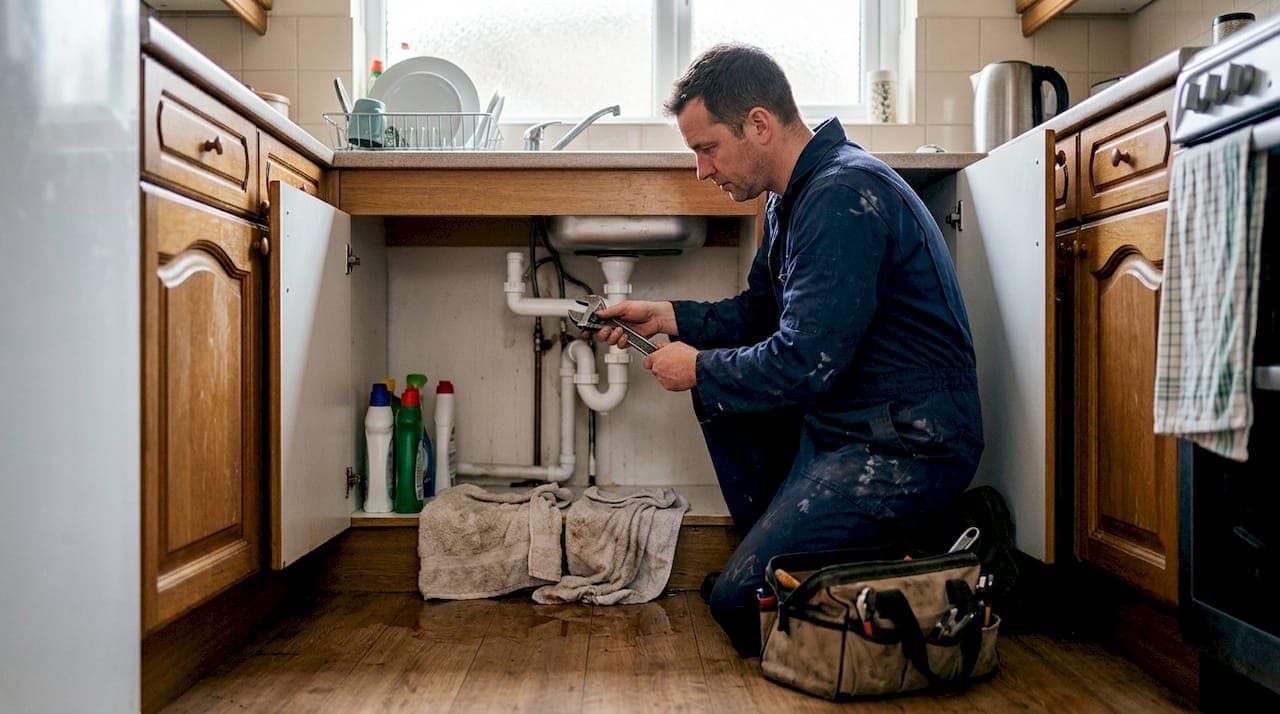
A burst pipe at 11pm is not a hypothetical for many Thames Valley homeowners. Water is spreading across the kitchen floor, you cannot find the stop valve, and you have no idea whether to call a plumber or try to fix it yourself. That moment of panic is exactly where a clear, practised workflow saves you from costly structural damage, insurance headaches, and sleepless nights. This guide walks you through every stage: what to do the instant an emergency strikes, what tools matter, how professional plumbers approach the job, and how to prevent the whole situation from happening again.
Table of Contents
- What to do before you call an emergency plumber
- Essential tools and materials for emergency plumbing
- Step-by-step emergency plumber workflow
- After the repair: Verification and future prevention
- What most homeowners get wrong about plumbing emergencies
- Fast, reliable emergency plumbing help in Thames Valley
- Frequently asked questions
Key Takeaways
| Point | Details |
|---|---|
| Act quickly and safely | Immediate steps can greatly reduce water damage and prevent hazards. |
| Preparation is key | Keeping basic tools and knowing shut-off locations speeds up emergency response. |
| Follow a professional workflow | A clear step-by-step procedure results in quicker, safer repairs and recovery. |
| Verify and prevent | Check for leaks post-repair and use regular maintenance to avoid repeat emergencies. |
What to do before you call an emergency plumber
After understanding what is at stake in an emergency, the next step is immediate action. The first sixty seconds matter more than most homeowners realise.
Your single most important task is locating and turning off the main water stop valve. In most Thames Valley homes, this sits under the kitchen sink or near the front door. Turning it clockwise shuts off the water supply to the entire property. If you cannot find it, check your boiler cupboard or the boundary of your property near the pavement. Immediate actions help minimise damage during plumbing emergencies, so do not wait for the plumber before taking this step.
Once the water is off, move quickly through these priorities:
- Move electronics, rugs, and valuables away from the affected area
- Place towels or buckets to contain spreading water
- Switch off electricity at the fuse box if water is near any sockets or fittings
- Take photos and short videos of the damage before touching anything further
- Note when the problem started, what you heard, and any recent plumbing work done
Those photos are genuinely useful. They help the plumber understand the situation before arriving and speed up diagnosis significantly. The emergency essentials for Reading homes guide covers this in more detail if your situation involves a specific fault type.
For minor drips from a visible joint, fast relief steps like wrapping the joint tightly with PTFE tape can buy you time. However, avoid dismantling pipework or applying heat near joints unless you are confident. A small problem becomes a large one quickly when handled incorrectly.
Gas is a separate matter entirely. If you smell gas, do not touch any switches. Leave the property, call the National Gas Emergency line on 0800 111 999, and wait outside. No plumbing repair is worth risking an explosion.
For winter emergencies, frozen pipes that have not yet burst can sometimes be thawed gently using a warm cloth. Avoid using a blowtorch. Good pipe insulation tips can prevent this situation in the first place.
Pro Tip: Keep a laminated card in your kitchen with the location of your stop valve, your boiler isolation switch, and the number for your emergency plumber. In a panic, even obvious information disappears from memory.
Essential tools and materials for emergency plumbing
Once initial steps are taken, the right tools and materials make a real difference in emergencies. You do not need a van full of equipment, but a small, organised kit changes what is possible.
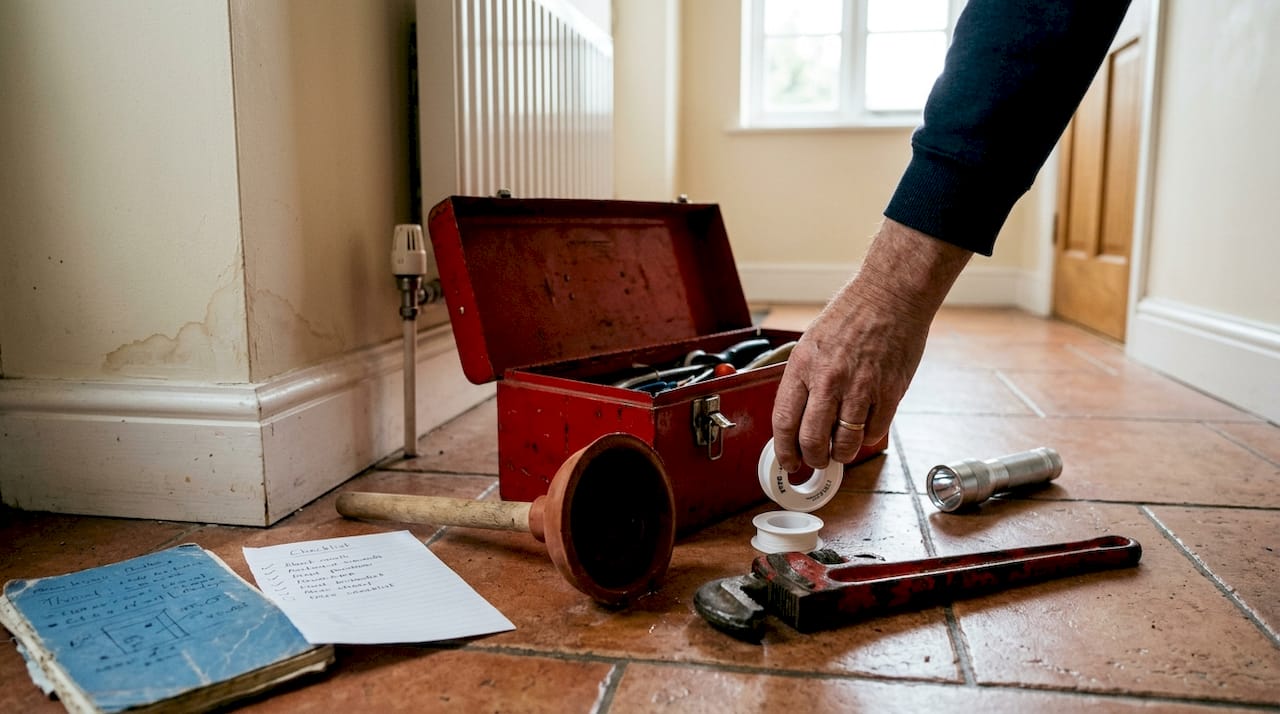
Every Thames Valley homeowner should keep these basics accessible:
- Plunger: Handles most blocked drains and toilets without any specialist knowledge
- PTFE tape: Wraps around threaded joints to create a temporary watertight seal
- Inspection torch: Essential for checking under sinks, behind panels, and in dark cupboards
- Old towels and a bucket: Simple containment saves flooring and ceilings below
- Rubber gloves: Protect you from contaminated water in drainage emergencies
Proper preparation with essential tools reduces emergency risks considerably. The plumbing checklist for homeowners is a good reference for building out your kit over time.
Professional emergency plumbers arrive with considerably more. Pipe cutters, pressure gauges, pump vacuums, and a full range of wrenches allow them to handle anything from a cracked compression fitting to a failed pump. They also carry critical materials that most homeowners do not stock: stop valves, push-fit adapters, sealant compounds, and pipe insulation sleeves. Brass reducer adapters are one example of a specialist fitting that bridges mismatched pipe sizes quickly during a repair.
| Tool or material | Primary use | Emergency value |
|---|---|---|
| Plunger | Clearing blockages | High: immediate DIY use |
| PTFE tape | Sealing threaded joints | High: buys time before repair |
| Pipe cutter | Removing damaged sections | Professional use only |
| Stop valve | Isolating water flow | Critical: limits damage fast |
| Push-fit adapter | Joining pipes without soldering | High: fast, no heat required |
| Pipe insulation sleeve | Protecting exposed pipes | Preventive and emergency use |
| Sealant compound | Filling cracks and gaps | Temporary fix in emergencies |
Knowing the difference between what you can safely use and what requires a trained engineer is important. PTFE tape and a plunger are safe in most hands. Cutting into pipework or adjusting stop valves beyond the isolation point is not. When in doubt, contain the problem and wait for professional help.
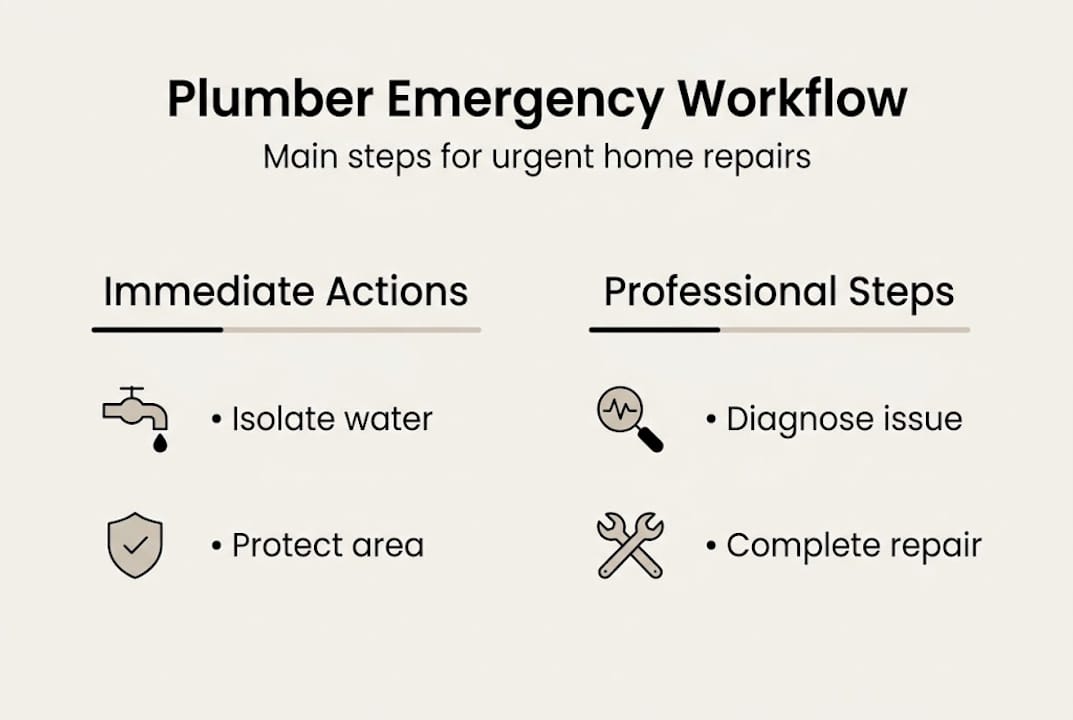
Step-by-step emergency plumber workflow
With everything ready, understanding the professional emergency workflow sets clear expectations for action and outcomes. Knowing what your plumber will do reduces anxiety and helps you communicate more effectively.
- Initial assessment: The engineer surveys the affected area, identifies the source of the fault, and checks for secondary risks such as water near electrics or structural damage to walls and ceilings.
- Damage containment: If the water supply has not already been isolated, the plumber does this immediately. They also assess whether any drainage or waste pipes are involved.
- Fault location: Using pressure testing, visual inspection, and sometimes specialist leak detection equipment, the engineer pinpoints the exact failure point. This is where a plumbing engineer workflow differs sharply from a homeowner guess.
- Temporary fix if needed: Where a permanent repair requires parts not on the van, a reliable temporary fix is applied to make the property safe. The engineer explains what has been done and what comes next.
- Permanent repair: Once the correct parts are available, the full repair is completed: cutting, joining, sealing, or replacing as required.
- Testing and verification: Water pressure is restored gradually, all joints are checked, and the engineer confirms the repair holds before leaving.
A systematic workflow leads to efficient and safe repairs. The plumber safety procedures used during this process also protect your property from further harm.
Safety warning: Never attempt to solder joints, adjust gas connections, or work on pressurised systems yourself. These tasks require certified training and carry serious legal and safety implications.
| Stage | DIY approach | Professional approach |
|---|---|---|
| Assessment | Visual check only | Pressure test and full survey |
| Containment | Turn off stop valve | Isolate specific zones |
| Fault location | Guess based on symptoms | Leak detection equipment |
| Repair | Tape or temporary patch | Permanent certified fix |
| Verification | Check by eye | Pressure test and sign-off |
Pro Tip: Take photos of the fault before the plumber arrives. A clear image of the affected pipe or fitting helps the engineer prepare the right parts and reduces call-out time.
After the repair: Verification and future prevention
After repairs are complete, it is crucial not to let your guard down. A repair that holds for ten minutes may fail under full pressure an hour later.
Start by running water slowly through the repaired area and watching carefully for any seepage. Check the ceiling below if the fault was upstairs. Look for damp patches on walls near the repair point over the following 24 hours. If your boiler was affected, confirm it is firing correctly and that pressure has returned to its normal range, typically between 1 and 1.5 bar.
If the damage was significant, contact your home insurer promptly. Most policies require you to report damage within a specific timeframe, and your plumber can provide a written report to support your claim. Keep all invoices and photographs as evidence.
Once the immediate crisis is resolved, prevention becomes the priority. Regular inspections and simple maintenance prevent most plumbing emergencies. In fact, over 60% of plumbing emergencies are preventable with yearly inspections, making an annual check one of the most cost-effective decisions a homeowner can make.
Here is a simple prevention checklist to follow:
- Annual service: Book a plumber to inspect pipework, joints, and your boiler once a year
- Insulate exposed pipes: Particularly in lofts, garages, and external walls before winter
- Know your stop valve: Test it twice a year to ensure it turns freely
- Clear drains regularly: Use a drain guard and flush with hot water monthly
- Check under sinks: Look for slow drips or staining every few months
- Monitor water pressure: A sudden drop can signal a hidden leak
The maintenance checklist covers all of these in detail and is worth bookmarking for regular reference.
What most homeowners get wrong about plumbing emergencies
After years of responding to Thames Valley call-outs, the pattern is clear. The homeowners who come off worst are rarely those with the worst leaks. They are the ones who spent twenty minutes trying a risky fix before calling, or who were too embarrassed to admit they had no idea where the stop valve was.
The instinct to "sort it yourself" is understandable. But a burst pipe at pressure is not the moment for experimentation. The damage done in those extra minutes of hesitation often costs far more than the call-out fee itself.
What actually works is simple: isolate the water, protect your property, and call a professional with clear information. Transparency with your plumber about what you have already touched is equally important. An engineer who knows you wrapped the joint in tape will approach the repair differently than one who does not. Following a clear workflow, as described in our guide to reliable UK plumber expertise, consistently produces better outcomes than improvised heroics.
Fast, reliable emergency plumbing help in Thames Valley
If you ever face a plumbing emergency, fast action and expert help make all the difference.
When water is spreading and every minute counts, you need a plumber who knows Thames Valley and can reach you quickly. At Your Local Plumber, our experienced engineers are available for urgent call-outs across the region, with transparent pricing and no hidden fees.
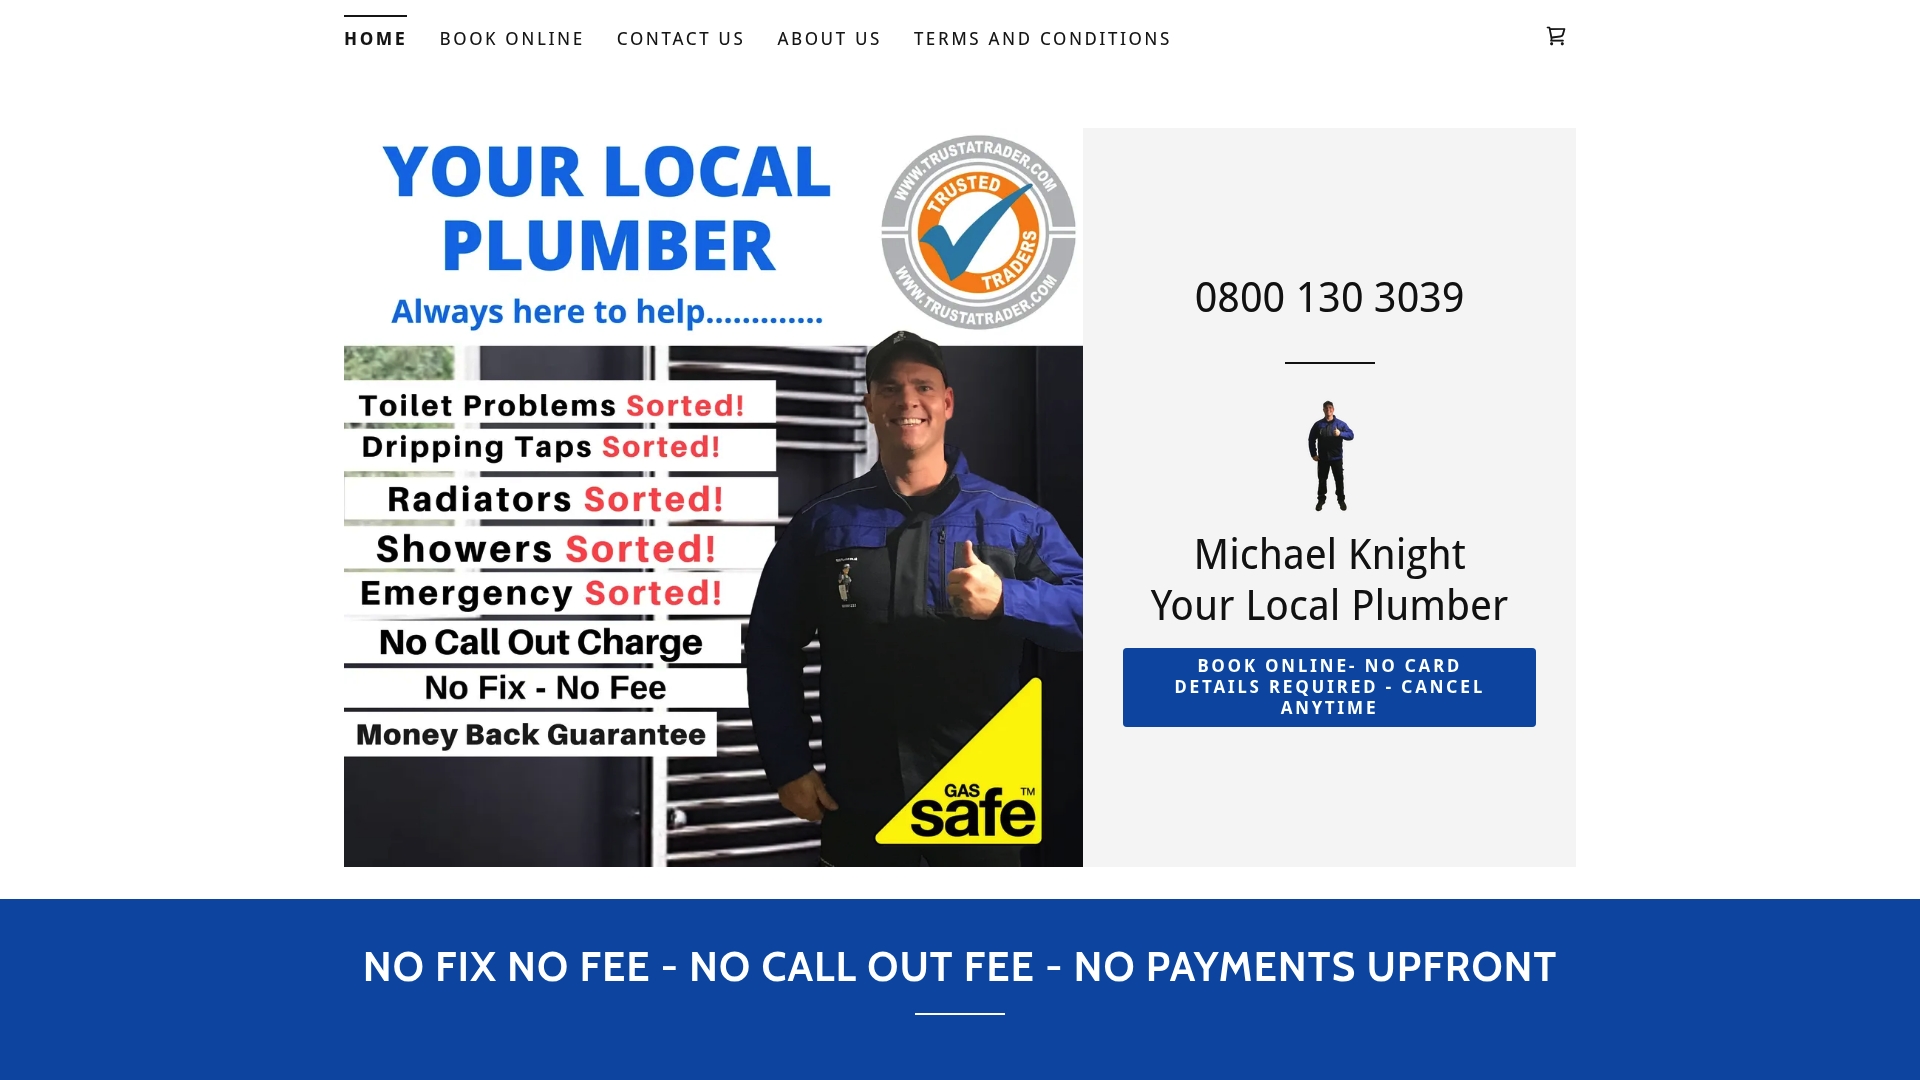
You can book expert plumber support in minutes through our online booking system, available around the clock. For urgent situations, our 60 minute emergency plumber service gets a qualified engineer to your door fast. Do not wait for a small leak to become a serious problem.
Frequently asked questions
What should I do first in a plumbing emergency?
Shut off your main water supply and electricity if leaking is near sockets, then call an emergency plumber for advice. Immediate actions help minimise damage during plumbing emergencies.
How do I know if a leak is serious enough for an emergency call-out?
If water is spreading rapidly, near electrics, or you cannot control it, call a plumber immediately. Guidelines for urgent help are essential when the situation is beyond basic containment.
Can I fix a burst pipe myself while waiting for the plumber?
You can contain the leak with tape or old towels, but avoid dismantling anything until a professional arrives. DIY containment is helpful, but risky fixes should be avoided.
What emergency plumbing tools should every Thames Valley homeowner keep?
A plunger, pipe tape, inspection torch, and emergency contact list should be easily accessible at all times. Proper preparation with essential tools reduces emergency risks considerably.