TL;DR:
- Phantom toilet flushing occurs when the cistern leaks silently and causes the fill valve to activate unexpectedly. Most cases are caused by degraded flapper seals or mineral buildup on the valve seat, which can be fixed by replacing parts and adjusting the float. Using a dye test helps identify the faulty component before repairs, saving time and money.
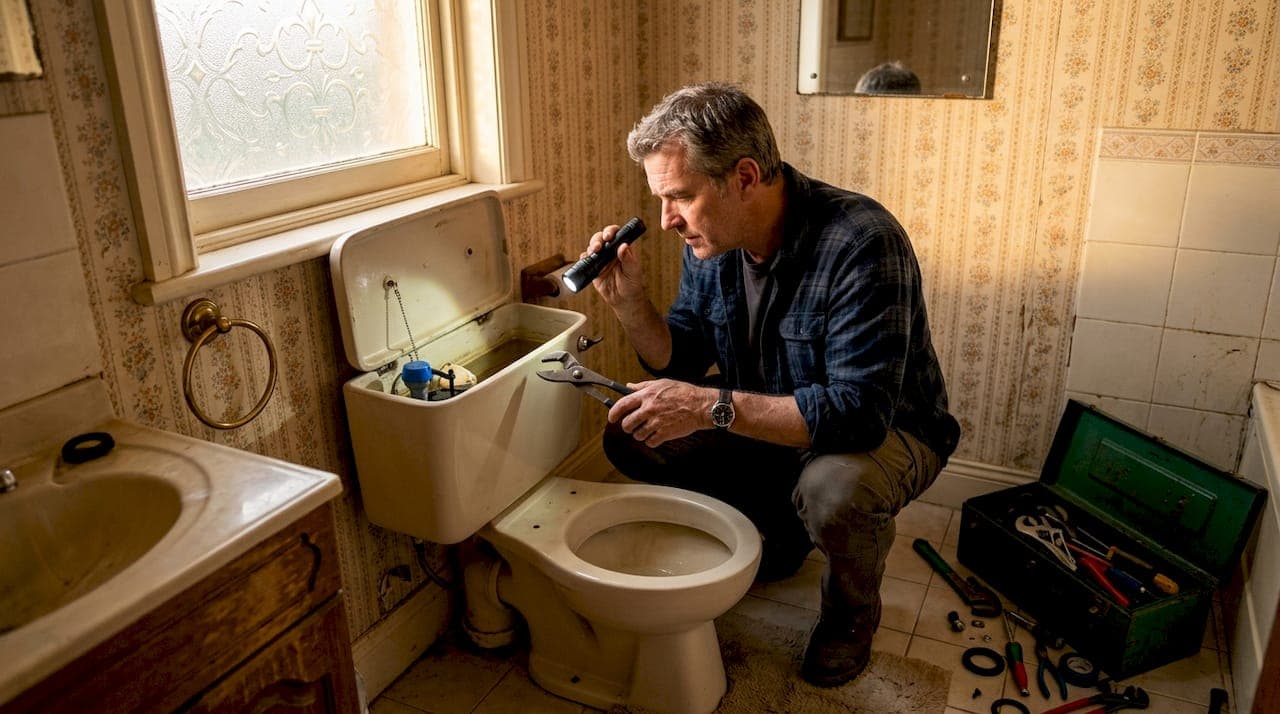
Phantom toilet flushing is defined as the toilet refilling on its own without anyone pressing the flush handle. Water leaks silently from the cistern into the bowl, slowly lowering the water level until the fill valve activates to top it up. In 90% of cases, the root cause is a degraded, warped, or limescale-covered rubber seal at the bottom of the flush mechanism. The fix is straightforward once you know what to look for, and most homeowners can complete the repair in under an hour with basic tools.
How to fix phantom toilet flushing: confirm the leak first
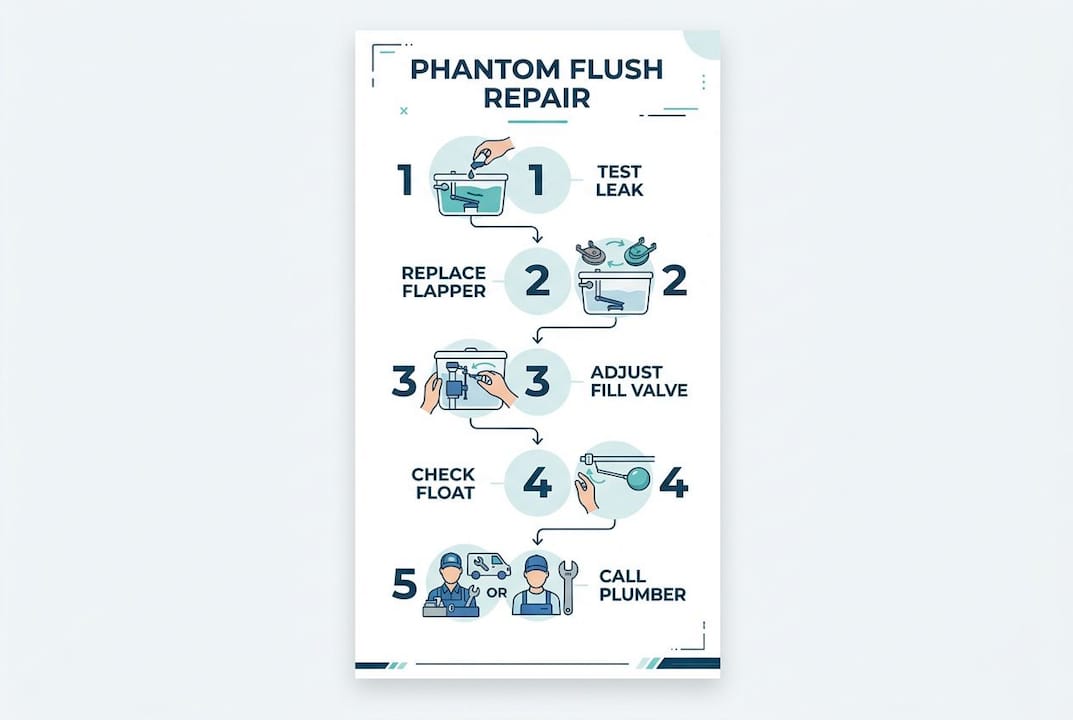
Before buying any parts, confirm that a leak actually exists. The dye test is the most reliable method, and it takes less than 15 minutes.
The industry term for this problem is "cistern leak" or "silent leak," though "phantom flushing" and "ghost flushing" are the terms most homeowners search for. Both describe the same fault. Understanding this distinction matters because phantom flushing is caused by silent leaks detectable only through testing, not by noise alone. Your toilet may sound completely quiet between refill cycles, yet still waste a significant volume of water every day.
Here is how to run the dye test:
- Lift the cistern lid and set it safely aside.
- Add several drops of food colouring to the cistern water. Any colour works, but blue or red shows up clearly.
- Do not flush the toilet.
- Wait 10–15 minutes without using the toilet.
- Look into the bowl. If coloured water has appeared, water is leaking from the cistern through the seal.
- If the bowl water remains clear, the flapper is likely not the problem. The fill valve may be the culprit instead.
This test distinguishes between two separate faults. A positive result points to a flapper or flush valve seal failure. A negative result, combined with a toilet that still refills intermittently, suggests the fill valve is not closing properly and water is trickling into the overflow tube instead. For more on confirming toilet leaks, a step-by-step detection guide covers the process in detail.
What causes phantom flushing in a toilet?
Several components can trigger ghost flushing. Knowing which one is faulty saves you time and money before you buy a single part.
- Worn or warped flapper. The flapper is the rubber disc that seals the flush valve at the bottom of the cistern. Over time, rubber degrades, warps, or becomes coated in limescale, preventing a watertight seal. This is the most common cause.
- Mineral buildup on the valve seat. Hard water deposits collect on the valve seat where the flapper rests. Even a small ridge of limescale stops the flapper from seating flush, allowing water to seep through continuously.
- Incorrect chain length. The chain connecting the flush handle to the flapper needs roughly 1.25 cm (half an inch) of slack. A chain that is too loose or tangled can hold the flapper slightly open, creating a slow, continuous leak.
- Faulty fill valve. If the fill valve does not shut off completely, water trickles into the overflow tube rather than into the bowl. The dye test will show a negative result in this scenario, yet the toilet still refills on its own.
- Wrong size or incompatible replacement parts. Many flappers are not universal. Compatibility with your toilet model's flushing bridge size and shape is critical. A flapper that does not match the valve seat diameter will never seal properly, regardless of how new it is.
- Chlorine drop-in tablets. Chlorine tablets degrade rubber seals prematurely, causing repeated phantom flushing within a few years of use. Remove them from your cistern permanently.
Pro Tip: Before purchasing a replacement flapper, take the old one to the hardware shop or photograph the toilet model number (usually stamped inside the cistern). Bringing the old part guarantees a correct match and avoids a wasted trip.
Identifying signs of hidden leaks early prevents the problem from escalating into a higher water bill or a damaged flush valve seat.
Step-by-step guide to repairing a phantom flush
This repair covers the two most common fixes: flapper replacement and fill valve adjustment. Work through them in order.
Replacing the flapper
- Turn off the water supply. Locate the isolation valve on the pipe behind or beneath the toilet. Turn it clockwise until it stops. Flush the toilet once to empty the cistern.
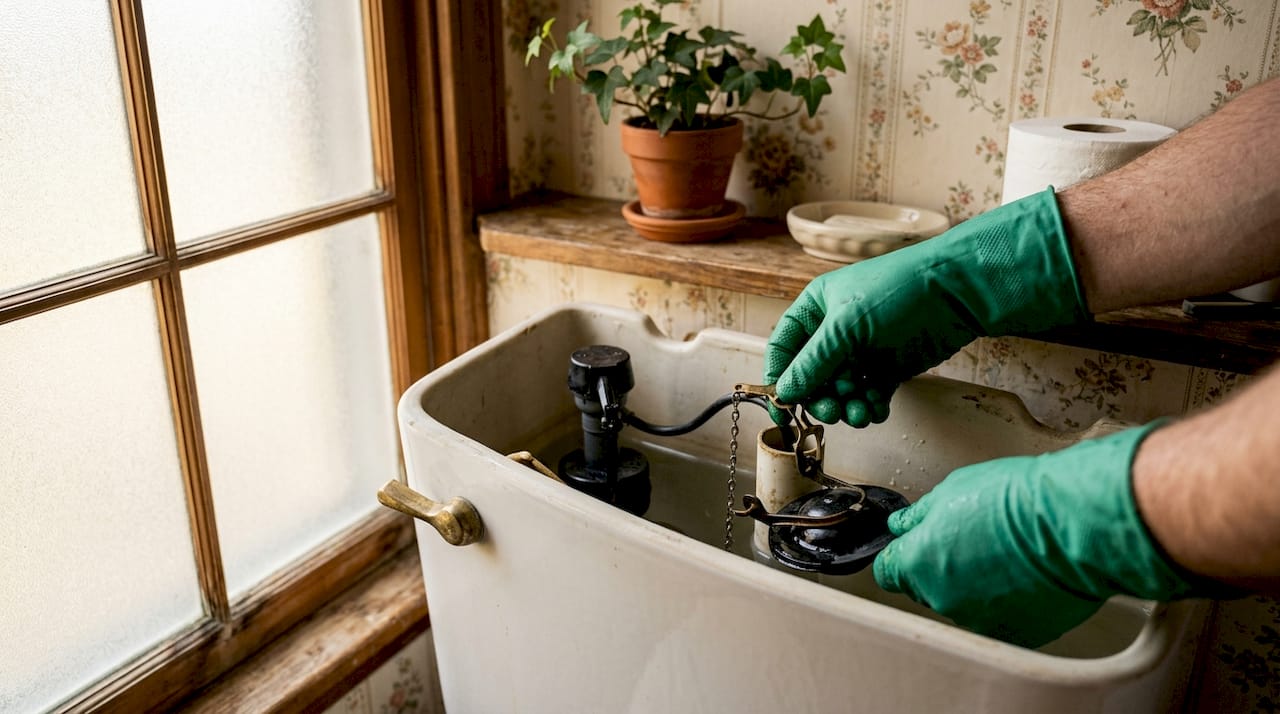
- Remove the old flapper. Unhook the flapper ears from the pegs on either side of the flush valve. Disconnect the chain from the flush handle arm.
- Inspect the flush valve seat. Run your finger around the valve seat rim. If you feel ridges, grit, or limescale, clean the seat with white vinegar and a cloth before fitting the new flapper. A dirty seat will cause the new flapper to fail just as quickly.
- Check part compatibility. Measure or bring the old part to verify the diameter and bridge size match your toilet model. Most UK cisterns use a 2-inch or 3-inch flush valve, but this varies by manufacturer.
- Fit the new flapper. Hook the ears onto the valve pegs. Attach the chain to the flush handle arm, leaving approximately 1.25 cm of slack. Too much slack causes the flapper to sit off-centre; too little prevents it from sealing after a flush.
- Open the water supply slowly. Turn the isolation valve very slowly to avoid a pressure surge that can dislodge or damage the new seal. Allow the cistern to fill completely.
- Run the dye test again. Wait 10–15 minutes. A clear bowl confirms the repair has worked.
Pro Tip: If the valve seat feels rough after cleaning, a small amount of petroleum jelly applied to the seat rim can help the new flapper achieve a tighter seal while the rubber beds in.
Adjusting or replacing the fill valve
If the dye test was negative but the toilet still refills on its own, the fill valve needs attention. Check the float height first. The water level in the cistern should sit roughly 2.5 cm below the top of the overflow tube. If it sits higher, water spills into the overflow continuously, triggering the refill cycle.
Most modern fill valves have an adjustment screw or clip on the float arm. Turn the screw anticlockwise to lower the float and reduce the water level. If adjusting the float makes no difference, or if the valve body shows visible wear or corrosion, replace the fill valve entirely. Replacement fill valves are widely available at plumbing merchants and most DIY retailers.
| Symptom | Likely cause | Fix |
|---|---|---|
| Dye appears in bowl | Worn or warped flapper | Replace flapper |
| Dye negative, toilet still refills | Fill valve not closing | Adjust float or replace fill valve |
| Dye negative, hissing sound | Water over overflow tube | Lower float level |
| New flapper still leaks | Wrong size or dirty valve seat | Match part correctly, clean seat |
Troubleshooting persistent phantom flushing and maintenance tips
A toilet that continues to ghost flush after a flapper replacement needs a closer look at the fill valve and the flush valve assembly itself.
- If the fill valve still runs after float adjustment, replace the entire valve unit. Fill valves are inexpensive and straightforward to swap out.
- Inspect the flush valve body for hairline cracks. A cracked flush valve cannot be sealed with a new flapper alone and requires professional assessment.
- Clean valve seats every six months in hard water areas. Limescale builds up faster in regions with high calcium content, and regular cleaning prevents the seal from lifting.
- Remove chlorine drop-in tablets from the cistern immediately. Chlorine-based cistern cleaners chemically degrade rubber seals, leading to repeated phantom flushing within a few years. Use a toilet brush and standard cleaner applied to the bowl instead.
- Replace flappers proactively every 3–5 years, regardless of visible wear. Rubber degrades gradually, and a scheduled replacement costs far less than a high water bill.
- Monitor your water bill for sudden unexplained increases. A silent cistern leak can waste a considerable volume of water monthly without any obvious sign. An unexpected rise in usage is a reliable early warning.
- Run an annual dye test as a quick health check. It takes under 15 minutes and catches slow leaks before they become costly.
Call a professional plumber if the flush valve body is cracked, if the cistern shows signs of structural damage, or if the phantom flushing returns repeatedly after multiple repairs. Understanding what causes toilet siphoning can also help you rule out related faults that mimic phantom flushing symptoms.
Key takeaways
Phantom toilet flushing is caused by a silent cistern leak, and fixing it requires identifying the faulty component through a dye test before replacing the flapper or adjusting the fill valve.
| Point | Details |
|---|---|
| Dye test first | Add food colouring to the cistern and wait 10–15 minutes to confirm a flapper leak before buying parts. |
| Flapper is the primary cause | In 90% of cases, a worn or limescale-coated rubber seal is responsible for the phantom flush cycle. |
| Part compatibility matters | Always match the replacement flapper to your toilet model's valve diameter to avoid immediate failure. |
| Avoid chlorine tablets | Drop-in chlorine tablets degrade rubber seals and cause repeated phantom flushing within a few years. |
| Replace flappers proactively | Swap flappers every 3–5 years to prevent silent leaks before they inflate your water bill. |
What I have learned from years of phantom flush call-outs
The most common mistake I see homeowners make is buying a replacement flapper before running the dye test. They hear the toilet refilling, assume the flapper is the problem, and fit a new one without checking whether it matches the valve seat. The toilet ghost flushes again within a week. Replacing parts without proper diagnosis or a fitment check leads to repeated failures and wasted money.
The second mistake is opening the water supply valve too fast after a repair. I have seen brand-new flappers dislodged by a pressure surge because the homeowner turned the valve on in one quick motion. Opening the valve slowly takes ten extra seconds and protects the repair.
What surprises most homeowners is how much water a silent leak wastes. There is no dripping sound, no visible puddle, and no obvious sign of a problem until the water bill arrives. That is what makes phantom flushing genuinely worth fixing promptly, not just for comfort but for cost.
My honest advice: run the dye test, match your parts carefully, and take your time reopening the water supply. Most phantom flush repairs succeed on the first attempt when those three steps are followed. If yours does not, the fill valve or flush valve body needs attention, and that is the point where calling a local plumber saves more time than it costs.
— Michael
When Your-local-plumber can help
Phantom flushing is usually a straightforward DIY repair, but some cistern faults go beyond a simple flapper swap.

If you have replaced the flapper, adjusted the fill valve, and the toilet tank running issue persists, the fault may lie with the flush valve body or internal cistern components that need a trained eye. Your-local-plumber provides fast, transparent toilet repair and leak diagnosis across the UK, carried out by experienced engineers who can identify the exact fault and fix it correctly the first time. Whether you need a second opinion on a persistent ghost flush or want a professional to handle the repair from the start, the team is available for both emergency call-outs and planned visits. Clear pricing and local availability mean you are never left waiting.
FAQ
What is phantom toilet flushing?
Phantom toilet flushing occurs when the toilet refills on its own without being flushed. Water leaks silently from the cistern into the bowl, triggering the fill valve to activate intermittently.
How do I know if my flapper is causing the phantom flush?
Add food colouring to the cistern and wait 10–15 minutes without flushing. If colour appears in the bowl, the flapper or flush valve seal is leaking.
Can I fix a phantom flush myself?
Yes. Most cases involve replacing the flapper, a repair that requires no specialist tools and takes under an hour. Confirm the fault with a dye test and match the replacement part to your toilet model before starting.
Why does my toilet keep phantom flushing after I replaced the flapper?
If the dye test is negative after a new flapper is fitted, the fill valve is likely not closing fully. Adjust the float level or replace the fill valve to stop the toilet tank running issue.
How do I prevent phantom flushing from returning?
Replace the flapper every 3–5 years, avoid chlorine drop-in tablets, clean the valve seat regularly, and run an annual dye test to catch slow leaks early.