TL;DR:
- Homeowners should regularly check for hidden leaks to prevent costly water waste and structural damage. Using tools like pressure gauges, dye tests, and visual inspections helps detect leaks early, with professional assistance recommended for complex issues. Prompt repairs and preventive measures can save money, conserve water, and maintain home safety.
You open your water bill and the number looks wrong. It is higher than last month, and the month before that, yet nothing obvious has changed. That creeping suspicion that something is leaking behind a wall or under a floor is one of the most common and costly situations homeowners face. Household leaks waste thousands of gallons of water every year, and even a minor drip can lose 90 to 250 gallons a day, quietly inflating your bills and damaging the structure of your home. This guide walks you through every stage of detection, from gathering your tools to identifying hidden leaks and deciding when to call in the professionals.
Table of Contents
- What you need before you start
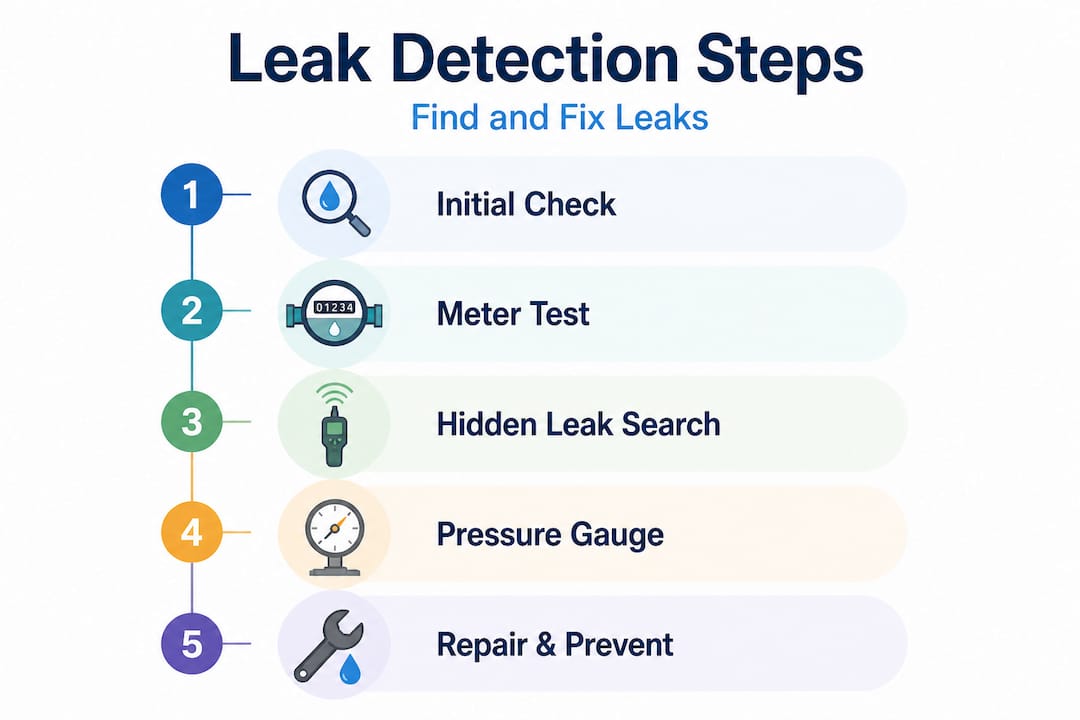
- Step 1: Initial checks and locating obvious leaks
- Step 2: Pinpointing hidden leaks in your home
- Advanced leak detection methods and when to call a professional
- What to do after finding a leak: Simple fixes and preventing future issues
- The truth about DIY leak detection: What most guides miss
- Need leak detection help in Reading?
- Frequently asked questions
Key Takeaways
| Point | Details |
|---|---|
| Even small leaks matter | Tiny leaks can waste huge amounts of water and money if left unchecked. |
| Step-by-step works best | Systematically testing and isolating issues makes finding leaks much more effective. |
| DIY has limits | It’s wise to seek expert help for complex or hidden leaks beyond basic detection. |
| Act quickly to prevent damage | Fast action and ongoing monitoring can save your home from costly repairs. |
What you need before you start
Once you understand the risks and importance of timely action, ensure you are properly equipped and safe before starting. Rushing into leak detection without the right tools usually means missing something important or creating a bigger problem than the one you were trying to solve.
Here is what to have ready before you begin:
- Water meter key or access tool to read your external meter
- Pressure gauge that attaches to an outdoor tap or spigot
- Torch for inspecting under sinks, in cupboards, and behind appliances
- Food colouring or dye tablets for toilet testing
- Adjustable wrench and screwdrivers for tightening or removing fittings
- Moisture meter (optional but genuinely useful for checking walls and floors)
- Notebook or smartphone for logging readings and photographs
The safety side of things matters just as much as the tools themselves. If you are investigating areas near electrical sockets, boilers, or fuse boxes, always switch off the power supply at the consumer unit first. Wear rubber-soled footwear when working in wet spaces, and never attempt to open sealed junction boxes or touch live wiring.
| Tool | What it is used for |
|---|---|
| Pressure gauge | Monitoring water pressure drops in isolated sections |
| Water meter | Detecting invisible water movement when all taps are off |
| Torch | Visually inspecting dark or confined spaces |
| Food colouring | Toilet dye test to reveal silent flapper leaks |
| Moisture meter | Identifying damp behind walls or under flooring |
| Adjustable wrench | Tightening or disconnecting pipe fittings |
| Notebook/smartphone | Logging readings, times, and photographic evidence |
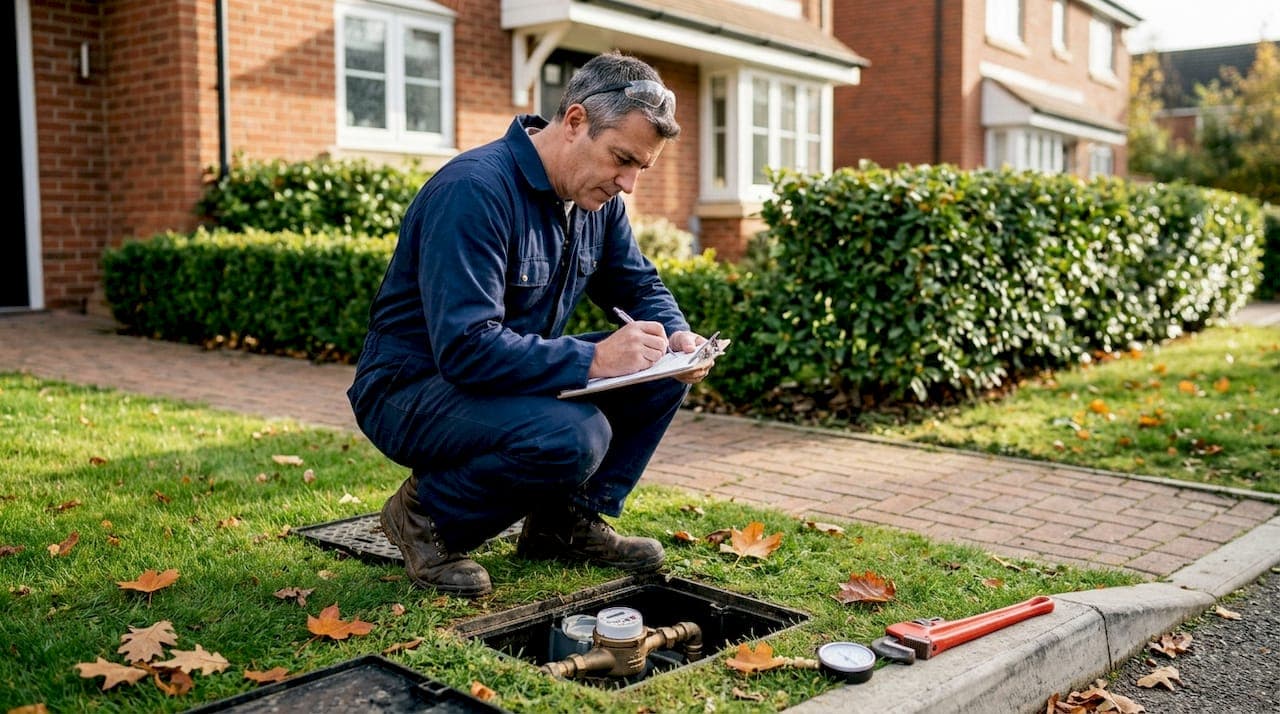
When it comes to pressure testing, attach your gauge to an outdoor spigot and check the reading. Normal household pressure sits around 100 psi, though most UK homes run between 50 and 80 psi. Shut off water to individual sections and watch for a pressure drop over 10 to 15 minutes. A drop indicates water is escaping somewhere in that section.
Pro Tip: Before touching anything, write down your water meter reading and photograph it. This baseline number is your most important reference point throughout the whole process. You can also find plenty of other DIY fixes that pair well with these detection steps if you want to tackle several issues in one session.
Step 1: Initial checks and locating obvious leaks
With your toolkit ready, start your inspection focusing on the most common leak sources. Many leaks hide in plain sight and a slow, methodical walk through your home will often find them faster than any gadget.
Follow these steps in order:
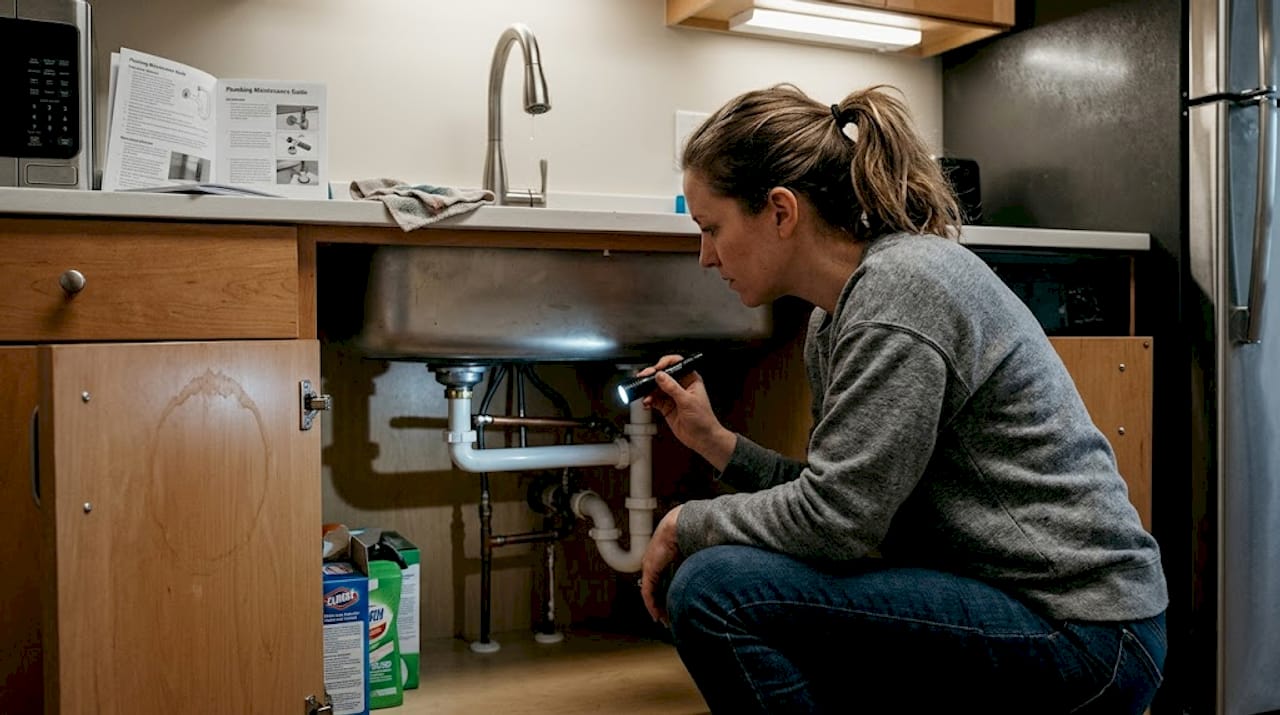
- Check under every sink in the kitchen and bathroom. Look for damp patches, discolouration on cabinet floors, or a musty smell that signals mould.
- Inspect around the base of each toilet. Soft or discoloured flooring here is a strong warning sign.
- Look behind and under appliances including washing machines, dishwashers, and fridge freezers with water lines.
- Check the loft if you have a cold water storage tank. Look for rust stains, watermarks, or standing water.
- Examine exposed pipework in utility rooms and garages, particularly at joints and valves.
- Read your water meter. Turn off every tap and appliance in the house, then watch the meter for 15 to 30 minutes. If the dial or digital display moves at all, water is leaving the system somewhere.
Beyond visible signs, use your senses. Listen carefully in quiet rooms for a faint dripping or hissing sound. Run your hand along pipes under sinks to feel for moisture. Look upward on ceilings for faint yellowing or paint bubbles, which often indicate a leak in the floor above.
Worth knowing: A minor household leak can lose between 90 and 250 gallons of water per day. Over a month, that adds up to thousands of gallons, and the damage to timber, plasterwork, and insulation accumulates just as quickly. The importance of fixing leaks promptly cannot be overstated.
This initial sweep often turns up the most obvious culprits. If nothing visible appears but your meter is still moving, you move to step two. Recognising the signs you need a plumber early on can genuinely save you from much larger repair bills later.
Step 2: Pinpointing hidden leaks in your home
After checking for obvious leaks, tackle those hidden leaks with these focused methods. This stage requires a bit more patience, but the techniques are straightforward and reliable.
- The water meter shut-off test. Note your meter reading, then turn off the main stopcock (usually under the kitchen sink or where the supply pipe enters the house). Wait 30 minutes without using any water. If the meter reading changes at all during this period, you have a leak somewhere between the meter and your internal plumbing. If it stays still, the leak is internal.
- The toilet dye test. Drop food colouring or a dye tablet directly into the toilet cistern. Do not flush. Wait 10 to 15 minutes. If colour appears in the bowl without flushing, the flapper valve is leaking. A faulty toilet flapper wastes up to 200 gallons per day, making it one of the most wasteful and most overlooked household leaks.
- Main valve assessment. If your meter test suggests an outdoor or supply pipe leak, shut the main valve and observe whether the meter still moves. If it does, the leak is between the meter and street, which means it is outside your internal system and usually requires a specialist or your water supplier.
| Method | What it finds | Action if positive |
|---|---|---|
| Meter shut-off test | Active leak anywhere in the system | Investigate internal plumbing zone by zone |
| Toilet dye test | Silent flapper or fill valve leak | Replace flapper or call a plumber |
| Main valve isolation | Outdoor supply pipe leak | Contact water supplier or local plumber |
| Visual/moisture check | Surface and concealed leaks | Repair fitting or investigate behind walls |
Pro Tip: Mark your meter reading with a sticky note or a photo before and after each test period. Even a tiny movement in the numbers tells you something important, so accuracy here is everything.
For a deeper understanding of what causes leaks to develop in the first place, take a look at understanding pipe leaks and how age, pressure fluctuations, and material degradation all play a role.
Advanced leak detection methods and when to call a professional
If routine steps fail or leaks seem severe, consider these expert strategies and know when to get help. Some leaks are genuinely difficult to locate without specialist equipment, and there is no shame in recognising when DIY has reached its limit.
Advanced methods available to both professionals and well-equipped homeowners include:
- Acoustic leak detection: Listening equipment is pressed against walls, floors, and pipes to pick up the specific sound signature of escaping water. Professionals use this to pinpoint leaks through concrete slabs without breaking anything open. Acoustic detection listens for water sounds that are completely inaudible to the human ear.
- Thermal imaging: An infrared camera spots temperature differences in walls and floors caused by moisture. A wet patch behind plasterboard will show up as a cooler or warmer zone depending on the temperature of the leaking water. This method is non-invasive and remarkably accurate.
- Pressure testing with isolation: This goes beyond a basic gauge check. A plumber can pressurise individual sections of pipework and isolate them one by one to narrow down exactly where a drop is occurring.
- Tracer gas detection: A non-toxic gas is introduced into the pipe system. Where it escapes, a detector picks it up at surface level. This is particularly useful under driveways and garden paths.
Safety warning: If you suspect a major supply pipe failure or there is significant water pooling near your electrical consumer unit or boiler, shut off your water and electricity immediately and call a professional. Do not attempt to investigate live electrical areas that have come into contact with water.
Understanding how water pressure affects leaks is also valuable here. Excessively high pressure is a common cause of joint failures and hairline cracks that are almost invisible until they become serious. If you need urgent support, an emergency pipe repair service can respond quickly and prevent further damage.
Pro Tip: Smart leak monitors that attach to your main supply pipe can detect unusual flow patterns and send an alert to your phone. These devices are increasingly affordable and provide the kind of ongoing reassurance that no one-off inspection can match.
What to do after finding a leak: Simple fixes and preventing future issues
Once you have found the leak, act promptly to minimise damage and set up for ongoing protection. The sooner you act, the less damage you will need to deal with.
For minor leaks, these quick DIY fixes often resolve the problem immediately:
- Tighten loose fittings. Many under-sink leaks are simply loose compression fittings. A quarter turn with a wrench is sometimes all it takes.
- Replace washers. A dripping tap nearly always needs a new washer. Replacement washers cost pence and take minutes to fit.
- Swap the flapper valve. If your dye test flagged a toilet leak, a replacement flapper costs very little and fits without special tools.
- Use PTFE tape. For threaded joints that are weeping slightly, wrapping the thread with fresh PTFE tape before reassembling often stops the drip entirely.
- Apply pipe repair tape or epoxy putty. For hairline cracks in accessible pipes, temporary repair products can hold while you arrange a permanent fix.
After dealing with the immediate leak, put these longer term habits in place:
- Schedule an annual plumbing inspection, ideally before winter when pipes are most vulnerable
- Install at least one smart water monitor on your main supply line
- Check washing machine and dishwasher hoses every six months for signs of cracking or bulging
- Know where your main stopcock is and make sure everyone in the household can operate it
- Act immediately on any unexplained rise in your water bill rather than waiting to see if it resolves itself
Monitoring your water use consistently also supports sustainable water management in the home. The EPA recommends installing monitors for ongoing detection as part of a responsible approach to water conservation. And if you want to keep your maintenance costs manageable, there are practical ways of cutting plumbing costs without cutting corners on safety or quality.
The truth about DIY leak detection: What most guides miss
Here is something most step-by-step guides will not tell you directly. The process of finding a leak is often less about technical skill and more about patience and honesty with yourself. Many homeowners find the obvious leaks quickly, do a basic fix, and assume the job is done. The problem is that older homes, particularly those built before the 1980s, frequently have complex pipework that routes through walls and under floors in ways that make visual inspection almost useless. You can follow every step in this guide perfectly and still miss a slow-weeping joint inside a cavity wall.
The real value of DIY leak detection is not that it replaces a professional. It is that it gives you solid information before a professional arrives. When you can hand an engineer a notebook with meter readings, photographs, dye test results, and a mapped location of every damp patch you found, that engineer can diagnose and fix the problem in half the time. That saves you money.
We have seen homeowners hesitate for weeks after noticing a damp patch, unsure whether to call a plumber or wait and see. That hesitation almost always makes the situation worse. Timber joists soften, mould establishes itself, and what could have been a 30-minute repair becomes a major renovation. Setting up prevention devices like smart monitors is genuinely the smartest investment a homeowner can make. For a thorough in-depth explanation of how professional leak detection works alongside DIY efforts, that resource is well worth your time.
The guides that tell you to simply "call a professional if in doubt" without explaining why professional assurance is valuable are missing a key point. When a qualified engineer confirms that your pipework is sound, that is not just a repair outcome. It is peace of mind that no DIY guide can fully replicate.
Need leak detection help in Reading?
Carrying out your own checks is a smart first move, but some leaks simply require expert hands and specialist tools to trace properly.

Our local plumbing team covers Reading and the surrounding areas, offering fast response times for both emergency situations and planned leak detection inspections. Whether you have already done your own investigation and want a professional second opinion, or you are dealing with a leak that needs immediate attention, we are here to help. Our engineers carry the detection equipment and experience to locate even the most stubborn hidden leaks, and we provide transparent pricing with no hidden surprises. Get in touch today to book an inspection or arrange an emergency call-out.
Frequently asked questions
How do I check for a leak if I can't see water anywhere?
Turn off every tap and appliance in your home, then check your water meter. If the dial is still moving, water is leaving the system somewhere, and shutting the main valve will tell you whether the leak is indoors or in the supply pipe outside.
What is the dye test for toilets and why is it useful?
Add food colouring to the toilet cistern and wait 10 to 15 minutes without flushing. If colour appears in the bowl, your flapper valve is failing and wasting up to 200 gallons of water per day silently.
Is it safe to try pressure testing my home plumbing myself?
You can attach a pressure gauge to a spigot and monitor for drops, but if readings are unstable or you are unsure what the results mean, it is safer to get a professional to interpret and act on them.
What should I do if I find more than one leak?
Record the exact location and size of each one, fix any minor drips yourself using washers or tightened fittings, and call a professional if the leaks are widespread, located inside walls, or involve multiple points in your pipework.