TL;DR:
- Many common plumbing issues can be fixed by homeowners with proper tools and safety precautions.
- Regular maintenance and early leak detection prevent costly repairs and water damage.
- Complex problems or issues involving sewer or main shutoff should be handled by professionals.
A dripping tap keeping you awake at night or a slow-draining sink backing up just before guests arrive — these are the everyday plumbing frustrations that Reading homeowners know all too well. The good news is that many of the most common household plumbing problems are well within your reach to fix yourself, provided you follow the right steps and take sensible precautions. This guide walks you through everything you need: the tools to gather, the repairs to tackle, the maintenance habits to build, and the clear signals that tell you it is time to call in a professional instead.
Table of Contents
- Gathering your kit: Tools and safety basics
- Step-by-step: Fixing common leaks and drips
- DIY drain unclogging: Safe and effective methods
- Maintaining a healthy home plumbing system
- The reality of DIY plumbing: Hard truths and real rewards
- Need professional help? Book your local expert
- Frequently asked questions
Key Takeaways
| Point | Details |
|---|---|
| Preparation is key | Having the right tools and safety knowledge makes DIY plumbing safer and more successful. |
| Start simple for DIY | Common issues like leaks and clogs can be fixed safely with clear steps and the proper method. |
| Avoid common mistakes | Turning off the supply, using the correct tools, and avoiding chemicals prevents costly damage. |
| Routine checks prevent damage | Monthly inspections and minor maintenance stop most plumbing issues before they escalate. |
| Know when to call a pro | Complicated jobs or major system problems are safest and quickest handled by a qualified plumber. |
Gathering your kit: Tools and safety basics
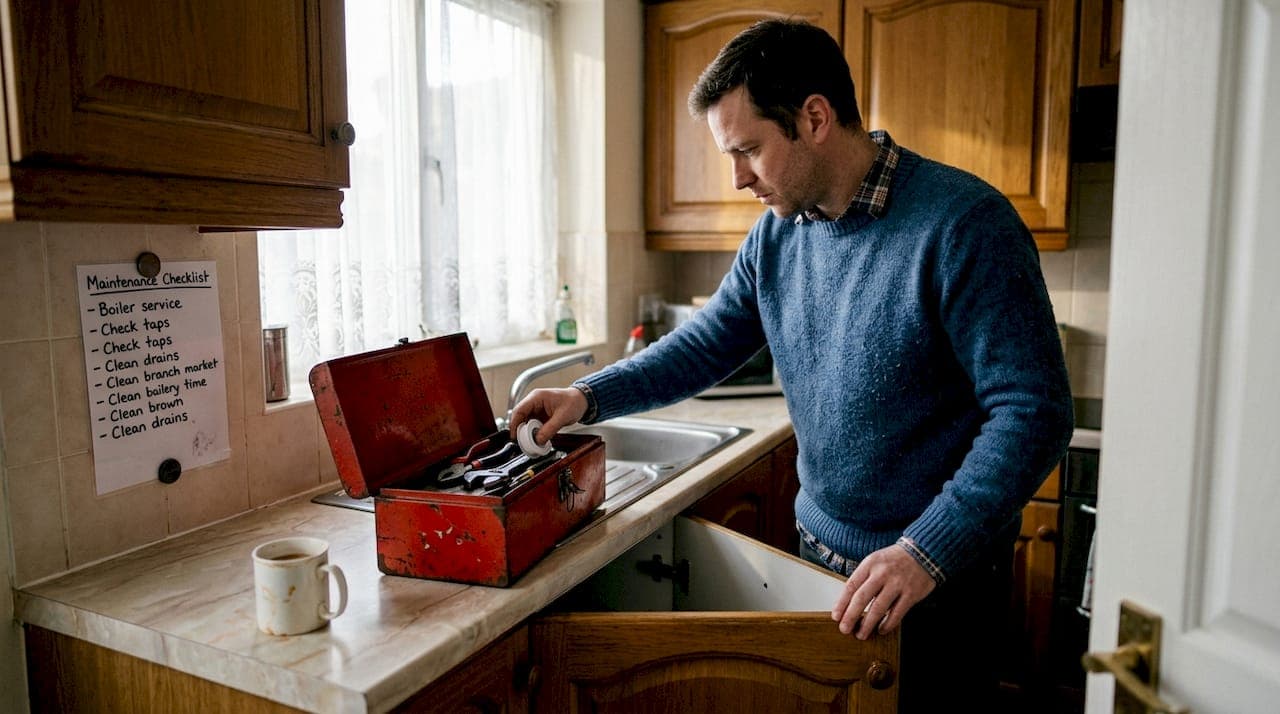
Before you touch a single pipe, getting properly equipped is the single most important thing you can do. A well-stocked toolkit not only makes the job easier — it also keeps you safe and prevents accidental damage to your home's pipework. Many beginners run into trouble early on because they improvise with whatever is to hand, and that almost always ends badly.
Common DIY mistakes include using the wrong tools and not turning off the water before starting work. Both errors can turn a minor repair into a costly flood.
Essential tools and materials to have ready:
- Adjustable spanner and pipe wrench
- Slip-joint pliers
- Plunger (cup and flange types)
- Drain snake (also called a plumber's auger)
- PTFE tape (thread seal tape)
- Replacement washers, O-rings, and tap cartridges
- Bucket and old towels
- Pipe insulation foam
- Torch (head torch is ideal for tight spaces)
Comparison: Hand tools vs specialist tools
| Task | Basic hand tool | Specialist tool |
|---|---|---|
| Tap washer replacement | Adjustable spanner | Basin wrench |
| Pipe joint sealing | PTFE tape | Compression fittings |
| Drain clearing | Plunger | Drain snake/auger |
| Pipe insulation | Foam lagging | Pipe clamps |
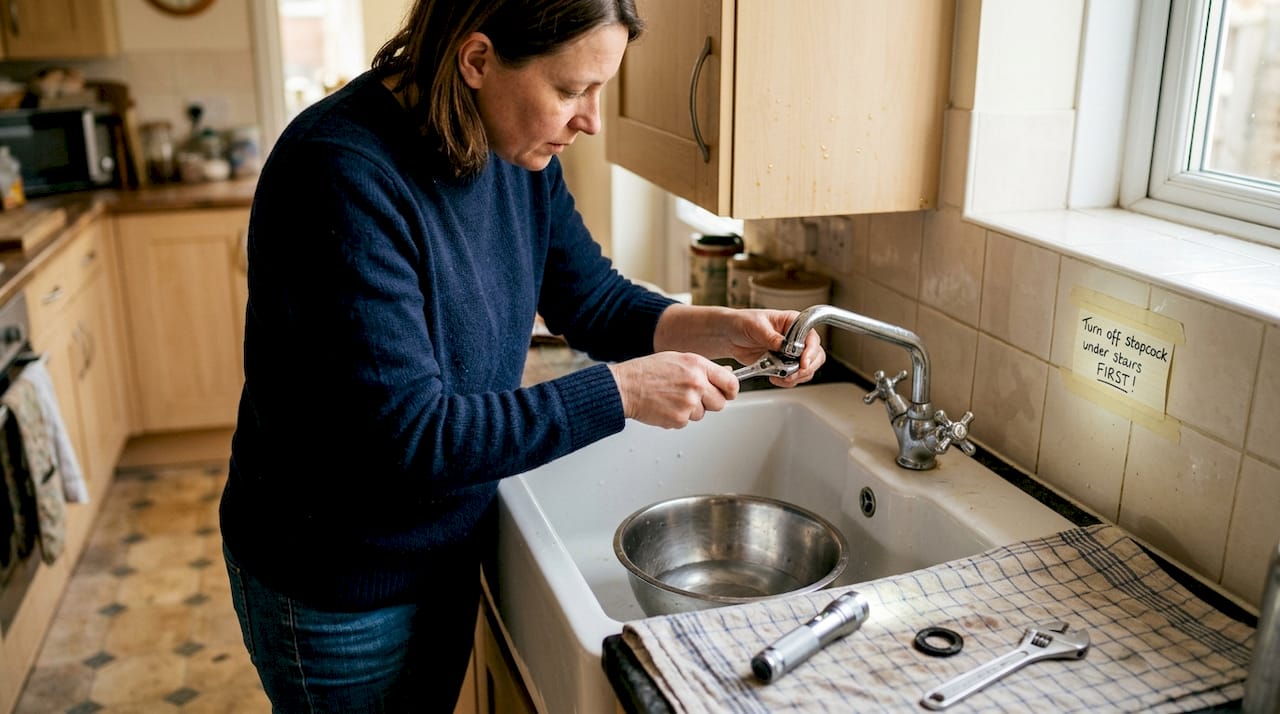
Safety must always come first. Locate your home's main stopcock before you need it — typically found under the kitchen sink or where the supply enters the property. Turn it off before beginning any repair, and keep a bucket and towels nearby to catch residual water in the pipes. Wear rubber gloves when working near waste pipes to protect yourself from bacteria.
Pro Tip: If you are unsure where your stopcock is, review a full maintenance checklist to map out all the isolation points in your home before you need them in an emergency.
"Know your main shutoff before any repair begins — it is the single most important piece of plumbing knowledge a homeowner can have."
For Reading homeowners specifically, winter pipe protection matters. Temperatures in Berkshire can dip sharply between November and February, making uninsulated pipes in loft spaces and exterior walls vulnerable to freezing and bursting. Use foam lagging on any exposed pipe runs, and familiarise yourself with plumbing terminology tips so you can describe problems accurately if you do need to ring a plumber.
Step-by-step: Fixing common leaks and drips
With your toolkit and safety checks complete, you are ready to tackle those stubborn leaks. Dripping taps and running toilets are the two most frequent culprits in UK homes, and both are very manageable with a methodical approach.
Repairing a compression tap (most common in older UK homes):
- Turn off the water supply at the isolation valve beneath the sink or at the main stopcock.
- Open the tap fully to release residual pressure and drain remaining water.
- Remove the tap handle — usually held by a small screw hidden under a decorative cap.
- Use an adjustable spanner to unscrew the packing nut and withdraw the spindle.
- Replace the worn washer at the base of the spindle and swap the O-ring if it looks cracked or misshapen.
- Reassemble in reverse order, turn the water back on slowly, and test for drips.
Fixing a drippy compression-type tap follows this straightforward sequence, and the whole job typically takes under 30 minutes once you have done it once.
Toilet flapper replacement:
| Step | Action | Watch out for |
|---|---|---|
| 1 | Turn off the cistern supply valve | Corroded valves — may need WD-40 |
| 2 | Flush to empty the cistern | Water remaining — sponge it out |
| 3 | Unhook the old flapper from the overflow tube | Different fittings on one-piece toilets |
| 4 | Fit the new flapper and reconnect the chain | Leave 1-2 cm of slack in the chain |
| 5 | Turn water back on and test flush | Listen for hissing — sign of poor seal |
Turn off water, replace flapper and adjust chain for a proper flush — a task most homeowners can complete in under 20 minutes.
Pro Tip: Chain tension is critical. Too tight and the flapper never fully seals; too loose and it gets trapped under the flapper, causing a constant trickle. Aim for just enough slack to allow a complete lift on flushing.
If the isolation valve beneath your toilet is stiff or will not turn, do not force it. This is a common issue in older Reading properties and forcing a corroded valve can cause it to fail entirely. These DIY plumbing jobs have clear limits, and a stuck valve is one of them — isolate at the stopcock instead.
DIY drain unclogging: Safe and effective methods
After leaks are sorted, blockages are the next common challenge, and with the right approach, they are just as manageable. The key is to work through the gentlest methods first before reaching for anything more forceful.
Step-by-step drain clearing process:
- Boiling water first. Carefully pour a full kettle of boiling water directly into the drain. This dissolves grease and soap scum rapidly in many cases.
- Baking soda and vinegar. Pour half a cup of bicarbonate of soda into the drain, followed by half a cup of white vinegar. Cover and leave for 15 minutes, then flush with hot water.
- Plunge it. Use a cup plunger for sinks and a flange plunger for toilets. Create a firm seal and work with short, sharp strokes rather than slow pushes.
- Use a drain snake. Feed the auger into the drain, rotating it clockwise until you feel resistance. Break up or retrieve the blockage, then flush thoroughly.
- Check the U-bend. Place a bucket beneath the trap, unscrew the retaining nuts by hand or with pliers, and clear any debris directly.
Boiling water, baking soda and vinegar, and plunging are the recommended safe methods — they are effective, cheap, and do not damage your pipework.
Why to avoid chemical drain cleaners:
- They corrode older copper and lead pipework still found in many Reading properties
- They create hazardous fumes in poorly ventilated spaces
- They are harmful to the environment and local drainage systems
- They often fail on solid blockages, just delaying the problem
Pro Tip: A mesh drain guard over your plughole costs next to nothing and prevents the vast majority of hair and debris blockages before they start. It is the simplest preventative measure available.
"Prevention beats cure every time — most blocked drains start with what goes down them."
If you have cleared the visible trap and used a drain snake with no result, the blockage is likely further into the waste stack or even the main drain. At that point, regular drain checks and a professional camera inspection are the sensible next steps rather than persisting with DIY methods.
Maintaining a healthy home plumbing system
With repairs handled, keeping your system strong means adopting a few smart maintenance habits. Prevention costs far less than repair, and a consistent routine will protect your home all year round.
Monthly tasks:
- Check under sinks and around toilet bases for damp patches or drips
- Run water through infrequently used taps to prevent stagnation and limescale build-up
- Test that isolation valves turn freely — a quick quarter-turn each month keeps them from seizing
- Pour hot water down slow-running drains to flush early grease deposits
Seasonal tasks:
- Autumn: Insulate any exposed pipes in the loft, garage, or exterior walls before the cold arrives
- Winter: Keep the property heated to a minimum of 12°C even when away to prevent freezing
- Spring: Check outdoor taps and garden hose connections after the frost season
- Summer: Inspect washing machine hoses for cracks and replace if they are more than five years old
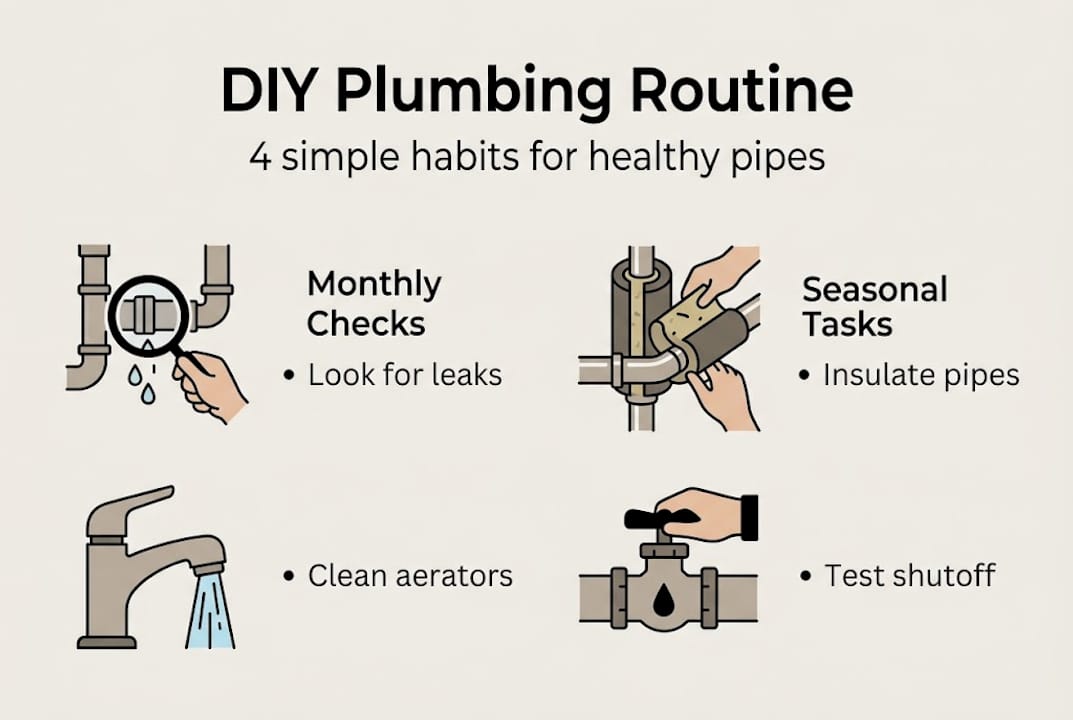
Check for leaks monthly, clean aerators, insulate pipes, and know your main shutoff — these four habits alone prevent the majority of plumbing emergencies.
Reading's water supply comes from a moderately hard water area, which means mineral deposits build up on tap aerators and showerheads over time. Unscrew your tap aerators every three months and soak them in white vinegar for an hour to dissolve limescale. This simple step maintains good water flow and extends the life of your fittings considerably.
Pro Tip: Schedule a professional monthly maintenance review every two years, even if nothing appears wrong. An engineer can spot early signs of corrosion, joint failure, or pressure issues that are invisible to the untrained eye. Pair this with plumbing inspections if you are buying or selling a property, as hidden defects can be very costly to discover later.
The reality of DIY plumbing: Hard truths and real rewards
There is a version of DIY plumbing advice that makes every repair sound simple and every homeowner sound invincible. That version leaves out some important details that we think you deserve to know.
The truth is that DIY plumbing genuinely does save money and build useful knowledge. Replacing a washer or clearing a blocked sink are skills that pay for themselves many times over. But many guides quietly skip past the situations where stopping is actually the right call.
DIY is safe for basic tasks but you should call a professional for pressure, sewer, or main shutoff issues — and in the UK, gas and water regulation compliance adds another layer of responsibility that DIY cannot cover.
Reading sits in a hard water zone, which accelerates wear on joints and valves compared to softer water areas. That matters when you are assessing how urgent a small drip really is. It may look minor but could reflect underlying corrosion. Pair that with plumbing regulations that govern certain types of work, and the picture becomes clearer: confident DIY and reliable professional backup are not opposites. They work best together.
Need professional help? Book your local expert
Sometimes a job goes beyond what a spanner and a YouTube video can solve. If you are facing a burst pipe, a persistent loss of water pressure throughout the house, or a blockage that simply will not shift, the smartest move is to get an experienced engineer on site quickly.

At Your Local Plumber, we cover Reading and the surrounding areas with fast response times and transparent, upfront pricing. Whether you need to book a local plumber for a scheduled repair or require emergency plumbing assistance around the clock, our engineers are ready to help. No call-out surprises, no unnecessary delays — just reliable local support when you need it most.
Frequently asked questions
What is the first thing to do before any plumbing repair?
Always turn off the relevant water supply, either at the fixture isolation valve or the main stopcock, before you begin. Always turn water off before repair to avoid flooding your home.
How can I tell if a plumbing job needs a professional?
Issues involving the main shutoff, sewer system, or whole-house pressure drop require a qualified plumber. Jobs involving sewer, main shutoff, or pressure regulation should always be left to professionals.
Are chemical drain cleaners safe for my pipes?
No — avoid chemical drain cleaners as they corrode UK pipework over time. Avoid chemicals as they corrode pipes and opt for boiling water, bicarbonate of soda and vinegar, or a mechanical drain snake instead.
How often should I check for leaks in my home?
Check under sinks and around toilets every month for early leak detection. Check for leaks monthly under sinks and toilets to catch problems before they cause damage.
What special steps should Reading homeowners take?
Insulate exposed pipes before winter and clean tap aerators every three months to combat hard water build-up. Insulate pipes in cold areas and clean aerators with vinegar to maintain good flow and extend fitting life.