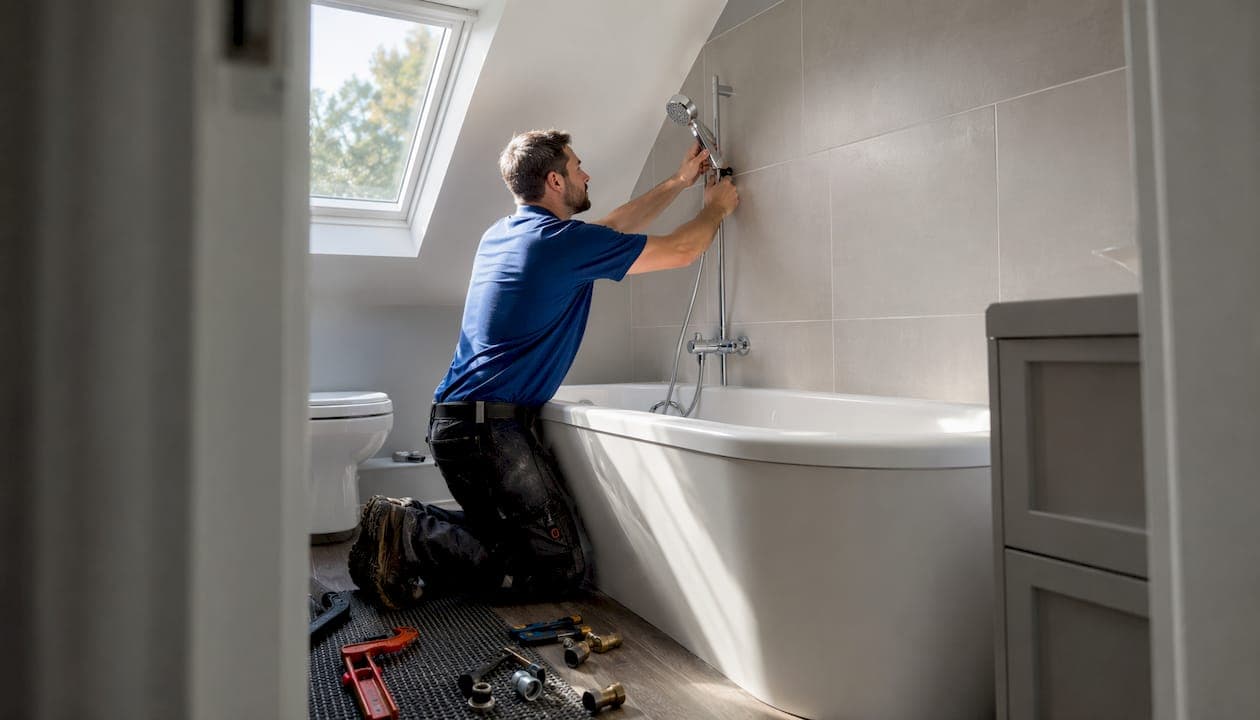
How to install a shower over a bath: the key steps
Adding a shower over an existing bath is one of the most practical upgrades a UK homeowner can make. You keep the bath, gain a daily shower, and avoid the cost and disruption of a full wet room conversion. The core process involves choosing the right shower type, checking your plumbing, waterproofing the walls, fitting the hardware, and testing everything before use.
Three shower types suit this installation:
- Mixer shower (exposed bar valve): connects to your existing hot and cold supplies; the simplest and most affordable option for most homes
- Thermostatic concealed mixer: valves hidden behind the wall for a clean finish; requires wall chasing and re-tiling
- Electric shower: heats water on demand; needs a dedicated electrical circuit and Part P certification
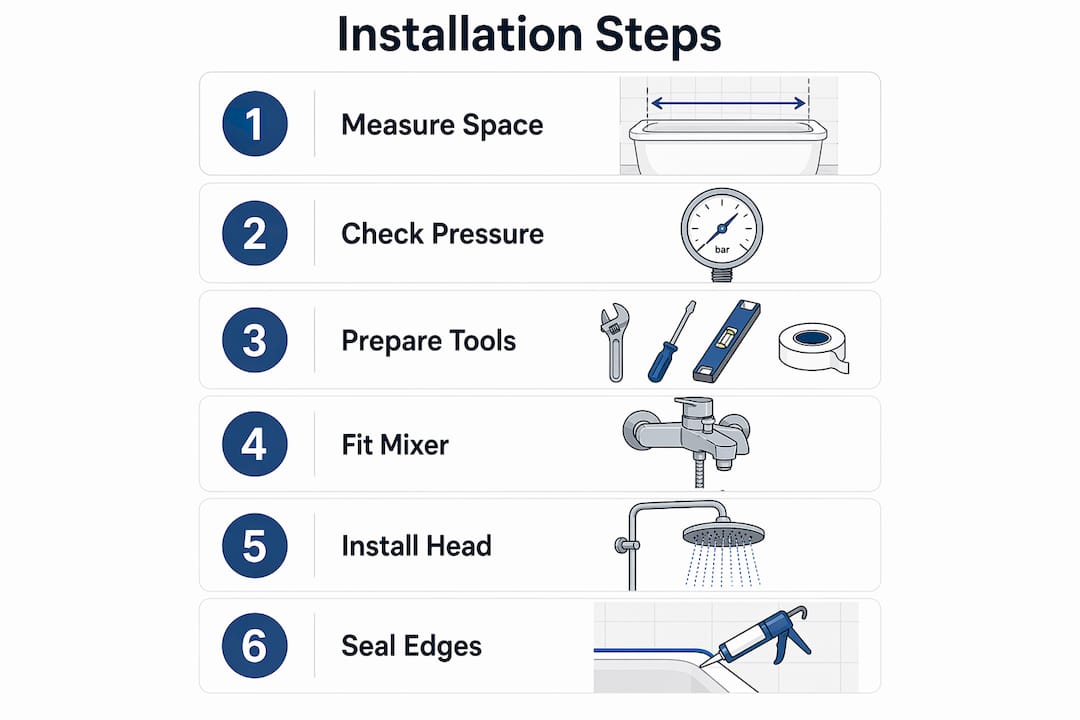
The core installation steps, in order:
- Confirm water pressure and plumbing compatibility
- Choose your shower type and purchase all components
- Turn off the water supply and prepare the workspace
- Fit the mixer valve or electric unit and connect to pipework
- Install the riser rail, shower head, and hose
- Apply waterproof sealant around all fittings and wall junctions
- Fit a bath screen or shower curtain for splash control
- Test water flow, temperature, and all connections for leaks
What to consider before adding a shower over your bath
Getting the preparation right saves far more time than rushing the installation. Before you buy anything, work through these checks.
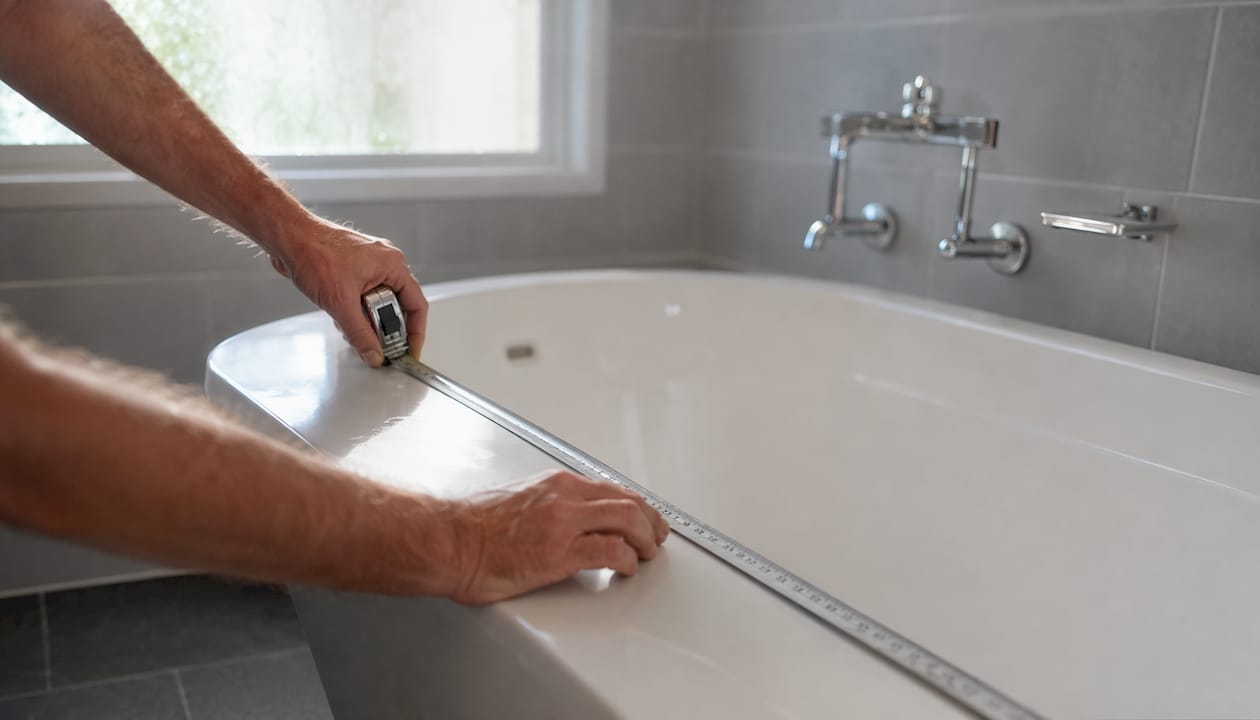
Space and layout matter more than people expect. Measure the bath surround carefully. A standard UK bath is a typical size suitable for shower installation, but the usable shower zone is usually the tap end, and you need clear wall space for a riser rail and valve. Low ceilings can restrict head height, so confirm clearance before ordering a tall riser kit.
Water pressure is the single biggest compatibility issue. Most modern thermostatic mixers need a minimum dynamic pressure suitable to provide correct function. Combi boilers usually supply adequate pressure, while gravity-fed systems often have pressure too low for a thermostatic mixer without a pump. An electric shower bypasses this problem entirely because it heats cold mains water on demand.
Waterproofing needs planning before you pick up a drill. Tiles alone are not waterproof. The wall behind them needs a waterproof membrane or tanking slurry, particularly at the bath rim junction where water collects. Silicone sealant at every joint is non-negotiable.
Additional points to check before starting:
- Confirm the bath waste and drain can handle the additional water flow from a shower
- Decide between a hinged bath screen and a shower curtain for splash containment
- Check whether any electrical work is needed and whether a Part P-certified electrician is required
- Assess ventilation; a 15 L/s extractor fan is strongly recommended to control moisture and prevent mould, even where an openable window exists
Tools and materials you will need
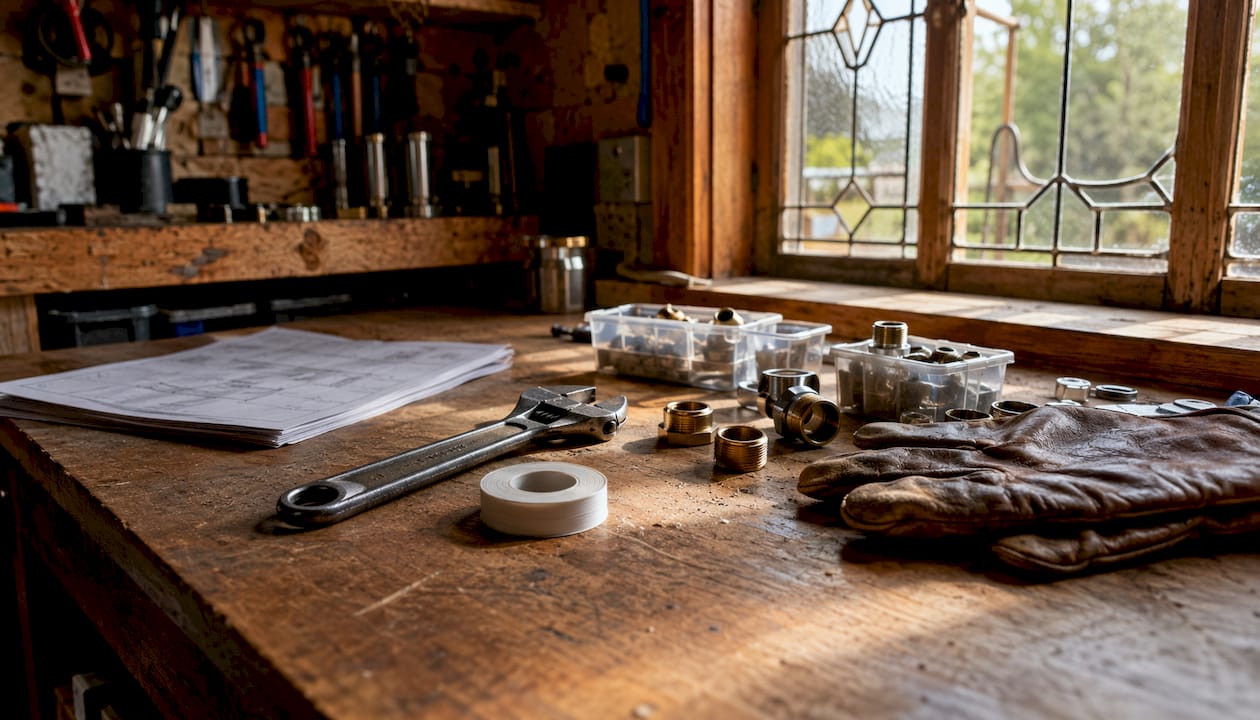
Gathering everything before you start prevents the classic mid-job trip to the builders' merchant. The list splits neatly into plumbing tools, shower components, waterproofing materials, and safety gear.
Plumbing tools:
- Adjustable spanners (two, for counter-holding)
- Pipe cutter or hacksaw
- Screwdrivers (flat and cross-head)
- PTFE tape
- Pipe clips and fixings
Shower components:
- Mixer valve or electric shower unit
- Riser rail with adjustable bracket
- Shower head and flexible hose
- Diverter spout (if keeping the bath filler)
- Bath screen or curtain rail and curtain
Waterproofing materials:
- Silicone sealant (sanitary grade, mould-resistant)
- Waterproof membrane or tanking slurry for the wall substrate
- Grout (if re-tiling around the valve)
If installing an electric shower:
- Cable tester and voltage indicator
- 10mm² twin-and-earth cable
- Ceiling-mounted pull-cord isolator switch
- RCD protection (usually via the consumer unit)
Safety gear:
- Safety goggles
- Work gloves
- Dust mask (for drilling into tiles or masonry)
Pro Tip: Buy a spare set of compression fittings and an extra length of PTFE tape before you start. Running short of either mid-installation is the most common cause of unnecessary delays.
Step-by-step guide to fitting a shower over a bath
This walkthrough covers an exposed mixer shower, the most common choice for a straightforward shower over bath installation. Concealed valves and electric showers follow the same sequence but add wall preparation and electrical work respectively.
-
Turn off the water supply. Isolate the hot and cold feeds at the service valves under the bath or at the mains stopcock. Open the existing taps to drain residual pressure.
-
Remove existing bath taps if replacing them. Disconnect the supply pipes, unscrew the tap backnuts from below the bath, and lift the taps clear. Clean the tap holes if you plan to reuse them for a deck-mounted mixer.
-
Fit the mixer valve. For a wall-mounted bar valve, mark and drill fixing points at the correct height (typically 900–1,000mm above the bath rim). Feed the hot and cold supply pipes through the wall or run them along the surface with pipe clips. Connect to the valve tails using compression fittings and PTFE tape on all threads.
-
Install the riser rail. Fix the rail bracket to the wall at the correct height so the shower head clears the tallest user's head comfortably. Slide the adjustable head holder onto the rail before fixing the top bracket.
-
Connect the shower head and hose. Attach the hose to the valve outlet and the shower head to the hose. Hand-tighten, then give a quarter-turn with a spanner. Do not overtighten; you will crack the fittings.
-
Seal all wall penetrations and the bath rim junction. Apply sanitary-grade silicone sealant around every pipe entry point and along the full length of the bath rim where it meets the wall. Smooth with a wet finger and leave to cure for the time stated on the tube, typically 24 hours.
-
Fit the bath screen or curtain. A hinged glass screen fixes to the bath rim with a clamp bracket. A curtain rail screws to the ceiling or wall. Either method should contain splash effectively by overlapping the bath edge.
-
Restore the water supply and test. Turn the supply back on slowly. Check every connection for drips before running the shower. Run hot and cold through the full temperature range and confirm the diverter switches cleanly between bath filler and shower head.
Pro Tip: Take photos of the bath wall, the existing bath, and the boiler or cylinder label before requesting installation quotes. Installers who can see the setup give more accurate fixed prices and are far less likely to revise the figure on the day.
How much does it cost to install a shower over a bath in the UK?
Costs vary considerably depending on the type of shower, the complexity of the installation, and where you live. The figures below reflect typical UK prices in 2026 for supply and fit combined.
| Installation type | Typical UK range | London and South East |
|---|---|---|
| Mixer over bath (exposed, combi-fed) | £280–£380 | — |
| Thermostatic concealed mixer (wall chased, tiled) | £750–£1,400 | — |
| Electric shower (new circuit and certification) | £450–£850 | — |
Labour accounts for a large share of the total. UK plumbers charge roughly £45–£70 per hour, and a straightforward exposed mixer over a bath typically takes half a day. A concealed thermostatic installation requiring wall chasing, plastering, and re-tiling runs to 1–1.5 days for the plumber plus additional time for a tiler. London and the South East run 12–18% above the national average.
Electric showers require a new dedicated 10mm² electrical circuit and must be connected by a Part P-certified electrician. The total cost to install an electric shower, including these requirements, typically ranges from £450 to £850.
Waterproofing materials, sealants, and a bath screen add to the total. Budget a further £80–£200 for a decent hinged glass screen, and factor in the cost of any shower filter if your water supply is hard, which can extend the life of your shower head and valve significantly.
UK building regulations and permissions: what you need to know
Most shower over bath installations fall into a straightforward regulatory category, but the rules shift the moment electrical work is involved. Understanding where the lines are drawn protects you legally and keeps your home insurable.
When no notification is required:
- Replacing bath taps with a mixer shower on a like-for-like basis does not require building control notification under UK regulations
- Fitting an exposed bar valve to existing pipework, with no new electrical circuits, is not notifiable work
- Replacing a bath screen or curtain requires no permissions
When Part P applies:
- Any new electrical circuit to the bathroom, including the dedicated circuit for an electric shower, must comply with Part P of the Building Regulations
- The work must either be carried out by a registered competent person (such as a Part P-registered electrician) or notified to your local building control authority
- A like-for-like electric shower swap reusing the existing cable and isolator is not notifiable, provided no new cable run is added and the existing circuit protection is correct
IP ratings in bathroom zones:
Electrical fittings in bathrooms must meet minimum IP (Ingress Protection) ratings depending on their location. Zone 1, directly above the bath up to 2.25m above the floor, requires a minimum of IPX5 where a shower is present. Zone 2, extending 0.6m horizontally outside Zone 1, requires at least IPX4. No standard socket outlets or unrated switches are permitted in either zone.
Ventilation under Part F:
Building Regulations guidance recommends mechanical extract ventilation for bathrooms with showers, even where an openable window is present. A 15 L/s extractor fan is the recommended standard. For further detail on staying compliant with UK plumbing regulations, the requirements around notification and certified tradespeople are worth reviewing before you start.
Additional compliance points:
- Approved Document G requires that hot water supplied to a fixed bath does not exceed 48°C; a thermostatic mixing valve (TMV) is the standard way to meet this
- DIY installation of concealed valves or systems with multiple outlets is not recommended; complexity increases leak risk and can void manufacturer warranties
- For certified plumbing services that cover both the plumbing and electrical compliance side, using a qualified engineer removes the notification burden from you entirely
Key takeaways
A straightforward exposed mixer shower over a bath is the most affordable installation option and often does not require building control notification, but electric showers and concealed valves involve additional regulatory and cost considerations that every homeowner should be aware of.
| Point | Details |
|---|---|
| Pressure check first | Thermostatic mixers need at least 1.0 bar; gravity-fed systems often need a pump or an electric shower instead. |
| Cost by type | Exposed mixers run £280–£380; concealed thermostatic installations reach £750–£1,400; electric showers cost £450–£850 including certified electrical work. |
| Part P is mandatory | Any new electrical circuit for an electric shower must be carried out by a registered installer or notified to building control. |
| IP ratings matter | Zone 1 (above the bath) requires IPX5 minimum; Zone 2 requires IPX4. Standard sockets are not permitted in either zone. |
| Waterproofing is non-negotiable | Seal all pipe penetrations and the full bath rim junction with sanitary silicone; tiles alone do not provide a watertight barrier. |