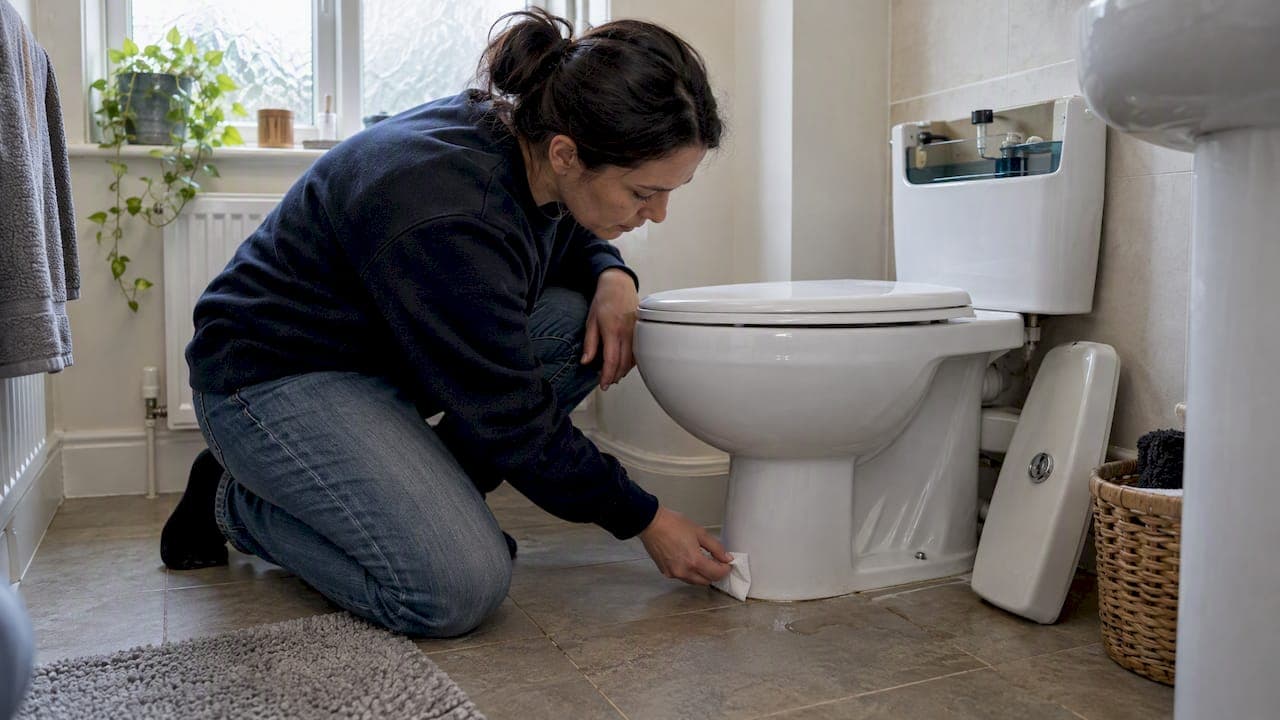
A toilet leaking at the base is usually a failed wax ring, loose closet bolts, a damaged flange or a cracked pan, though sometimes it's really a cistern drip running down the outside of the bowl. If water is pooling on the floor, turn off the isolation valve or stopcock first. Many of these faults are safe to diagnose yourself, but a cracked pan or ongoing leak after a repair needs a plumber.
TL;DR:
- Dry the floor, flush once, and watch where moisture first appears; add food coloring to the cistern and wait 30 minutes without flushing.
- If colored water appears in the bowl, the fault is inside the cistern; water appearing only after flushing points toward the wax ring or flange.
- Tighten loose bolts evenly and stop when the pan feels stable, since overtightening can crack porcelain; replace corroded bolts rather than reusing them.
- Call a plumber if sewage odors, soft flooring, cracked porcelain, a broken flange below floor level, or leaks persist after resealing.
- Straightforward wax ring and bolt repairs often take one or two hours; flange repairs or floor damage take longer, so request an itemized quote.
Table of Contents
- Common causes of a toilet leaking at the base
- How to check and diagnose the leak safely at home
- DIY repair options and practical how-to steps
- When to call a plumber: red flags, likely actions and cost and timeline expectations
- Short-term fixes and prevention to limit damage and avoid repeat leaks
- What engineers typically find on a toilet leak callout
- Quick decision rules: when to DIY and when to call a pro
- Book a toilet repair with Your Local Plumber
- FAQ
- Sources
Common causes of a toilet leaking at the base
The wax ring sits between the toilet and the waste pipe, sealing the join so water and waste pass straight down without escaping. Once it dries out, shifts, or gets compressed unevenly, water seeps out exactly where the pan meets the floor, which is why this is the most common base leak reported.

Closet bolts hold the pan to the flange or floor, and when they loosen over time, the pan can rock slightly with each use, breaking the wax seal underneath. Corroded bolts sometimes shear off entirely, leaving the toilet unstable and leaking.
A cracked pan is less common but more serious: hairline fractures near the base let water escape continuously, not just after flushing, and often leave a thin film or mineral trace along the crack line.
Several leaks that look like base failures actually come from elsewhere:
- Cistern internals (fill valve, overflow tube or flush valve) leaking down the back of the bowl and pooling at the base, as WaterSafe notes
- Condensation on a cold cistern in a humid bathroom, which drips down and collects at the floor
- A worn supply line connector or a loose pan connector joint on the waste side
How to check and diagnose the leak safely at home
Before assuming the worst, work through a short sequence of checks. Each one narrows down the likely cause without needing to remove the toilet.
- Dry the floor and base completely, then flush once and watch where moisture first appears.
- Run your hand (dry) around the base, the cistern joints and the supply connector to feel for dampness.
- Do a dye test: add a few drops of food colouring to the cistern water and wait 30 minutes without flushing, then check if coloured water has reached the bowl, as WaterSafe recommends.
- Press a strip of toilet paper against the rear of the pan where it meets the floor and leave it for a few minutes to catch any weeping.
- Gently check the closet bolts for movement and inspect the flexible supply connector for cracking or looseness.
A significant number of homes have a leaky loo, and an average one wastes a considerable amount of water daily, which can add substantially to a water bill over a year, according to WaterSafe.
If the dye shows up in the bowl, the problem is internal to the cistern, not the base seal. If the tissue stays dry but water still appears after flushing, suspect the wax ring or flange; if bolts wobble, tighten them before replacing anything.
DIY repair options and practical how-to steps
Before touching anything, turn off the water at the isolation valve, flush to empty the cistern, and lay old towels or a tray under the pan to catch residual water. Wear gloves, since waste residue can be present even in a clean-looking bowl.
- Tighten loose bolts first. Snug them evenly on both sides, a little at a time, and stop as soon as the pan feels stable; overtightening can crack porcelain.
- Replace corroded bolts with new brass or stainless fixings rather than reusing rusted ones.
- Reseat or replace the wax ring if tightening bolts doesn't stop the leak. This means lifting the toilet off the flange entirely, scraping off the old wax, and fitting a new ring or a foam/rubber alternative sized for your flange.
- Inspect the flange once the toilet is off. A cracked or corroded flange usually needs replacing or repairing with a flange extender kit, and the new part should match your existing pipe diameter.
- Check for pan cracks while everything is exposed. A hairline crack in the porcelain cannot be patched reliably and means the pan needs replacing rather than resealing.
Pro Tip: Take a photo of the bolt pattern and flange height before lifting the toilet, it saves guesswork when fitting the new seal.
When to call a plumber: red flags, likely actions and cost and timeline expectations
Some signs mean it's time to stop troubleshooting and book a professional rather than keep testing:
- Water keeps appearing after you've refitted the wax ring and bolts correctly
- You notice soft or discoloured flooring, which points to damage under the pan
- There's a smell of sewage rather than clean water, suggesting a waste-side leak
- The pan itself is cracked, or the flange is broken below floor level
A plumber will typically run the same dye and visual checks, then replace the wax ring, flange or connector, or swap the pan if it's cracked. Straightforward wax ring and bolt jobs are often finished within an hour or two; flange repairs or floor damage take longer.
Costs vary with parts and labour, so ask for an itemised quote rather than a flat estimate over the phone. Choosing an approved plumber and confirming what's covered under warranty protects you if the same leak returns.
Short-term fixes and prevention to limit damage and avoid repeat leaks
While you wait for parts or a plumber, place a shallow tray or towels under the base to stop water reaching the subfloor, and keep the isolation valve shut between uses if the leak is active. For details on shutting off supply safely, see our emergency water shutoff guide.
- Check closet bolts once a year for looseness or corrosion
- Inspect cistern internals periodically, especially fill and flush valves
- Wipe condensation from the cistern in humid bathrooms rather than letting it pool
Pro Tip: Swapping an old fill valve for a modern, water-efficient one often stops slow running leaks before they ever reach the floor.
For broader bathroom leak prevention, our guide to preventing bathroom leaks covers routine checks beyond the toilet itself.
What engineers typically find on a toilet leak callout
On most toilet base callouts, the fault turns out to be a worn wax ring or loose bolts rather than anything structural, and the fix is usually finished the same visit. When an engineer arrives, ask what's causing the leak, which parts they're replacing, what's covered by warranty, and how long the job will take.

Quick decision rules: when to DIY and when to call a pro
A small weep after tightening bolts is worth watching for a day before escalating, but any leak smelling of sewage, any cracked porcelain, or any leak that returns after a proper reseal needs a plumber, not another attempt. Photograph the leak and note when it appears (during flush, constantly, only when the cistern fills), since that detail speeds up any repair visit considerably.
— Michael
Book a toilet repair with Your Local Plumber
If you've worked through the checks above and the leak is still there, or you'd rather skip the dismantling altogether, we handle toilet repairs and leak fixes directly. When you book, tell us whether the leak appears during flushing, constantly, or only when the cistern refills, since that helps our engineer bring the right parts first time.

What to expect on the visit:
- A diagnostic check using the same dye and visual tests covered above, confirmed on site
- Replacement of the wax ring, bolts, flange or pan as needed.
- Transparent pricing agreed before any work starts, with availability for urgent leaks.
Book directly through our plumbing services page, or use our emergency callout service if water is actively pooling and you need same-day attendance.
FAQ
What causes a toilet to leak at the base when flushed?
A leak that appears specifically during flushing usually points to a worn wax ring, loose closet bolts, or a damaged flange letting waste water escape at the pipe connection. It can also be a cracked pan near the base, which leaks continuously but often looks worse right after a flush.
What is a toilet flange?
A toilet flange is the fitting that connects the base of the pan to the waste pipe in the floor, holding the closet bolts and the wax ring seal in place. If it cracks, corrodes, or sits at the wrong height, the seal above it fails and water leaks at the base.
How do I fix a leaking toilet waste pipe joint?
Isolate the water supply, lift the toilet off the flange, and check whether the wax ring, the flange itself, or the pan connector is damaged. Replace whichever part has failed, using fittings sized correctly for your flange and pipe, as WaterSafe advises, and if the flange is broken below floor level, book a plumber rather than patching it.
How do I reseal a toilet base?
Turn off the water, remove the toilet from the flange, scrape away the old wax ring completely, and fit a new wax or foam seal before lowering the pan back into place and tightening the bolts evenly. If the leak returns after resealing, the flange or pan itself is likely the real problem rather than the seal.
Is a leaking toilet base a DIY job or should I call a plumber?
Loose bolts and a straightforward wax ring swap are usually manageable DIY jobs for a confident homeowner. A cracked pan, a damaged flange, or any leak that persists after a proper reseal needs an approved plumber, since those point to issues a new seal alone won't fix.