TL;DR:
- Bathroom leaks are the leading cause of preventable water damage in UK homes, and prevention requires routine inspection and early detection technology. Regularly check caulk and grout, manage water pressure with a regulator, and control humidity levels through ventilation to prevent leaks. Installing leak sensors and conducting twice-yearly walkthroughs help detect issues early before costly damage occurs.
Bathroom leaks are the leading cause of preventable water damage in UK homes, and the most effective ways to prevent bathroom leaks combine routine maintenance with early detection technology. Caulking inspections, water pressure management, and leak sensors form the three pillars of a sound prevention strategy. Ignoring minor drips or hairline cracks in grout is rarely harmless. Small leaks escalate quickly into structural damage, mould growth, and repair bills that dwarf the original problem. This guide gives you a clear, practical plan for maintaining bathroom plumbing and keeping your home dry.
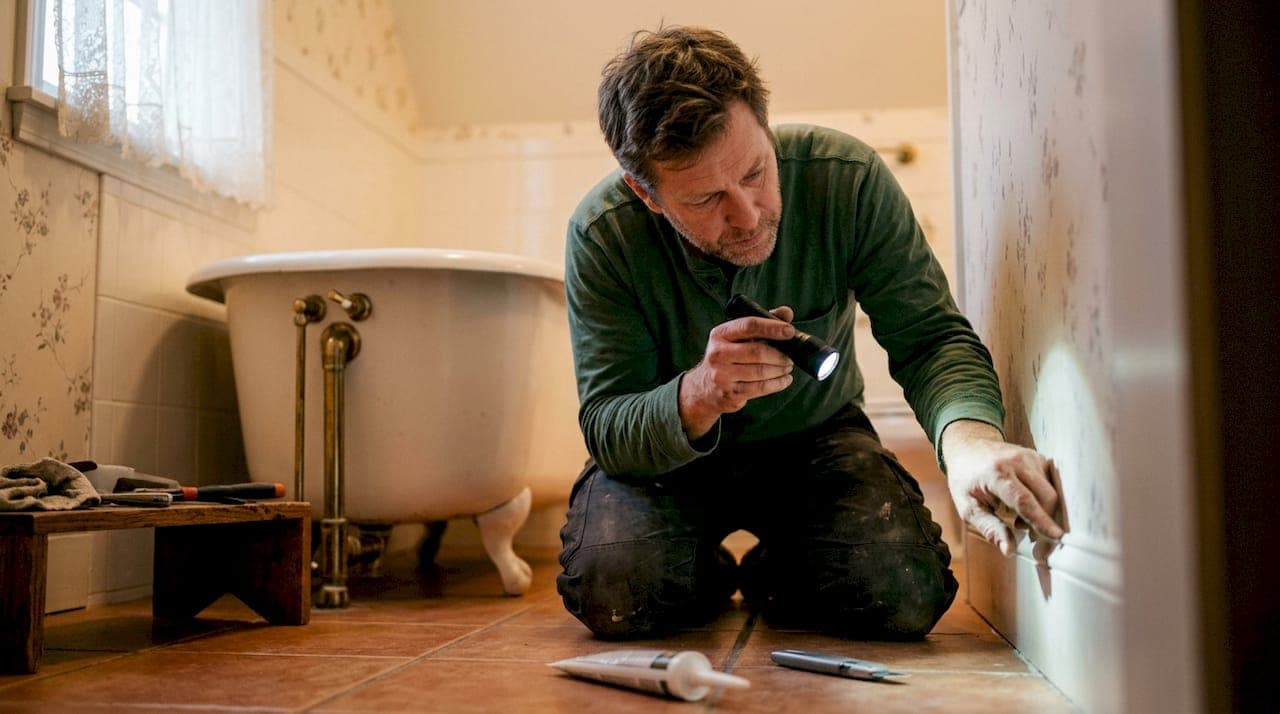
1. Inspect and replace caulking and grout regularly
Caulking and grout are your bathroom's first line of defence against water penetration. Inspect caulk and grout around tubs, showers, and sinks at least three times per year, and plan a full re-caulking every few years as the seal degrades over time. Cracks and gaps allow water to seep behind tiles and into wall cavities, where it causes rot and mould before you ever notice a visible leak.
When checking for damage, look for:
- Discolouration or dark staining along grout lines
- Caulk that has pulled away from the wall or tub edge
- Soft or crumbling grout between tiles
- Any visible gap where two surfaces meet at a corner
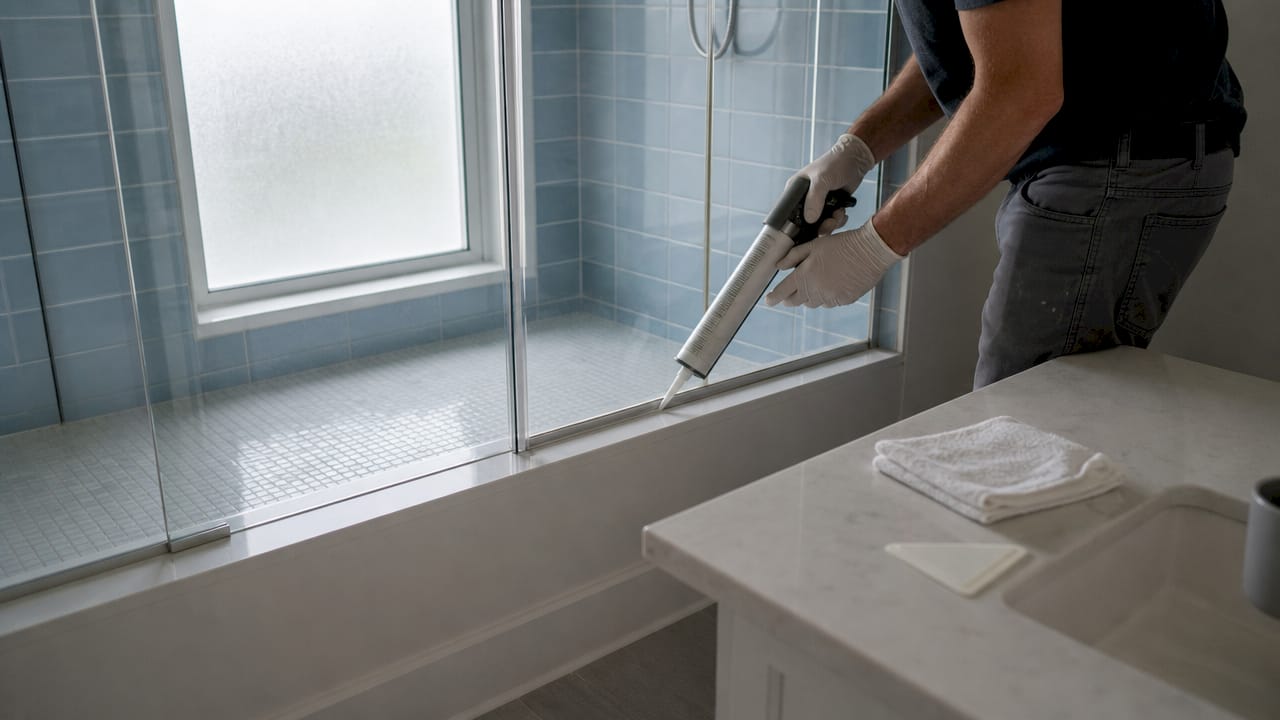
Replacing damaged caulk is straightforward. Remove the old material with a utility knife, clean the surface thoroughly, and apply a fresh bead. Run your finger along the bead to press it into the joint before it sets.
Pro Tip: Use mould-inhibiting caulk around wet areas. It contains antifungal agents that resist the damp conditions bathrooms create, giving the seal a longer working life.
2. Manage water pressure to protect your pipes
High water pressure is one of the most overlooked common bathroom leak causes. Normal household pressure sits between 45 and 65 PSI. Pressure above this range puts constant strain on pipe joints, fittings, and supply lines, eventually causing them to fail.
The consequences of unchecked high pressure include:
- Pinhole leaks in copper pipes
- Worn washers and valve seats in taps
- Premature failure of flexible supply hoses
- Stress fractures at pipe joints behind walls
A pressure-reducing valve (PRV) is the standard fix. A qualified engineer fits it at the point where the mains supply enters the property. Once installed, it keeps pressure within the safe range automatically. You can monitor pressure yourself with an inexpensive gauge that attaches to an outdoor tap. Check it twice a year and after any significant work on your supply. For more on how pressure affects your plumbing, the guide on water pressure and plumbing covers the detail well.
3. Control moisture and ventilation
Poor ventilation is a direct cause of bathroom deterioration. Excess humidity softens grout, lifts caulk, and creates the damp conditions that accelerate every other type of leak. Run your exhaust fan during every shower and for 15 to 30 minutes afterwards to clear moisture from the air.
Practical moisture management steps include:
- Keep indoor humidity below 60% using a hygrometer to monitor levels
- Dry shower walls and screens with a squeegee after each use
- Keep the bathroom door open after showering when the fan is off
- Check that your extractor fan is actually venting outside, not into a loft space
Pro Tip: If your extractor fan is more than ten years old, test its airflow by holding a tissue near the grille. A weak pull means the motor is failing and needs replacing before moisture damage sets in.
Shower doors and screens also matter. A curtain that sits inside the tray keeps water contained. A screen with a worn rubber seal allows water to run onto the floor with every shower. Replacing a worn seal costs very little compared to repairing a water-damaged floor.
4. Install leak detection technology
Modern leak detection devices are one of the most cost-effective ways to stop bathroom leaks before they cause serious damage. Active leak detection systems with sensors that trigger automatic water shutoff valves can halt a leak the moment it starts, even when you are asleep or away from home.
"Active leak detection and automatic shutoff systems provide vital early warnings and stop leaks immediately, preventing escalation."
Place sensors at the highest-risk points in your bathroom:
- On the floor directly beneath the basin pedestal or vanity unit
- Behind the toilet at the base of the supply line
- At the base of the shower tray or bath
- Under any exposed pipework beneath the floor or in a cupboard
Whole-home water monitors attach to the mains supply and track flow patterns. They detect micro-leaks by identifying water movement when all fixtures are off. Many integrate with smart home systems, sending alerts to your phone. For a full breakdown of how these devices work, the article on leak detection for your home is worth reading.
5. Carry out routine visual walkthroughs
A twice-yearly walkthrough catches the early warning signs that prevent small problems from becoming expensive ones. A dripping tap or a loose tile signals an underlying plumbing issue and should be addressed immediately, not added to a mental list for later.
Work through this checklist during each inspection:
- Check under every sink. Look for moisture, staining, or a musty smell inside the cabinet. These indicate a slow drip from the trap or supply connections.
- Inspect the toilet base. Press gently around the base. Any movement or soft flooring suggests the wax seal has failed and water is escaping with each flush.
- Test the toilet flush valve. Add a few drops of food colouring to the cistern. If colour appears in the bowl without flushing, the valve is leaking silently.
- Check supply lines. Look for bulging, cracking, or corrosion on the flexible hoses connecting taps and the toilet cistern. Replace rubber supply lines every 5 to 7 years as a precaution.
- Upgrade plastic supply lines. Stainless steel braided lines are far more durable than plastic and significantly reduce the risk of sudden rupture.
- Look for discoloured grout or bubbling paint. These surface changes often indicate water moving behind the wall.
- Use a moisture meter on suspect areas. Non-destructive tools like moisture meters locate hidden leaks without any demolition, saving both time and money.
For a broader view of the warning signs that indicate you need professional help, the guide on hidden plumbing risks covers the less obvious ones in detail.
Key takeaways
Preventing bathroom leaks requires consistent inspection, correct pressure management, and early detection technology working together.
| Point | Details |
|---|---|
| Inspect caulk and grout | Check at least three times per year and re-caulk fully every few years. |
| Manage water pressure | Keep household pressure between 45 and 65 PSI; fit a pressure-reducing valve if needed. |
| Control moisture | Run the extractor fan for 15 to 30 minutes after every shower and keep humidity below 60%. |
| Use leak detection devices | Place sensors under sinks, behind toilets, and at shower bases for early warnings. |
| Replace ageing supply lines | Swap rubber lines every 5 to 7 years and upgrade plastic lines to stainless steel braided ones. |
What I have learned from years of bathroom leak prevention
The small things are never small
The most expensive bathroom repairs I have seen all started the same way: a homeowner noticed something minor and decided it could wait. A slightly soft patch of grout. A tap that dripped once in a while. A faint musty smell that only appeared after a long shower. None of those things feel urgent. Every single one of them was the first sign of a leak that had already been running for weeks.
The real problem with bathroom leaks is that they are mostly invisible. Water travels along joists and behind plasterboard before it ever shows on a surface. By the time you see a stain on the ceiling below the bathroom, the structural damage is already done. That is why I believe the twice-yearly walkthrough is the single most valuable habit a homeowner can build. It takes twenty minutes and costs nothing.
Technology has genuinely changed the game here. A leak sensor under the basin costs very little and will wake you up at 2am if a supply line starts weeping. That is worth far more than its price. Combine that with a moisture meter for your annual checks and you have a detection system that rivals what a professional would use on a first visit.
My honest advice: do not wait for a visible problem. The moment you notice anything unusual, treat it as a leak until you can prove otherwise. That mindset saves money, time, and a great deal of stress.
— Michael
Your-local-plumber: expert help when you need it
Preventive maintenance goes a long way, but some leaks need a professional eye to diagnose correctly.

Your-local-plumber provides bathroom leak detection and plumbing inspections carried out by experienced engineers across the UK. Whether you have spotted an early warning sign or want a professional to run through your bathroom before a problem develops, the team offers clear pricing and fast response times. Booking a preventive inspection is one of the most practical steps you can take to protect your home from water damage. Visit Your-local-plumber to arrange a visit or get advice on the right course of action for your property.
FAQ
How often should I check bathroom caulking?
Inspect caulk and grout at least three times per year and plan a full re-caulking every few years, as the seal degrades with regular exposure to water and cleaning products.
What is the safe water pressure range for a home?
Normal household water pressure should sit between 45 and 65 PSI. Pressure above this range strains pipe joints and fittings, increasing the risk of leaks.
How do I know if my toilet is leaking silently?
Add a few drops of food colouring to the cistern and wait ten minutes without flushing. If colour appears in the bowl, the flush valve is leaking and needs replacing.
What are the best products for leak prevention in bathrooms?
Mould-inhibiting caulk, stainless steel braided supply lines, and floor-level leak sensors are the three most effective products for reducing bathroom leak risk.
When should I call a plumber about a bathroom leak?
Call a plumber if you notice soft flooring near the toilet, persistent damp smells, discolouration on walls or ceilings, or any supply line that shows bulging or corrosion.