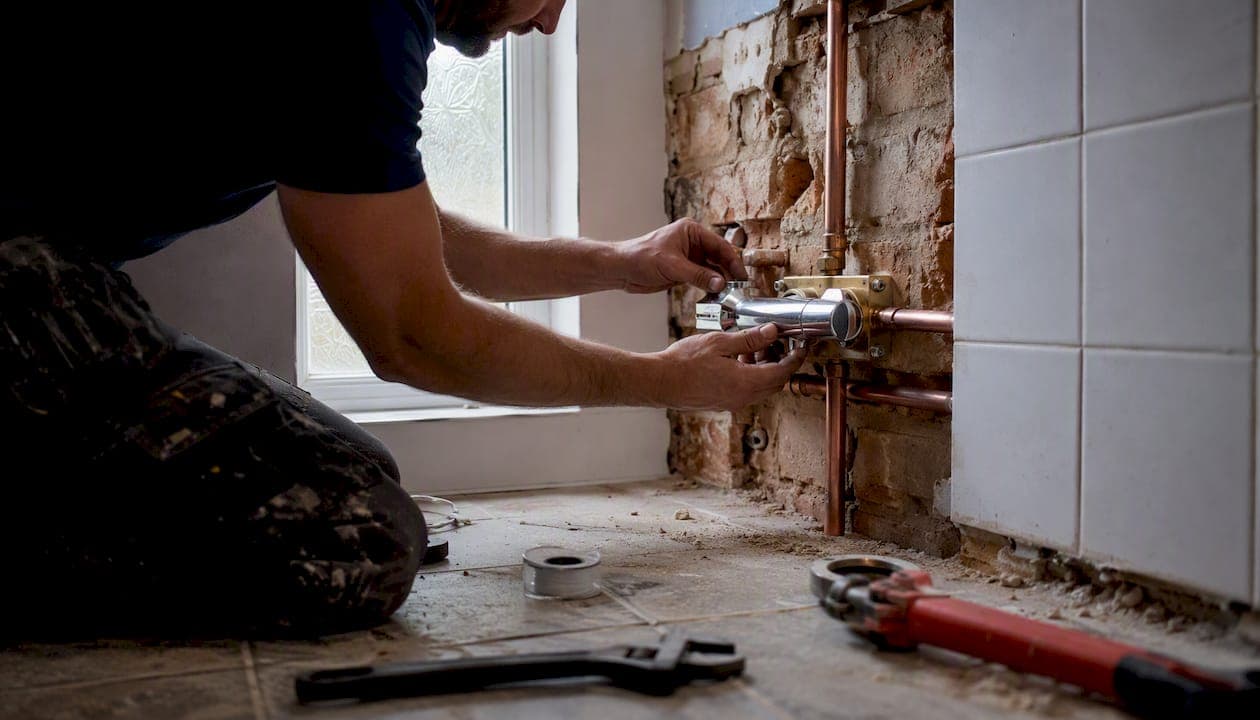
UK homes use five main shower valve types: manual mixer, thermostatic mixer, pressure-balancing, diverter, and digital. For most family bathrooms, a thermostatic mixer valve is the right choice because it holds a set temperature and shuts off flow if the cold supply fails. Exposed valves are easier to service; concealed valves look neater but need planned access. A cartridge swap fixes most common faults. Call a qualified plumber for concealed-wall work, anti-scald commissioning, or any job involving backflow risk.
Here is a quick map of the main types and why each matters:
- Manual mixer valve — simple, affordable, no automatic protection; fine for low-use ensuites on stable supplies.
- Thermostatic mixer valve — holds temperature to within ±1°C, shuts off on cold failure; the standard recommendation for family bathrooms.
- Pressure-balancing valve — compensates for pressure changes but not temperature-source shifts; common in North American installs, less so in UK new builds.
- Diverter valve — switches flow between two or more outlets (fixed head, handset, body jets); often built into thermostatic bar valves.
- Digital valve — uses electronic solenoids controlled by a remote panel or app; suits smart-home bathrooms but needs professional installation.
DIY is reasonable for cartridge replacement on an exposed valve once the water is isolated. Anything involving cutting into a tiled wall, commissioning anti-scald stops, or working on a combi boiler circuit needs a Gas Safe or WaterSafe-registered engineer.
Table of Contents
- ## 1. What are the main shower valve types and how does each one work?
- ## 2. Concealed versus exposed valves: which suits your bathroom?
- ## 3. How to identify which shower valve you have
- ## 4. Is your shower valve compatible with your UK water system?
- ## 5. Scald prevention and safety: why thermostatic valves matter for UK families
- ## 6. Common faults, maintenance and when a cartridge swap fixes it
- ## 7. What does it cost to replace or install a shower valve in the UK?
- ## 8. When should you call a plumber, and what should you ask?
- Key takeaways
- The valve choice most homeowners get wrong
- Shower valve repairs and installations done right, first time
- Useful sources and further reading
## 1. What are the main shower valve types and how does each one work?
Shower valve types cover a wider family than most homeowners realise, and the differences matter more than aesthetics.
Manual mixer valves
A manual mixer valve blends hot and cold water by hand. Single-lever versions control both temperature and flow with one dial; dual-handle versions give separate control over each. There is no automatic protection: if someone flushes the toilet and cold pressure drops, the water gets hotter. Manual valves are acceptable for simple, low-use ensuites on stable supplies, but they are not recommended for family bathrooms.
Thermostatic mixer valves
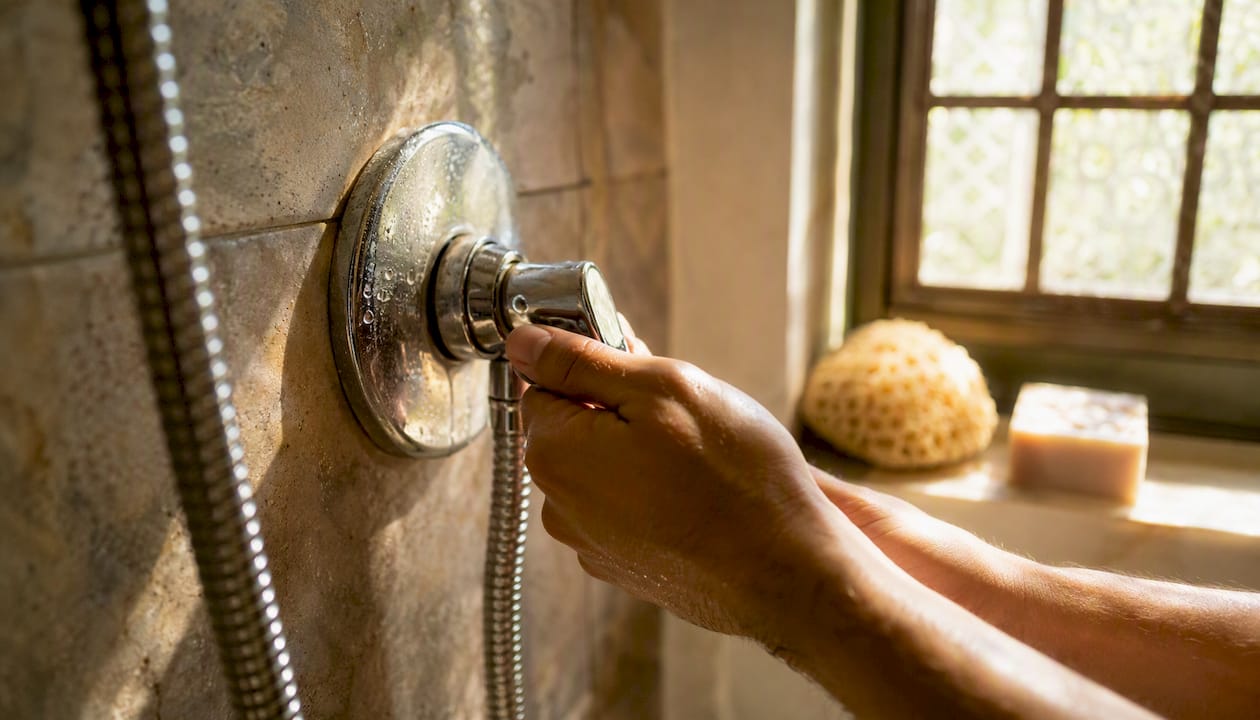
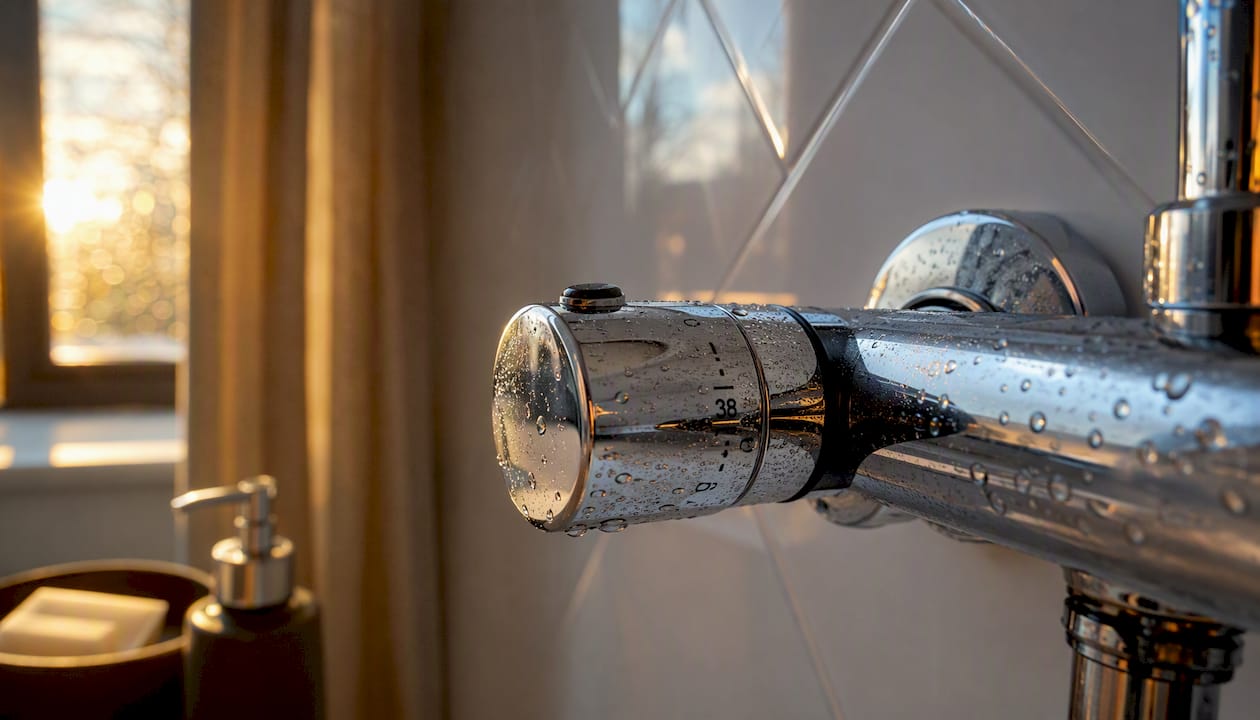
A thermostatic cartridge expands and contracts in response to temperature changes, continuously adjusting the hot/cold mix to hold your chosen setting. Industry figures cite high stability and a rapid anti-scald response to cold-supply failure. That speed matters: thermostatic valves reduce scald risk by shutting down flow automatically if the cold supply fails. They cost more than manual valves but are the industry standard for modern UK bathrooms.
Pressure-balancing valves
A pressure-balancing valve uses a diaphragm or piston to keep the ratio of hot and cold pressure steady. It compensates for pressure changes but cannot correct a temperature shift caused by the source water itself changing temperature, for example when a boiler cycles. They are standard in North American plumbing codes and appear in some UK commercial installations, but thermostatic valves are far more common in British homes.
Diverter valves
A diverter valve redirects flow between outlets: fixed overhead head, handheld handset, or body jets. Most modern thermostatic bar valves include a built-in diverter cartridge. When that cartridge fails, water splits between outlets simultaneously or refuses to switch at all.
Digital valves
Digital valves use electronic solenoids to control flow and temperature, operated by a remote panel, touchscreen, or smartphone app. They can pre-set temperature profiles and integrate with smart-home systems. Smart heating integration is the main draw, but digital valves require a qualified installer and a power supply near the shower.
Cartridge and disc mechanisms
Inside almost every valve sits either a ceramic disc cartridge or a rubber-seated cartridge. Ceramic discs are durable and quarter-turn; rubber-seated cartridges are cheaper to replace. Both types are available as thermostatic, flow/shut-off, or diverter variants.
Pro Tip: Choose a thermostatic valve over a manual one for any bathroom used by children or elderly residents. The automatic cold-fail shut-off is the single most important safety feature a shower valve can have.
Comparison table
| Valve type | Temperature stability | Safety (cold-fail) | Typical pressure range | Maintenance notes |
|---|---|---|---|---|
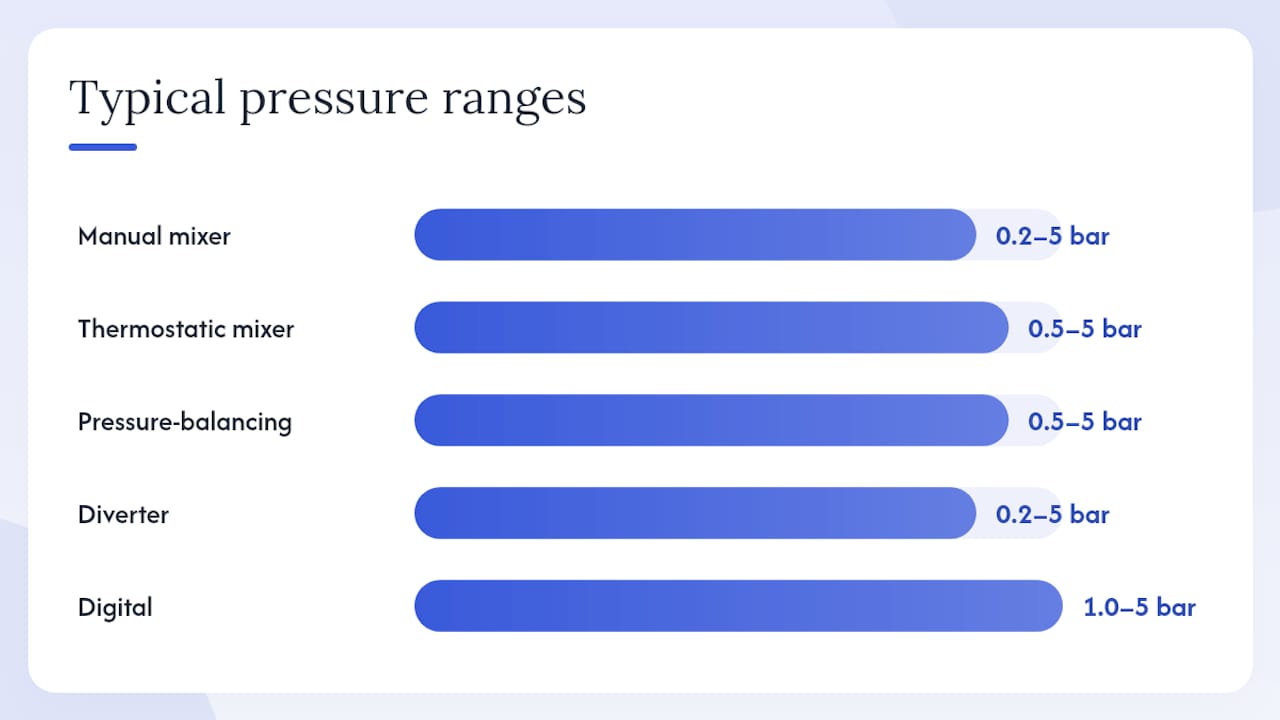
| Manual mixer | Variable | None | 0.2–5 bar | Simple cartridge swap |
| Thermostatic mixer | ±1°C | Auto shut-off | 0.5–5 bar | Thermostatic cartridge replacement |
| Pressure-balancing | Moderate | Partial (pressure only) | 0.5–5 bar | Diaphragm/piston service |
| Diverter | N/A | N/A | 0.2–5 bar | Diverter cartridge replacement |
| Digital | ±1°C | Auto shut-off | 1.0–5 bar | Professional service required |
## 2. Concealed versus exposed valves: which suits your bathroom?
The choice between a concealed (built-in) and an exposed (surface-mounted) valve is as much about future maintenance as it is about looks.
Concealed valves sit inside the wall, showing only a slim backplate and control dials. They suit new builds and full renovations where the wall can be opened before tiling. Concealed valves typically require 70–100 mm of installation depth behind the wall, and that figure varies by manufacturer. The finish is clean, but any major repair means cutting through tiles unless an access panel was fitted during installation.
Exposed valves mount directly on the wall surface with visible pipework. They are far easier to retrofit in an existing bathroom, quicker to service, and cheaper to install because no wall work is needed. The trade-off is a more utilitarian look, though bar-valve designs have become genuinely attractive.
Installation and access checklist
Before choosing concealed:
- Measure the available wall cavity depth (minimum 70 mm for most brands, up to 100 mm for some).
- Confirm the wall construction (stud, solid masonry, or wet room board) can accept a back box.
- Plan an access panel or hatch behind the valve body, especially in a tiled enclosure.
- Check pipe routing: hot and cold supplies must reach the back box without excessive bends.
Before choosing exposed:
- Decide whether surface pipework will be hidden in a riser rail or left visible.
- Confirm the wall surface is flat and structurally sound for bracket fixings.
- Check that pipe centres match the valve inlet spacing (typically 150 mm for UK bar valves).
Pro Tip: If you are renovating and leaning towards concealed, fit an access panel as standard. Skipping it saves nothing upfront and costs significantly more the first time the cartridge needs replacing.
A hybrid approach works well in some bathrooms: a concealed thermostatic body with exposed outlet controls. This keeps the wall tidy while leaving the flow and diverter controls accessible for servicing without tile removal.
## 3. How to identify which shower valve you have
Knowing your valve type is the first step to ordering the right cartridge or describing the fault accurately to a plumber. Here is a safe, step-by-step process.
- Count the handles or dials. Two separate knobs (one hot, one cold) usually indicate a manual mixer. One temperature dial plus one flow/volume dial points to a thermostatic valve. A single lever controlling both is a manual single-lever mixer.
- Look for a temperature limit button or stop. A small button or tab on the temperature dial that prevents it turning past a set point is a thermostatic feature.
- Check for a diverter control. A third knob, pull-tab, or push button that switches between outlets confirms a diverter function, either built in or as a separate valve.
- Observe the body. If you can see the valve body and pipework on the wall surface, it is exposed. If only a backplate and dials are visible, it is concealed.
- Test cold-fail behaviour (thermostatic only). With the shower running, briefly close the cold isolation valve. A thermostatic valve cuts flow within a fraction of a second; a manual valve stays on and gets dangerously hot.
- Remove the trim and photograph the cartridge. Isolate the water supply first, then unscrew the handle and trim plate. Cartridge codes are usually printed on the internal component, not the external trim. Photograph the cartridge and valve body clearly before touching anything.
Quick identification checklist
- Two separate temperature and flow knobs: manual dual-handle mixer.
- Single lever, no temperature stop: manual single-lever mixer.
- Temperature dial with limit button plus separate flow control: thermostatic mixer.
- Third dial or pull-tab: diverter function present.
- Digital panel or remote control: digital valve.
- Only backplate visible, no pipework: concealed installation.
- Pipework visible on wall: exposed installation.
Matching the cartridge code is the fastest route to a cost-effective repair. Take measurements of the cartridge body if the brand or model is unknown, and keep those photos when ordering spares.
## 4. Is your shower valve compatible with your UK water system?
Fitting the wrong valve to the wrong water system is one of the most common and avoidable mistakes in UK bathroom projects.
UK water supply types:
- Combi boiler (mains pressure): Heats water on demand directly from the mains. Typical dynamic pressure 1.0–3.0 bar. Suits thermostatic and digital valves rated for mains pressure.
- System boiler with unvented cylinder: Mains-fed storage cylinder, typically 1.5–3.0 bar. Compatible with most thermostatic valves.
- Gravity-fed (vented) system: Hot water from a loft-mounted cylinder fed by a cold-water tank. Pressure depends on the height difference between the tank and the shower head, often as low as 0.2–0.5 bar. Needs a valve rated for low pressure.
- Mains-pressure cold, gravity hot: A mixed system common in older UK homes. Pressure imbalance can cause temperature instability in manual valves.
Compatibility checklist
- Check the valve's minimum operating pressure against your system's available pressure. Valves rated for low pressure (as low as 0.2 bar) suit gravity systems; mains-rated valves need at least 0.5–1.0 bar.
- On gravity-fed systems, a thermostatic valve requires balanced hot and cold pressure. If the cold supply is mains and the hot is gravity-fed, a pressure-reducing valve on the cold side may be needed.
- Digital valves generally need a minimum of 1.0 bar and a nearby power supply. They are not suited to very low-pressure gravity systems without a pump.
- Water pressure regulation affects every valve type: check your flow rate (litres per minute) as well as static pressure, since a high static reading can still produce poor flow at the shower head.
Pro Tip: Before ordering any valve, check your boiler type and, if possible, measure the dynamic pressure at the shower outlet with a simple flow-rate bag test. A plumber or heating engineer can do this in minutes and save you an expensive return.
One specific note on gravity-fed systems: some manufacturers advise using a manual valve rather than a thermostatic one on very low-pressure gravity supplies, because a thermostatic cartridge needs a minimum pressure differential to function correctly. Always check the manufacturer's minimum pressure specification before purchasing.
## 5. Scald prevention and safety: why thermostatic valves matter for UK families
The short answer: thermostatic valves are the safer choice for any household with children, elderly residents, or anyone with a reduced sensitivity to heat; consider the best interior doors for your bathroom to complement your bathroom refurbishment including valve upgrades.
UK building regulations (Approved Document G) address hot water safety directly. The guidance supports thermostatic control as the means of limiting scalding risk, particularly in dwellings where vulnerable occupants are present.
Key safety features to look for
- Temperature stop: A physical limit on the temperature dial, typically factory-set to 38°C, preventing accidental selection of dangerously hot water.
- Automatic cold-fail shut-off: The thermostatic cartridge closes the valve within a fraction of a second if the cold supply fails, preventing a sudden burst of scalding water.
- Thermostatic accuracy: Industry-standard thermostatic valves maintain temperature to ±1°C throughout the shower.
- Maximum recommended setting: Most guidance recommends a maximum delivered temperature of 38°C for showers in family homes. Legionella prevention requires the hot supply to be stored at 60°C, but the valve blends this down at the point of use.
Manual valves offer none of these protections automatically. A temperature limiter on a manual valve can cap the maximum hot supply, but it will not respond dynamically to pressure or temperature changes mid-shower. For a simple ensuite used only by adults on a stable supply, a manual valve is workable. For a family bathroom, it is not the right tool.
Commissioning anti-scald temperature stops correctly requires a calibrated thermometer and knowledge of the specific valve's adjustment mechanism. This is a job for a qualified plumber, not a DIY task.
## 6. Common faults, maintenance and when a cartridge swap fixes it
Most shower valve problems trace back to a single worn component: the cartridge. Replacing it is usually cheaper and less disruptive than swapping the whole valve.
| Symptom | Likely cause | Simple test | Next step |
|---|---|---|---|
| Dripping after shut-off | Worn flow/shut-off cartridge | Check if drip stops when water is isolated | Replace flow cartridge |
| Temperature drifts during shower | Failing thermostatic cartridge | Note whether temperature rises or falls with no pressure change | Replace thermostatic cartridge |
| Water from multiple outlets at once | Failing diverter cartridge | Switch diverter fully; check if split persists | Replace diverter cartridge |
| Stiff or seized handle | Worn or corroded cartridge stem | Try turning with gentle pressure | Replace cartridge; check for limescale |
| Reduced flow | Blocked or worn cartridge | Remove and inspect for debris | Clean or replace cartridge |
Safe cartridge check: step by step
- Isolate both hot and cold supplies to the shower. Use the water isolation valves on the service pipes, not just the shower control.
- Open the shower control briefly to release residual pressure.
- Remove the handle cap, unscrew the handle, and lift off the trim plate.
- Photograph the cartridge and valve body clearly before removing anything.
- Note the cartridge dimensions and any printed code on the body.
- Order the exact replacement cartridge and a new set of seals.
- Fit the new cartridge, replace all seals, refit trim, and restore the water supply.
- Test for leaks and check temperature accuracy before closing up.
Pro Tip: Keep a photo of your cartridge code on your phone and, for older installations, hold one spare cartridge. Thermostatic cartridges for discontinued valve ranges can take weeks to source, and a spare means a one-hour fix instead of a week without a shower.
Replacing washers and cartridges is within reach for a competent DIYer on an exposed valve. Concealed valves with tiled surrounds are a different matter: accessing the cartridge without damaging tiles usually requires professional tools and experience.
## 7. What does it cost to replace or install a shower valve in the UK?
Costs vary considerably depending on valve type, access difficulty, and local labour rates. These are realistic ranges for typical UK jobs in 2026, but always get a written quote for your specific situation.
- Cartridge replacement (exposed valve, straightforward access): Parts typically £15–£80 depending on valve brand; labour 1–2 hours. Total cost roughly £80–£200 including a plumber's call-out.
- Full exposed valve replacement (like-for-like, no tile work): Parts £60–£300 for the valve; labour 2–3 hours. Total typically £150–£450.
- Concealed thermostatic valve installation (new build or open wall): Parts £150–£600 for a quality thermostatic concealed valve; labour 3–6 hours. Total typically £300–£900, excluding any tiling.
- Concealed valve replacement with tile access: Add £100–£400 or more for tile removal and reinstatement, depending on tile type and area.
- Digital valve installation: Parts £400–£1,500+; professional installation 4–8 hours. Total typically £600–£2,000+.
Factors that push costs up include: difficult access (loft tanks, solid walls), upgrading undersized pipework, choice of premium finish (brushed brass, matt black), and regional labour rate variation. London and the South East typically run 20–30% above the national average.
Get at least two written quotes before committing to any valve replacement. A good plumber will specify parts separately from labour so you can compare like for like.
## 8. When should you call a plumber, and what should you ask?
Some shower valve jobs are genuinely DIY-friendly. Others are not, and misjudging the boundary can result in water damage, failed anti-scald commissioning, or a voided warranty.
Call a qualified plumber when:
- The valve is concealed and accessing the cartridge means cutting into a tiled wall.
- You need anti-scald temperature stops commissioned correctly (requires a calibrated thermometer and valve-specific knowledge).
- There is evidence of backflow, cross-contamination, or a failed check valve.
- The job involves modifying or extending pipework.
- You are installing a digital valve (requires electrical work near water).
- The fault is not resolved after a cartridge swap and you cannot identify the cause.
Plumber hiring checklist
- Verify registration with WaterSafe or a recognised trade body.
- Confirm they hold public liability insurance and ask to see evidence.
- Request a written, itemised quote before work begins.
- Ask whether parts are supplied by them or sourced by you, and whether there is a labour guarantee.
- Confirm the timescale and whether a fixed price or hourly rate applies.
Questions to ask on first contact
- Have you worked with this valve brand and type before?
- Can you source the cartridge, or do I need to supply it?
- Is the quote fixed price, or does it change if access is more difficult than expected?
- What happens if tiles need to be removed?
Red flags
- No proof of insurance or trade registration when asked.
- A verbal quote with no written breakdown.
- Refusal to provide references or photos of previous similar work.
- Pressure to replace the entire valve before attempting a cartridge swap.
- Vague answers about access method for a concealed valve.
Key takeaways
Thermostatic mixer valves are the right choice for most UK family bathrooms because they hold temperature to ±1°C and shut off automatically if the cold supply fails, making them the safest and most practical option for homes with children or elderly residents.
| Point | Details |
|---|---|
| Thermostatic valves for families | They hold ±1°C and cut flow on cold failure; manual valves offer no automatic scald protection. |
| Cartridge-first repairs | Most faults (drips, temperature drift, switching failure) are cartridge-related; replace the cartridge before the whole valve. |
| Match valve to water system | Gravity-fed systems need a low-pressure-rated valve (as low as 0.2 bar); combi and unvented systems suit mains-rated thermostatic valves. |
| Plan access for concealed valves | Concealed valves need 70–100 mm wall depth and an access panel; exposed valves are cheaper to service and retrofit. |
| Your-local-plumber | Covers valve cartridge replacement, full installations, and emergency call-outs with transparent fixed pricing across the UK. |
The valve choice most homeowners get wrong
The most common mistake I see is homeowners fitting a manual mixer valve in a family bathroom to save £50–£100 upfront, then calling us out six months later after a near-scald incident or a dripping valve that has been running for weeks. The cartridge on a manual valve wears faster under the constant micro-adjustments people make chasing a stable temperature, and there is no safety net when pressure drops elsewhere in the house.
The second mistake is skipping the access panel on a concealed installation. It feels like an unnecessary extra during a renovation, but the first time a thermostatic cartridge needs replacing, that panel pays for itself several times over in avoided tile work.
What people underestimate is how much of this is fixable without a full valve replacement. A cartridge swap on an exposed thermostatic valve is a realistic afternoon job for a competent DIYer. The role of plumbing valves is more mechanical than mysterious once you understand what each component does. Get the cartridge code right, replace the seals, and most valves come back to life.
Where I would always recommend calling a professional: concealed valve access in a tiled enclosure, anti-scald commissioning, and anything involving the boiler circuit. The cost of getting those wrong is far higher than the cost of a plumber's visit.
Shower valve repairs and installations done right, first time
When a dripping valve, a temperature that will not hold, or a full bathroom renovation needs a reliable hand, Your-local-plumber covers the full range: cartridge replacements, exposed and concealed valve installations, thermostatic upgrades, and emergency call-outs, all with transparent fixed pricing and no hidden charges.

Whether you need a quick cartridge swap or a complete shower installation with a new thermostatic valve, the team is available 24/7. Get in touch for a prompt, written quote and same-day availability in many areas.
Useful sources and further reading
These UK-relevant sources are worth bookmarking whether you are ordering parts, checking safety guidance, or planning a full installation.
- Hot water safety, Approved Document G — the UK government's building regulation guidance on hot water safety, including thermostatic valve requirements for vulnerable occupants. The primary reference for scald-prevention compliance.
- WaterSafe — the UK's approved contractor scheme for plumbing work. Use the postcode search to find registered plumbers and verify credentials before booking.
- Bathroom Mountain: shower valve types guide — a practical overview of valve classifications, pressure ranges, and flow outputs useful when comparing specifications.
- Bathroom Spare Parts: cartridge identification guide — step-by-step guidance on identifying and ordering the correct cartridge by code and symptom. The most useful single resource for DIY cartridge replacement.
- Victorian Plumbing: shower valves buying guide — covers installation depth requirements for concealed valves and a broad range of valve styles and configurations.
- Shower Spares: manual vs thermostatic guide — explains the mechanical differences between manual and thermostatic mixers, including the limits of pressure-balancing valves.
- Manufacturer installation manuals — always download the specific manual for your valve model before ordering parts or attempting a repair. Cartridge codes, torque settings, and pressure ratings vary between brands and generations.