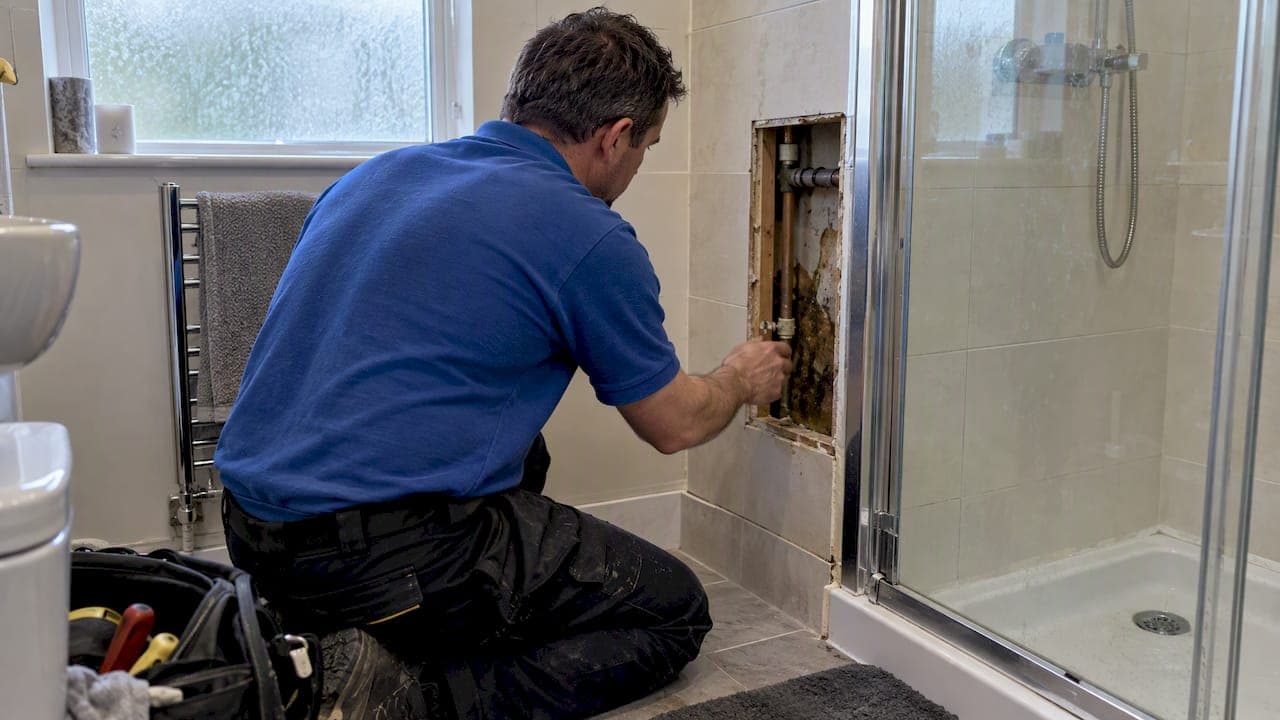
A shower leaking behind the wall is likely if you notice damp patches, peeling paint, musty smells or a water meter that keeps climbing when nothing is running. Isolate the shower's water supply straight away if the leak is heavy or visible, otherwise run a quick meter test to confirm it. Photograph any damage now, and stop poking at tiles or plasterboard if you see sagging, bulging or long-standing damp.
TL;DR:
- A water meter test showing a rise when no water is used indicates a likely leak behind the wall, especially if visual clues or pressure drops are present.
- Common leak sources include failed sealant, corroded pipework, faulty shower valves, or a cracked shower tray, with pipe or valve issues often causing longer-term damage.
- Contain leaks by shutting off water supplies, setting towels under drips, and taking photos of any damage before calling professionals for non-invasive detection or repair.
- Detection methods like thermal imaging or acoustic listening allow plumbers to locate leaks accurately without opening the wall, often necessary before full repairs.
- Insurance typically covers sudden leaks but not long-term deterioration, so documenting the damage and contacting approved plumbers ensures smoother claims and proper repairs.
Table of Contents
- How to confirm a leak behind the shower wall
- Common causes of leaks behind shower walls
- Temporary containment and safe short-term fixes
- When to call a professional and what a detection visit involves
- Costs, insurance and making a claim
- Preventing future leaks: a maintenance checklist
- Expert guidance on diagnosing and fixing hidden shower leaks
- When homeowners should accept help, not DIY
- Book a detection or emergency repair with Your Local Plumber
- FAQ
- Sources
How to confirm a leak behind the shower wall
Before you call anyone, a few checks will tell you whether you are dealing with a hidden leak or just condensation.
- Run a water meter test. Turn off every tap and appliance, note the meter reading, then wait at least 30 minutes (overnight is better) without using any water, and check it again. A higher reading means water is escaping somewhere in the system, a method United Utilities recommends for exactly this situation.
- Look for visual clues. Damp patches, peeling or bubbling paint, bulging or loose tiles, a musty smell and patches of mould on the wall behind or beside the shower all point to moisture getting in where it shouldn't.
- Listen and check pressure. With the shower off, listen against the wall for a faint hiss or trickle, and note if the flow from the shower head feels weaker than it used to. A drop in pressure alongside a rising meter reading is a strong sign of a hidden pipe or valve leak.
If these checks are inconclusive, but your meter keeps climbing, a professional can run a more precise survey. Thermal imaging spots the cooler patches left by escaping water behind tiles or plasterboard, while acoustic detection listens for the specific sound of pressurised water escaping a pipe. Both are non-invasive and worth booking before anyone starts opening up a wall. Our guide to leak detection methods covers how each technique works in more detail, and the water meter test walkthrough is useful if you want a longer step-by-step version of the check above.
Common causes of leaks behind shower walls
Hidden shower leaks tend to come from one of a handful of sources, and matching your symptoms to the likely cause helps you decide how urgently to act.
- Failed sealant or grout: cracked silicone around the tray or gaps in grout let surface water run behind the tiles every time you shower.
- Loose or corroded pipework: compression fittings can work loose over time, and copper or PEX pipe hidden in the wall can corrode or crack, often with no visible sign until damp appears.
- A faulty shower valve or cartridge: the valve body or its internal cartridge sits inside the wall, and a worn washer or seal there can leak slowly for months before it shows.
- A failing shower tray or waste: if the tray itself has a hairline crack or the waste connection has loosened, water bypasses the tray entirely and soaks into the subfloor and stud wall.
Surface-level causes like sealant failure are usually the easiest to spot and the cheapest to put right. Anything involving the valve, pipework or tray means water has likely been getting into the wall for a while, which raises the chances of damage to the timber frame or insulation behind it. If you're trying to work out which applies to you, this guide to pipe leaks in walls walks through how to read the symptoms.
Temporary containment and safe short-term fixes
You don't need to fix the leak yourself, but a few sensible steps will limit the damage while you arrange a proper repair.
- Isolate the water. If the leak is heavy or you can see water actively running, shut off the isolation valve for the shower if there is one, or the stopcock for the whole house if you can't find it. Turning off the water stops the problem getting worse while you wait for help.
- Contain what's already escaping. Place towels or a container under any visible drip, and move furniture, rugs or anything absorbent away from the affected wall.
- Hold off on a quick re-seal unless the gap is tiny and external. A small bead of fresh silicone around an obvious gap in the tray edge is reasonable, but re-sealing over a bulging or soft wall just hides a problem that's still getting worse behind the tiles.
- Photograph everything. Take dated photos of the damp patch, any staining, and the state of the sealant or grout, since this record matters if you end up making an insurance claim.
Pro Tip: Keep a simple note of when each photo was taken and what you did that day, since insurers often ask for a timeline, not just pictures.
When to call a professional and what a detection visit involves
Once you've isolated the water and contained the mess, the question is whether you need a detection survey, a full repair, or both.
- Detection-only visits confirm where the leak is without fixing it, usually using listening equipment or a thermal camera to locate the wet area without opening the wall.
- Acoustic detection picks up the sound of water under pressure escaping a pipe, which works well for pinpointing a leak in a specific section of pipework.
- Thermal imaging shows up the cooler patches left by escaping water behind tiles or plasterboard, useful when the leak has been running for a while.
- Camera inspections can be used where pipework is accessible via a drain or void, letting an engineer see inside a pipe run without removing tiles; video camera inspection explains how this works in practice.
A proper visit should end with a written finding, a repair quote, and, where the work affects your plumbing system, a Certificate of Compliance. The WaterSafe Register lists approved plumbers whose certificates insurers recognise, which matters because using an unapproved contractor can complicate a claim later. Always ask who is attending and whether they can issue that paperwork before the visit, not after.
Costs, insurance and making a claim
Costs for a hidden shower leak vary a lot depending on how far the problem has spread and how much of the wall needs opening up.
| Type of work | Typical cost |
|---|---|
| Simple, accessible leak repair | £80 to £200 |
| Detection-only survey (thermal or acoustic) | £150 to £400 |
| Full hidden leak repair with reinstatement | £450 to over £1,500 |
| Plumber hourly rate | £45 to £105 depending on region |
Detection and repair are usually billed as separate stages: a detection survey tells you where the leak is, but opening the wall, fixing the pipe or valve, and reinstating the tiling is a second job with its own cost. Most home insurance policies cover a sudden escape of water, but exclude damage caused by wear and tear or a long-standing leak, which is why documenting when the damage first appeared matters. Trace-and-access cover, which pays for locating and accessing the leak, commonly has its own limit, often somewhere around £5,000 to £10,000 depending on the policy.
If you're claiming, keep every invoice, photo and written report from the engineer, and call your insurer early rather than after the repair is finished. Our piece on trace-and-access cover goes through policy wording in more detail if you want to check your own limits before you call.

Preventing future leaks: a maintenance checklist
Most hidden shower leaks start as small, preventable failures rather than sudden pipe bursts, so a short annual routine goes a long way.
- Re-seal and re-grout annually, or sooner if you spot cracks, gaps or discolouration around the tray or tiles.
- Run an extractor fan during and after every shower to cut condensation, which keeps humidity down and reduces mould risk on top of stopping any actual leak.
- Inspect the tray, waste and any visible pipework every few months for staining, loose fittings or a soft feel underfoot.
- Keep a dated log with photos of each inspection and repair, since this is the evidence an insurer will ask for if you ever need to claim.
A squeegee after every shower and avoiding drying clothes in the bathroom both help keep moisture down between proper checks. Our guide to preventing bathroom leaks has a fuller routine if you want to build this into a seasonal checklist rather than remembering it ad hoc.
Expert guidance on diagnosing and fixing hidden shower leaks
The most common mistake homeowners make is re-sealing over a problem before confirming where the water is actually coming from, which can mask a leak for months while damage spreads behind the wall.
- Check the meter before you touch any sealant. A rising reading with the shower untouched tells you more than any visual inspection.
- Don't assume a cracked tile is the cause. It's often just the symptom; the real leak is usually in the tray seal, the valve, or the pipework behind it.
- Ask for a written report, not just a verbal fix. A proper record protects you if you need to claim later.
This plumbing service handles this problem end to end, from detection through to repair and reinstatement, with engineers who can confirm a leak, locate it without unnecessary damage, and carry out the repair under one visit where possible. Ask for a compliance certificate and a short written report at the end of any job, since both are useful if you ever need to show an insurer what was found and fixed.
When homeowners should accept help, not DIY

My rule of thumb is simple: if you've isolated the water, run the meter test, and the damp is still spreading, or if you see sagging plasterboard, bowing tiles or a ceiling starting to dip, stop and call a plumber. Opening up a wall yourself at that point risks turning a contained repair into a much bigger one.
Mould is the other reason not to wait. Growth can start within 24 to 48 hours of sustained moisture, and disturbing it without proper remediation can release spores into the air, which is a particular concern if you have young children in the house.
— Michael
Book a detection or emergency repair with Your Local Plumber
If you've isolated the water and you're waiting to find out how bad it is, an engineer can be dispatched with a 60-minute response for emergency leaks, or you can book a standard visit for detection and repair without the wait.

Every job comes with transparent, fixed pricing agreed before work starts, a no-fix-no-fee guarantee, and a written record you can hand straight to your insurer if you need to claim. You can book emergency plumbing for an active leak, or arrange general plumbing and leak repairs for a detection visit and quote.
FAQ
What to do if your shower is leaking behind the wall?
Isolate the water supply if the leak is heavy, then run a water meter test to confirm it. Photograph any damp patches or damage, contain drips with towels or a container, and book a detection or repair visit with a qualified plumber rather than opening up the wall yourself.
Does home insurance cover a leaking shower?
Most policies cover a sudden escape of water but exclude damage caused by wear and tear or a long-standing leak. Trace-and-access cover, which pays towards locating and reaching the leak, usually carries its own limit, so check your policy wording before assuming you're covered in full.
How do plumbers detect leaks behind walls?
Plumbers typically start with a water meter test and a visual inspection, then move to non-invasive methods like acoustic detection, which listens for pressurised water escaping a pipe, or thermal imaging, which shows cooler wet patches behind tiles. A WaterSafe-approved plumber can also issue the compliance paperwork insurers usually ask for.
Sources
- United Utilities — perform a flow test to find leaks
- WaterSafe Register — find a local approved plumber
- Healthier Together (NHS) — damp and mould advice